If you have a MacBook computer and would like to install Windows 10 on your PC, then you need to create Windows 10 Bootable USB drive firstly. It doesn’t matter you can use even your Mac, even its installed macOS operating system. It can be useful for your experience even if you have built a new PC or the hard drive was damaged and newly you have replaced it with a new one, and you need to install Windows 10 on that.
Exactly, Windows 10 is one of the biggest operating system for Intel-based processor. It has a bunch of interesting features that pre-installed over billions of devices over the world. Microsoft has decided to keep Windows 10 update to date, and won’t have the plan to release any version of the operating system. Now, most of the significant features are being highlighted at the recent conference of Microsoft. As this time they have completed their experiment and successfully released the latest update of Windows 10 that called Windows 10 2004 20H1 version.
Don’t forget whether you are installing Windows 10 or any other version of Windows, macOS, Linux, or any other operating system on your computer. For that, you need to create a Bootable USB drive or burn the file CD/DVD disk. Without that, you won’t be able to install the operating system. But this is the time of technology we have bunches of application in our hand that can help us to create a Bootable USB drive for Windows, macOS, or Linux.
Our main purpose in this guide is to explore the method of creating a Windows 10 Bootable USB drive on macOS. You might think it’s impossible, but there is an application newly launched for macOS users to create Windows 10 Bootable USB drive.
Method #1. Create Windows 10 Bootable USB on macOS
You will see an error message in Etcher after importing Windows 10 ISO into the program. This means the ISO image is not supported. We replace this app with another app called UUByte ISO Editor.
What’s UUByte ISO Editor?
UUByte ISO Editor is one of the best ISO burning apps on Mac and is specially designed for burning Windows ISO image. You will get a bootable Windows 10 installer is only a couple of minutes by making several mouse clicks. Most importantly, all the technical settings are covered in this app by default. This is super user friendly for users who have no prior experience in this area.
Besides ISO burning, it is also able to extract content from ISO files, create new ISO files and copy ISO images from DVDs.
Create Windows 10 Bootable USB on macOS with UUByte ISO Editor
Requirements:
- Windows 10 ISO file (less than 4.5GB)
- DMG file of UUByte ISO Editor
- 8 GB or above USB flash drive
The first step is to obtain an old version of the Windows 10 ISO image file, which should be less than 4.5GB as we stated above. The reason is that the image file you downloaded from the Microsoft website will be bigger than 5GB and the install.wim file is larger than 4GB so it can not be kept on a FAT32 partition.

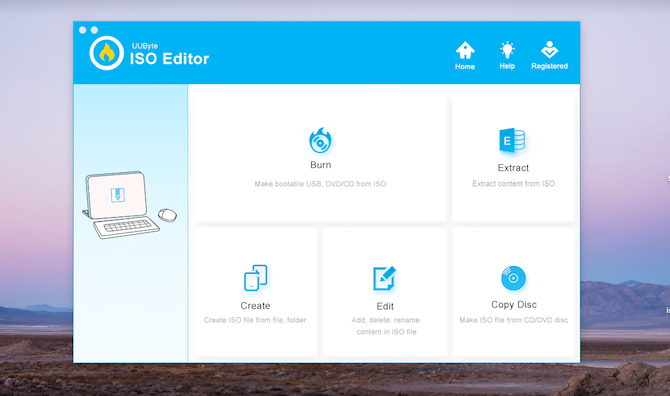
Now, Go to the Products section of the UUByte Official website (uubyte.com) and download the installation dmg file of the UUByte ISO Editor. Then, install UUByte ISO Editor on your Mac and launch the app. You will see the main interface with five tabs. At this time, plug a USB drive into Mac and click the “Burn” button to get into a new window.
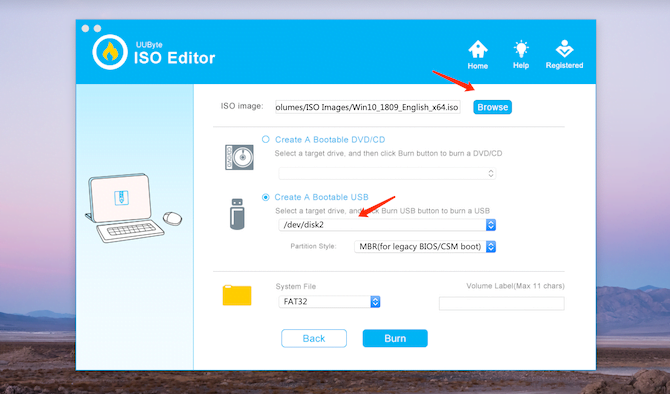
As you can see, there are a couple of fields you have to fill up. First, import Windows 10 ISO into the ISO Editor app and select the USB drive from the list. Leave other settings untouched and click the “Burn” button to start writing Windows 10 ISO to USB. Wait about 2 minutes and a bootable Windows 10 USB is created!
This is the easiest way to make a Windows 10 bootable USB on macOS. There are other possible solutions out there but this one is designed for users with no tech background.
What is BalenEtcher?
What is BalenEtcher? BalenaEtcher (Commonly referred to as just ‘Etcher’) is a free and open-source utility used for writing image files such as .iso and .img files, as well as zipped folders onto storage media to create live SD cards and USB flash drives. It is developed by Balena, and licensed under Apache License Etcher was developed using the Electron framework and supports Windows, macOS, and Linux balenaEtcher was originally called Etcher, but its name was changed on October 29, 2018, when Resin.io changed its name to Balena.
Method #2. Create Windows 10 Bootable USB on macOS
Required files:
First of all for creating a Bootable USB drive for Windows 10 on macOS you need to download the required files that include Windows 10 ISO file and BalenEtcher. If you don’t know how to download Windows 10 ISO file from Microsoft official website then follow the below down instructions.
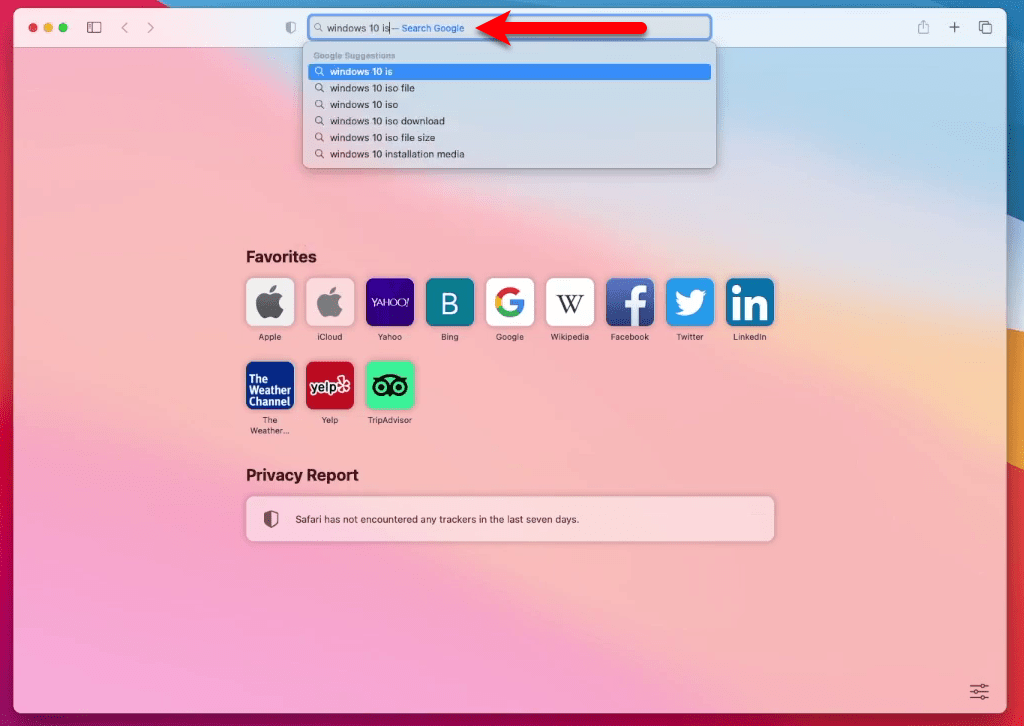
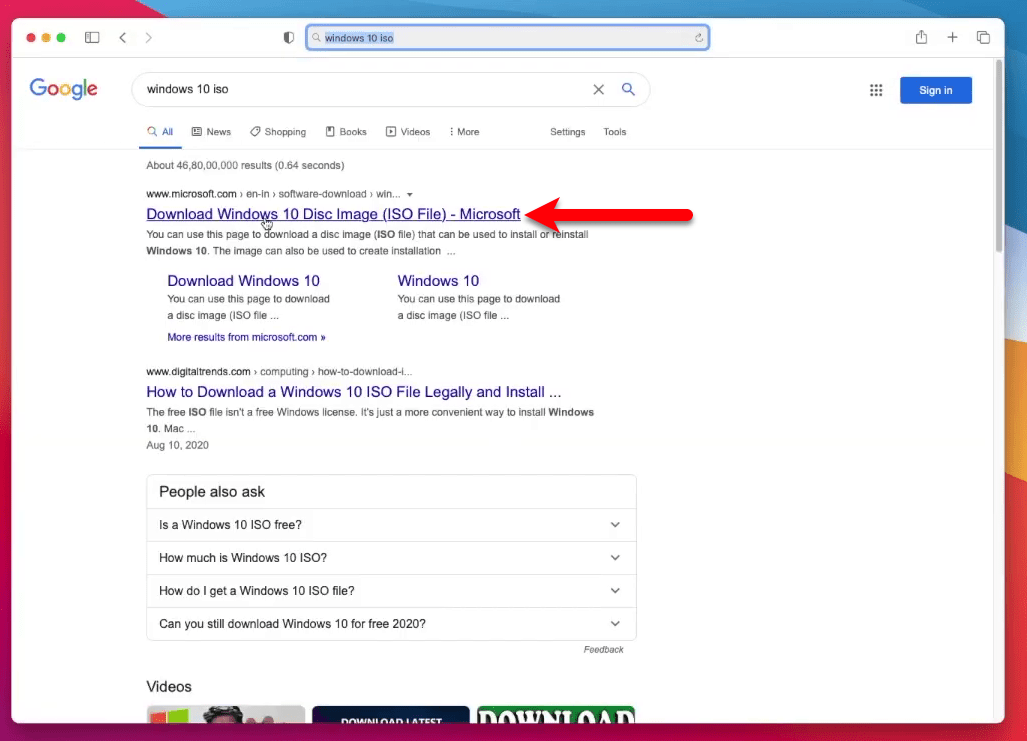
Fire up your Safari browser, once it opened on the search bar tab type Windows 10 ISO and press enter.
When it searched for Windows 10 click on Windows 10 ISO file from Microsoft official website.
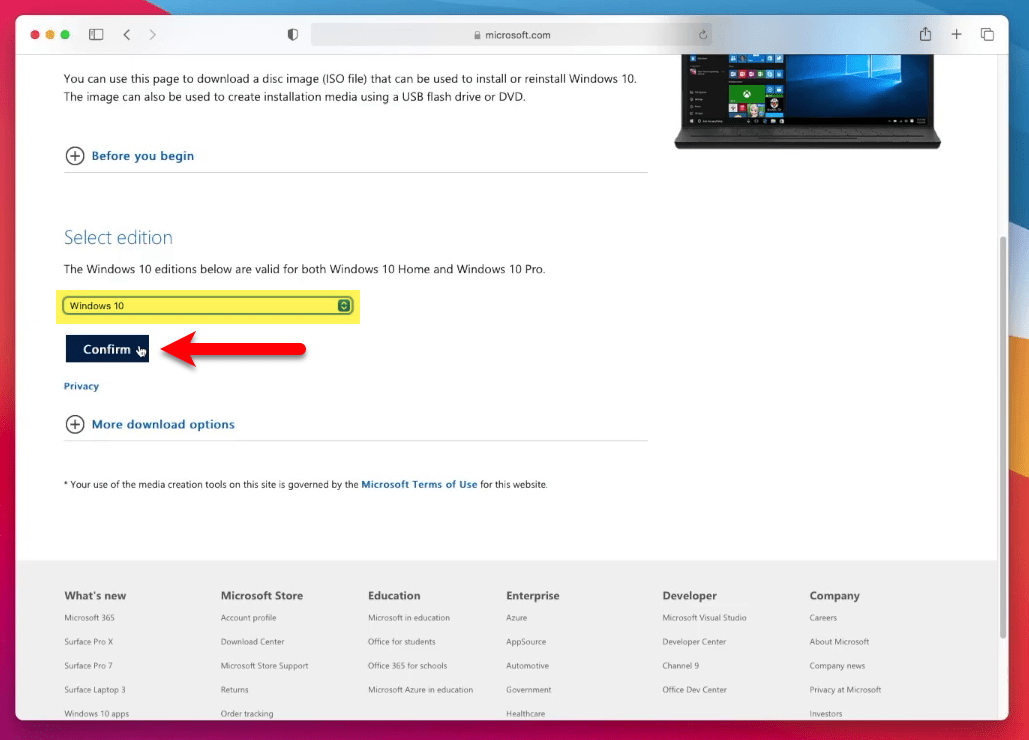
Select the edition of Windows 10, there is two Windows 10 version Home and Windows 10 Pro. When you have selected the version click on confirm.
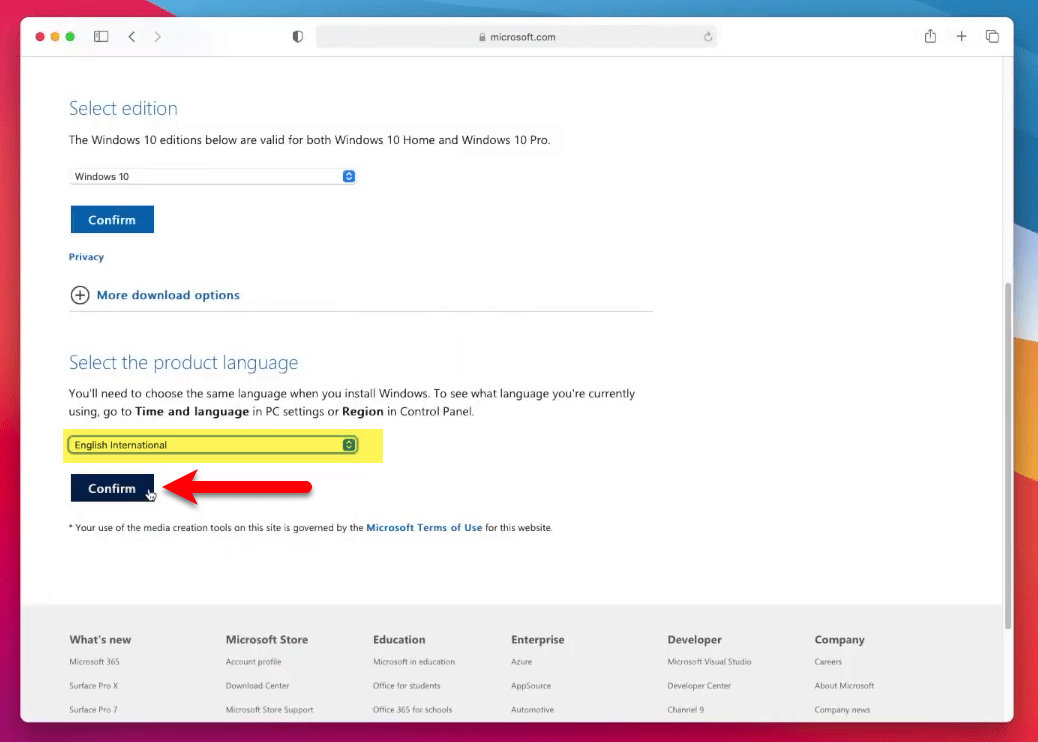
Now select your language while you are installing Windows on your computer, then click on confirm.
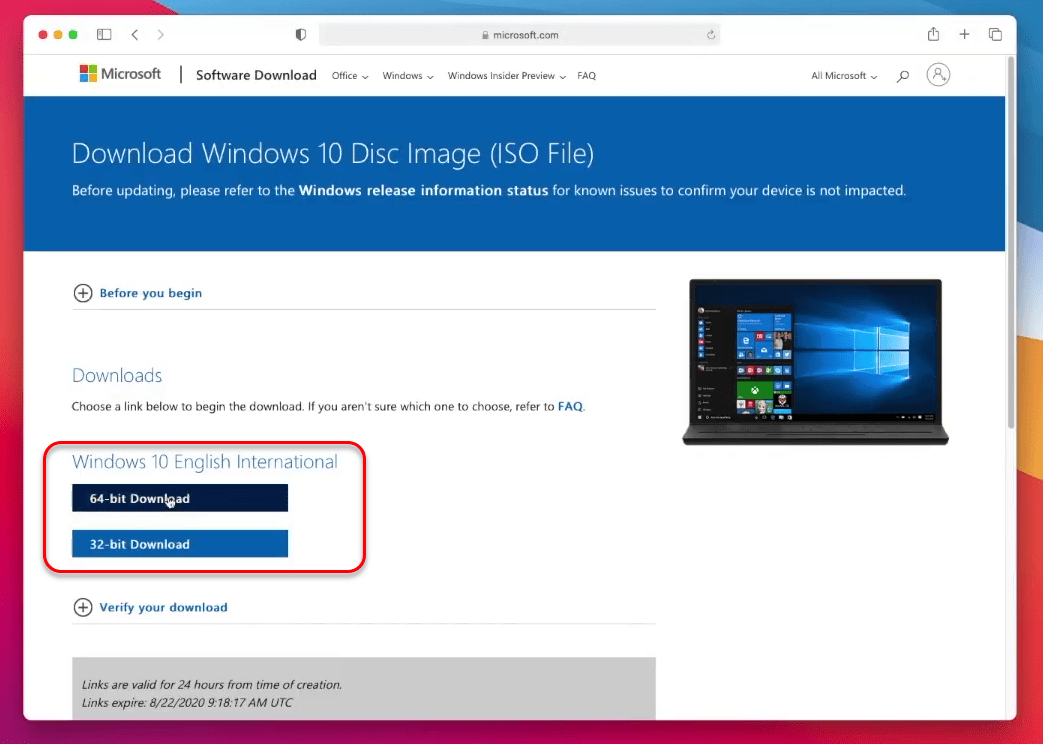
Now here you have to select the version of Windows 10, whether you are installing Windows 10 64-Bit or 32-Bit. So, select the version and click on the Download button. The process of downloading might take some time but it depends on your internet connection.
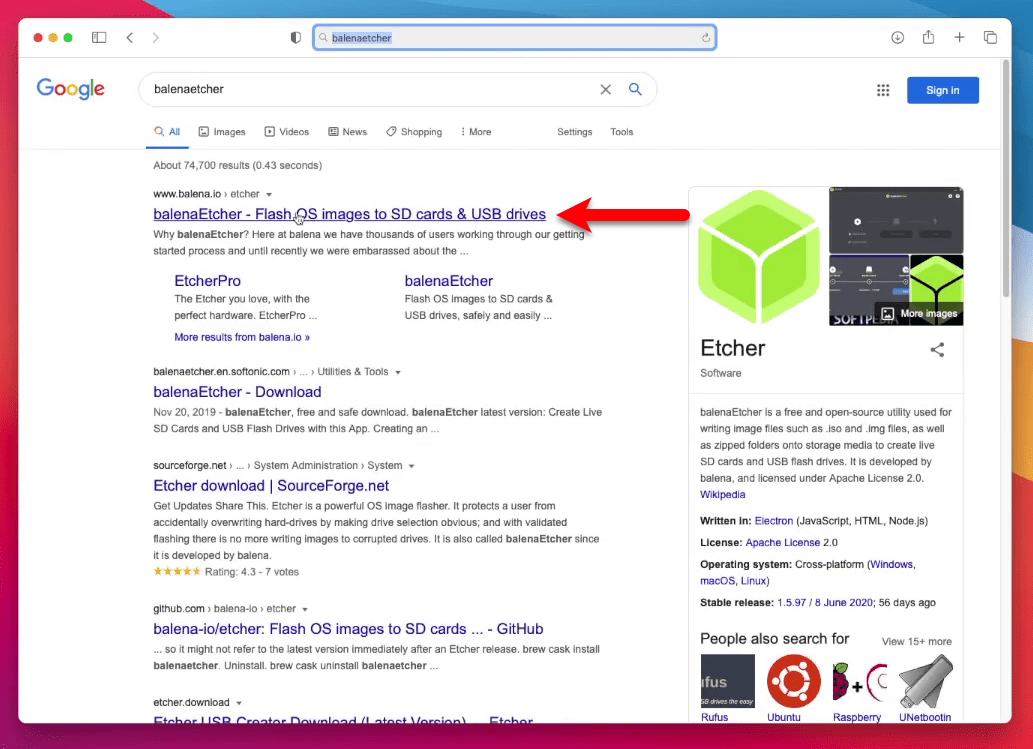
Navigate to the search tab of your browser type “BalenaEtcher” and press enter. When it searched click on its official website.
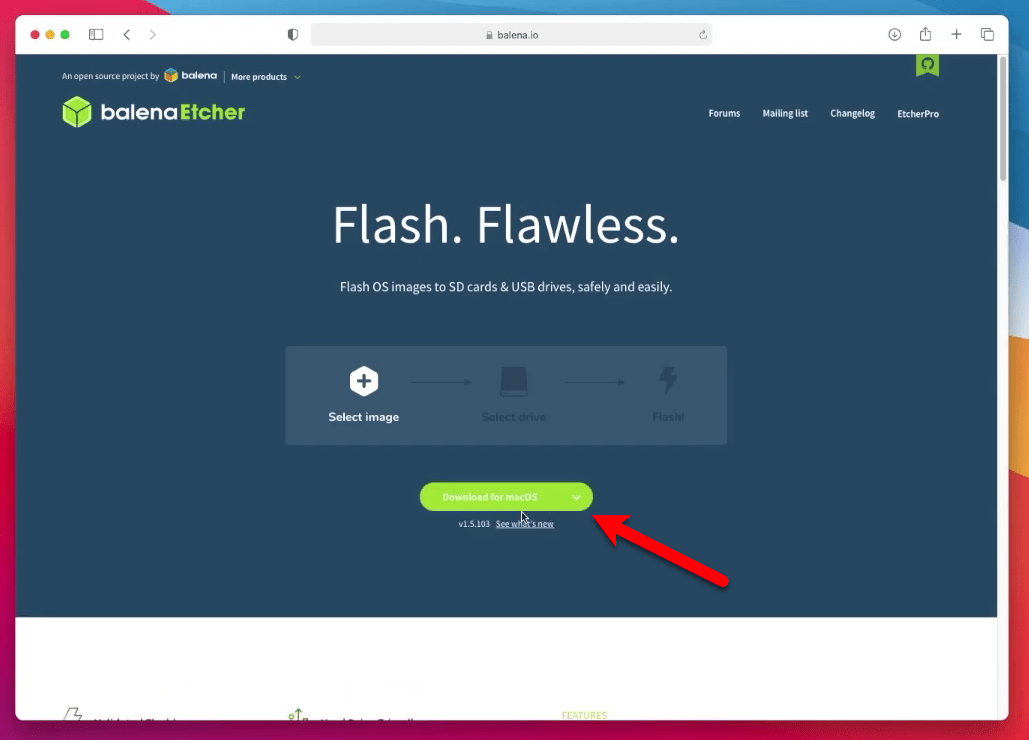
Select BalenEtcher for macOS and hit the download option.
Steps to Create Windows 10 Bootable USB on macOS
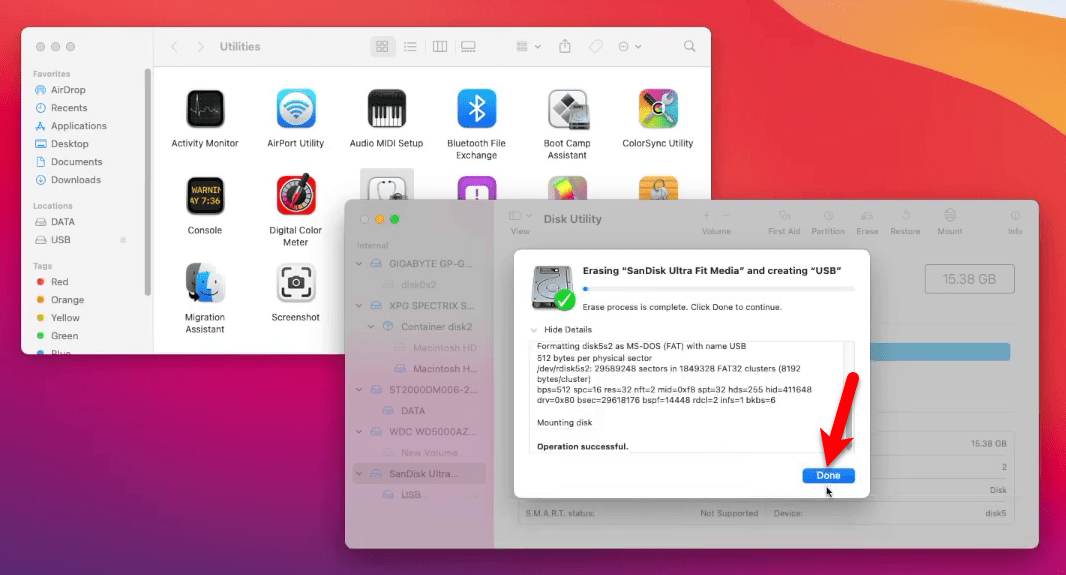
When you have downloaded the required files, attach the 8GB USB flash drive. Before starting the process you need to format the USB drive. So, navigate to the top menu bar and click on Go>Utilites, open the Disk Utility and format the USB flash drive according to the below down settings.
- Name: USB
- Format: MS-DOS (FAT)
- Scheme: GUID Partition Map
When the USB drive formatted, open up the BalenaEtcher application and click on the “Flash from file” option.
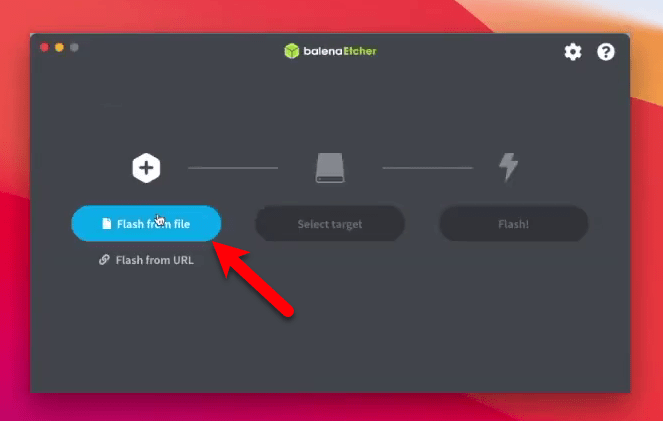
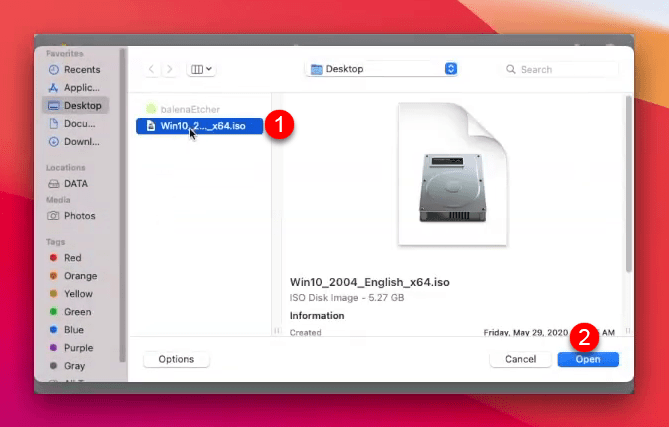
Select Windows 10 ISO file and click open.
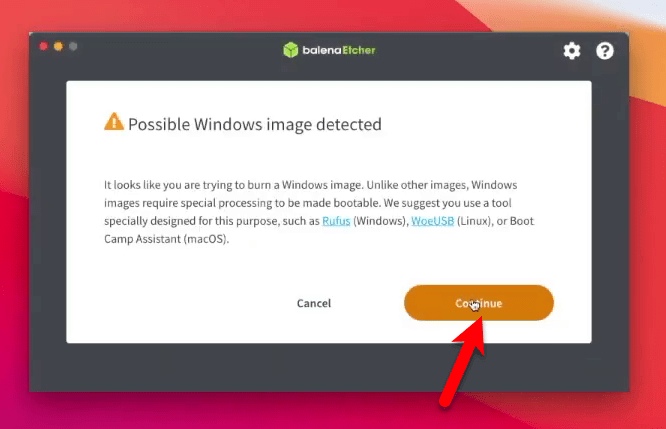
Warning! It looks you are trying to burn a Windows image. Unlike other images, Windows images, require special processing to be made bootable. We suggest you use a tool specially designed for this purpose, such as Rufus (Windows), WoeUSB (Linux), or Boot camp assistant (macOS), Simply click on continue.
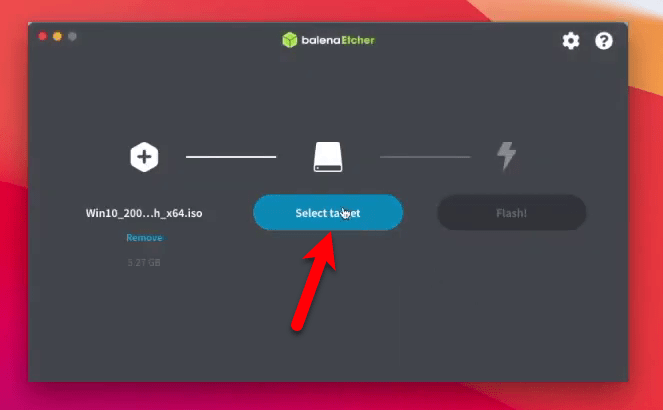
Now click on the “Select a Target” option.
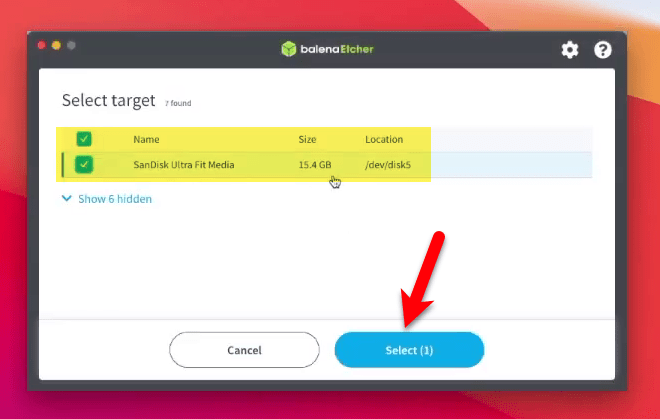
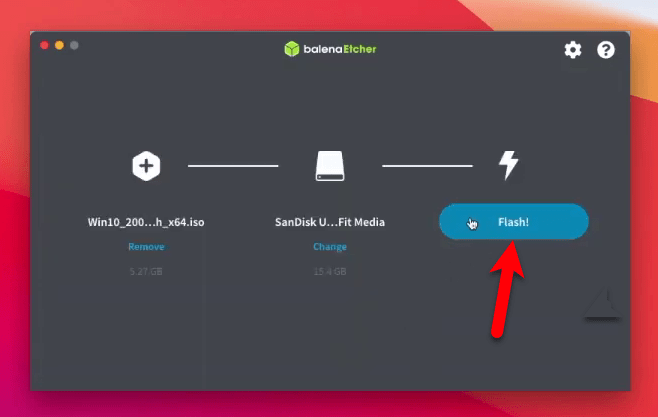
Here you have to select the formatted USB flash drive, where you want to copy the Windows 10 ISO file using BalenaEtcher.
Once you have selected the destination, click on “Flash”.
Now enter your password and press OK.
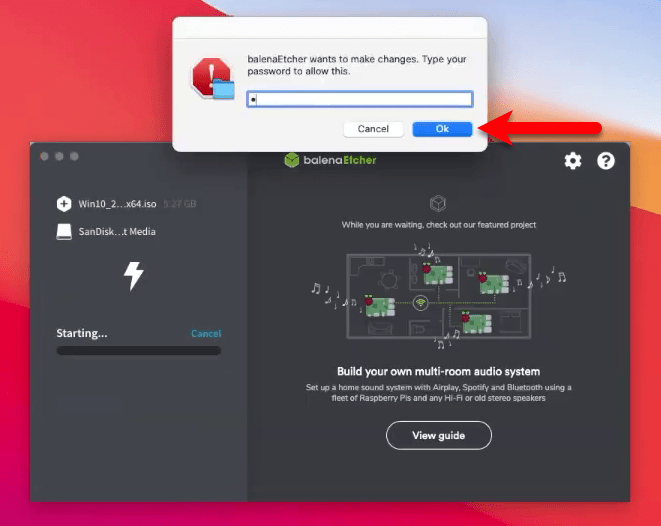
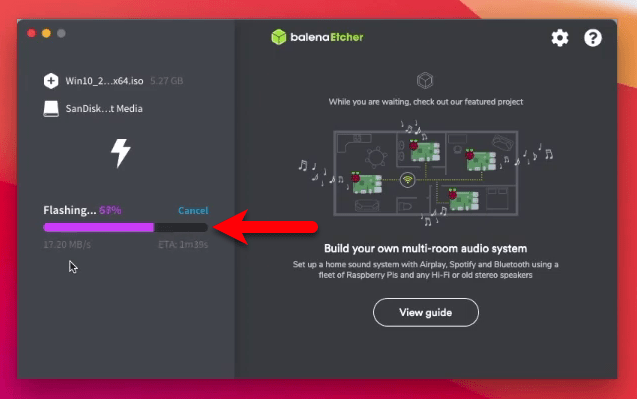
After entering your password it will start copying Windows 10 ISO file to the USB drive.
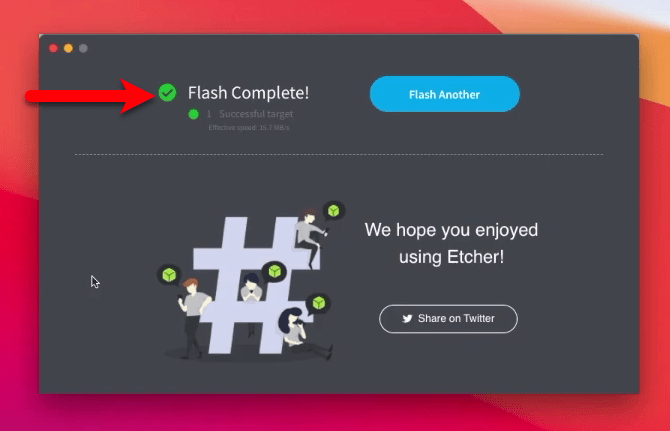
And when the Windows 10 ISO file successfully copied you will see the completion notification on the screen.
That was the process of creating a Windows 10 Bootable USB drive on macOS using BalenaEtcher. The BalenaEtcher is the best option for creating Windows 10 Bootable USB drive on Mac and MacBook. Also, don’t forget to check the below links, how to create macOS Mojave, macOS Catalina, macOS Big Sur Bootable USB drive on macOS, and Windows 10.
- How to Create a Bootable macOS Big Sur USB Installer
- How to Create macOS Big Sur Bootable USB Drive on Windows & Mac
- How to Create macOS Mojave Bootable USB installer Drive on Windows
- How to Create macOS Catalina 10.15 Bootable USB Installer Drive
- Easiest Way to Create macOS Catalina 10.15 Installer USB Drive