In previous articles, we explore the ways of installing macOS Mojave 10.14, macOS Catalina 10.15, macOS Big Sur 11.0 on Virtual Machines. Although, there are Virtual machines such as VMware Workstation/ VMware Player, VMware Fusion, VirtualBox, that offers you the best installation environment on it.
There are lots of articles about how to install Windows 10 on Mac using Boot Camp. Or installing macOS on your Windows PC. But there isn’t an article about how to install macOS Big Sur on VirtualBox on Mac. I think the process of its installation is a bit completed running the two same operating systems on one machine.
macOS Big Sur 11 is one of the biggest operating system that introduced with the included features Control Center, Fastest Safari App, Messages, Maps, Widgets, iPhone and iPad Apps in macOS Big Sur. These all features was introduced in 22nd June, 2020 by Apple Inc at WWDC “Worldwide Developer Conference”. On the other hand, the 2020 Apple Keynote Event gone online, it was one of the successful event in the history of Developers. Also, alongside the macOS Big Sur operating system, Apple introduced the new ARM-Based Silicon Processor, iPadOS 14, Watch OS 14, iOS 14, Mac, MacBooks, and introduced some features of the iPhone 12.
Still, macOS Big Sur and other OS of Apple products are in the Beta version. But thanks to the world of developers that gives us the biggest opportunity that we can test the Beta version on our Windows, and Mac PC.
Later this year in September and October the Apple will release the final version of macOS Big Sur for you in App Store. Because of the enthusiasm of Developers Apple always releases the Beta version in the month of June. In order to have feedback about the Bugs issues, Security Performance, and other interface features problems.
Related:
Install macOS Big Sur on VirtualBox on Mac
macOS Big Sur with those pretty interesting features are compatible with the following Mac and MacBooks. If you are having one of the below Mac or MacBooks, then easily you can install macOS Big Sur without any problem and stuck.
- MacBook: Early 2015 or newer
- MacBook Air: Mid 2013 or newer
- MacBook Pro: Late 2013 or newer
- Mac Mini: Late 2014 or newer
- iMac: Mid 2014 or newer
- iMac Pro
- Mac Pro: Late 2013 or newer
- Developer Transition Kit
– Download macOS Big Sur Installer file
Without not being enrolled to Apple Developer Program website, I think it’s impossible to download the macOS Big Sur installer file. But there are no worries we have done everything very clear for you, to download the macOS Big Sur installer file.
Again if you want to be enrolled with Apple Developer Program then follow the below instructions.
- Firstly go to Apple Developer Program website using your Mac browser Safari.
- Create an account on the Apple Developer website, click on the top bar on the “Discover” option, then select “macOS” and click “Download”.
- When you are logged in to the website, scroll down and click on the “Install” option of macOS Big Sur. After that, it will automatically start downloading the macOS Big Sur installer file.
The next option is to download the Assistant Package or to download macOS Big Sur VMDK File from below down-links. Using the Assistant Package installer you will be able to download macOS Big Sur any version. For installing macOS Big Sur on VirtualBox on Mac you need to download its vmdk file.
The ISO and vmdk file of macOS Big Sur 11.0 is created by our team. Which you can get that from the below download link.
For installing macOS Big Sur on your actual Mac and MacBook you have to download dmg file from the below link.
– Create macOS Big Sur 11.0 ISO file
To install macOS Big Sur 11.0 on VirtualBox on Mac, you have to prepare the vmdk or ISO file from the above links. Because the macOS Big Sur virtual machine image will not come in ISO file from App Store. On the other hand, if you want to create the ISO file then follow the below instructions.
Over ahead, to search spotlight and type terminal and press enter to open, once the terminal opened apply the below commands.
# Create a macOS Big Sur Virtual Disk Image
hdiutil create -o /tmp/bigsur -size 10250m -volname bigsur -layout SPUD -fs HFS+J
# Mount this Image to macOS
hdiutil attach /tmp/bigsur.dmg -noverify -mountpoint /Volumes/bigsur
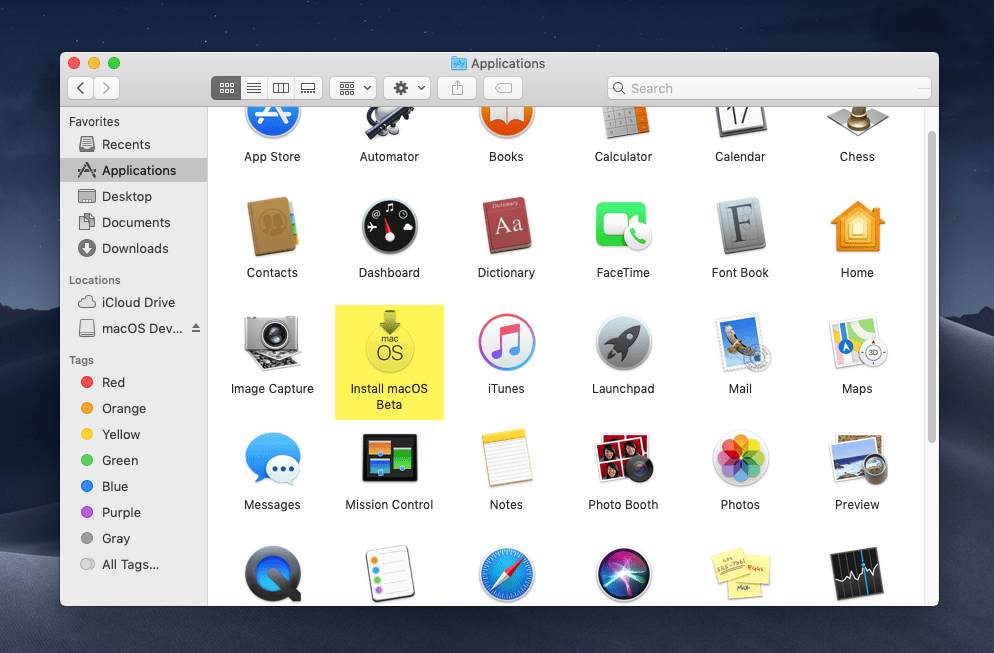
# Use macOS Big Sur Createinstallmedia Tool to create a Installer Image
sudo /Applications/Install\ macOS\ Beta.app/Contents/Resources/createinstallmedia --volume /Volumes/bigsur --nointeraction
# Unmount Volume Install macOS Beta
hdiutil eject -force /Volumes/Install\ macOS\ Beta
# Convert the bigsur.dmg to a bigsur.iso for Virtual Machine
hdiutil convert /tmp/bigsur.dmg -format UDTO -o ~/Desktop/bigsur.cdr
# Move and Rename bigsur Image to Desktop
mv ~/Desktop/bigsur.cdr ~/Desktop/bigsur.isoDownload and Install VirtualBox on your Mac
Once everything is ready for a clean installation of macOS Big Sur on VirtualBox on Mac. Then the first step you need to do is to download and install VirtualBox on your Mac.
- Download VirtualBox Mac version
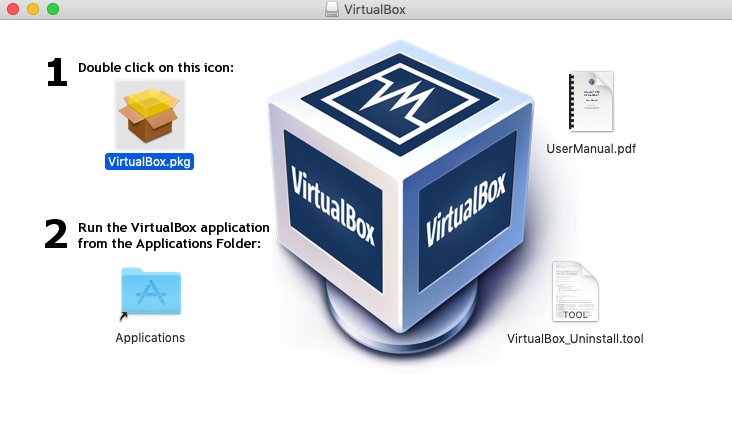
When the VirtualBox dmg file downloaded double-click to extract the file. On the VirtualBox window double-click on “VirtualBox.pkg” to open the installation.
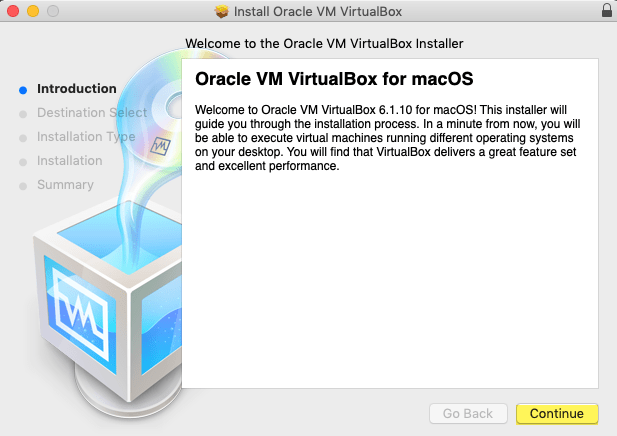
On the welcome window, click continue.
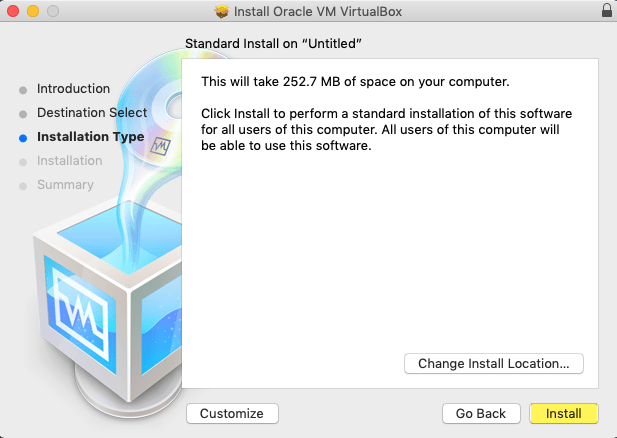
Now click the install button, enter the username password and click “Install Software”.
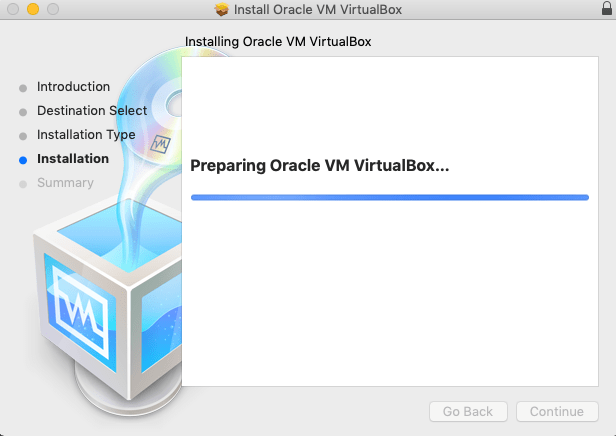
Wait until the VirtualBox should be installed on your Mac. Once the VirtualBox installed click Close.
Create a New Virtual Machine for macOS Big Sur
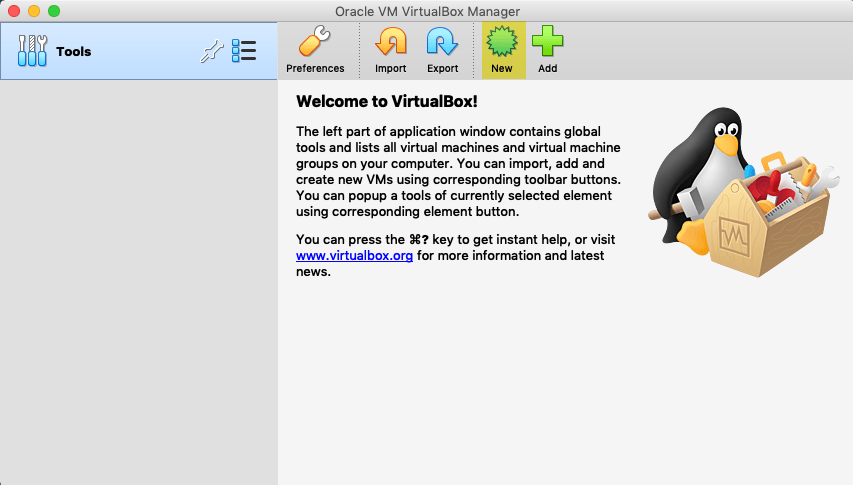
When the ISO and VirtualBox is ready on your Mac, the next thing you have to do is to create a new virtual machine for macOS Big Sur. To do that open up the VirtualBox and click the top menu bar on the “New” option.
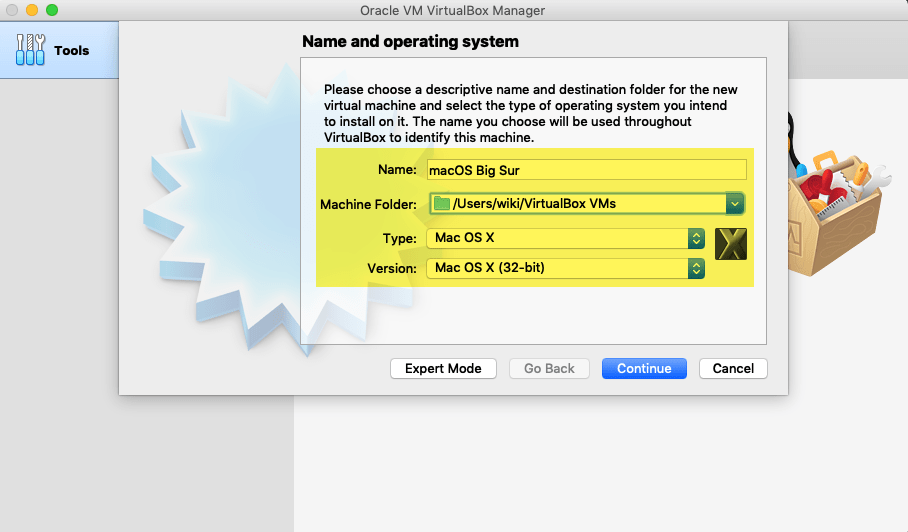
Please choose a descriptive name and destination folder for the new virtual machine and select the type of operating system for intending to install on it.
- Name: macOS Big Sur
- Machine Folder: Usually C Drive
- Type: Mac OS X
- Version: Mac OS X (32-Bit)
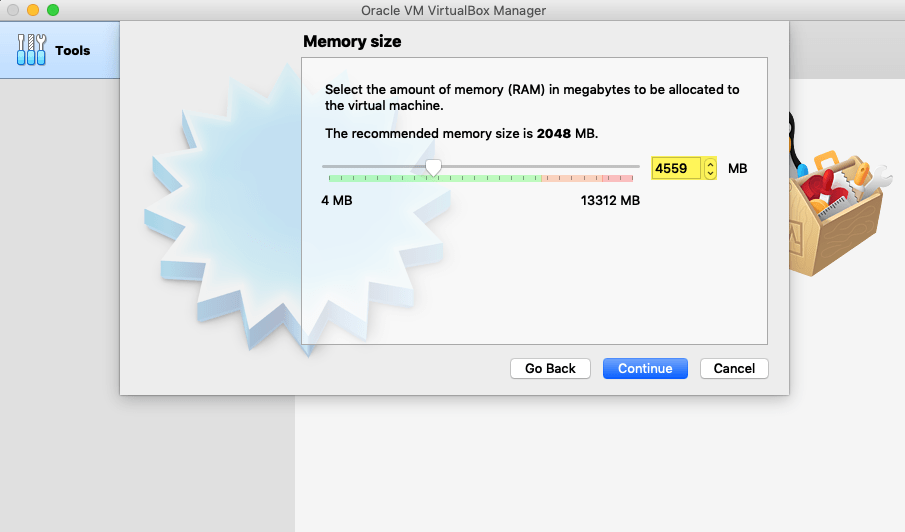
Now increase the memory size for macOS Big Sur on VirtualBox, then click continue.
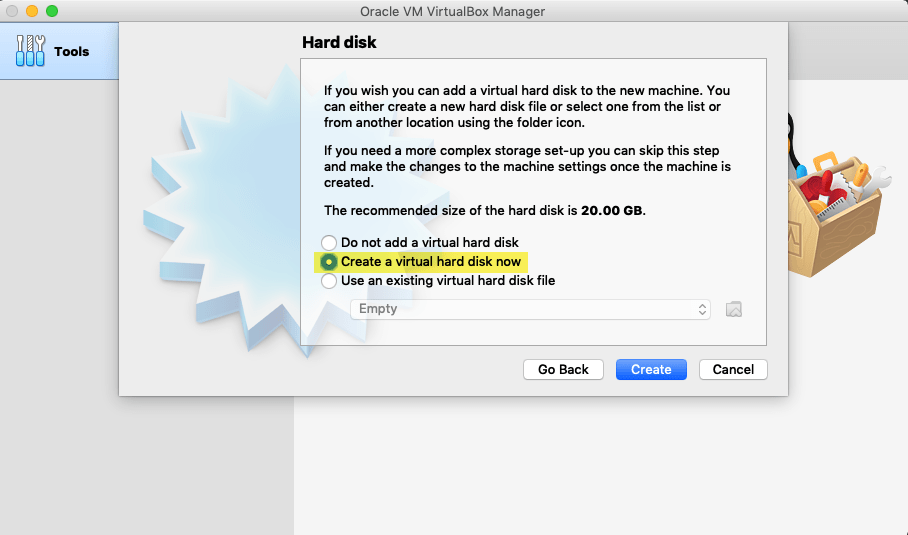
Here select “Create a virtual hard disk now” and click create.
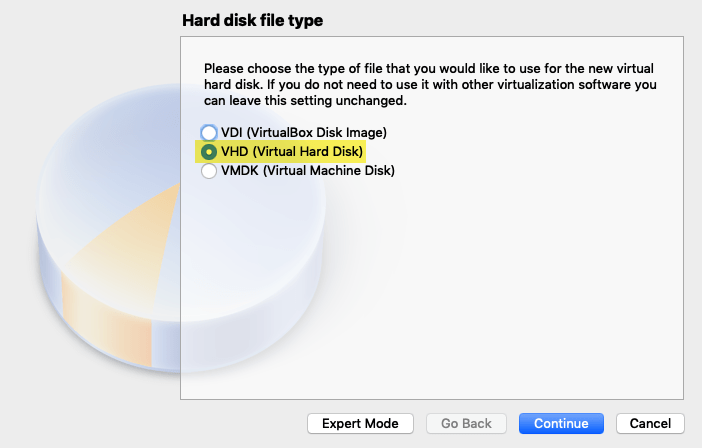
In the hard disk file type select the “VHD (Virtual Hard Disk)” option and click continue.
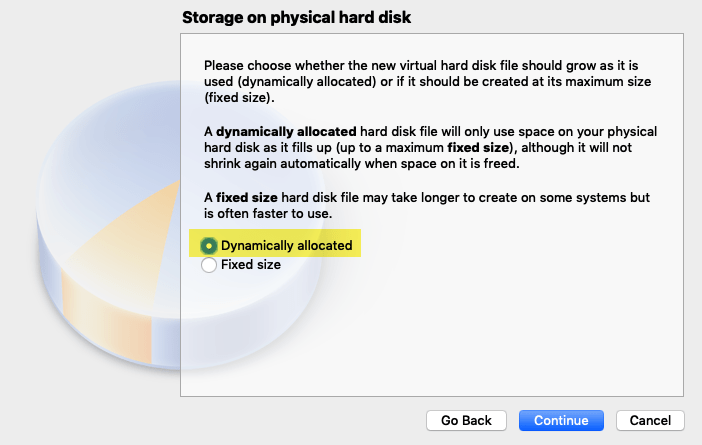
Select the “Dynamically allocated” option for storage on the physical hard disk and click continue.
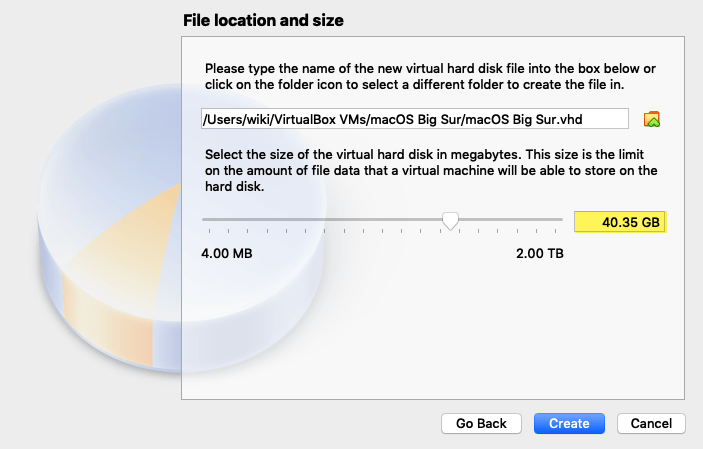
Specify the file location for macOS Big Sur, then increase the hard disk size and click continue.
Edit Virtual Machine Settings
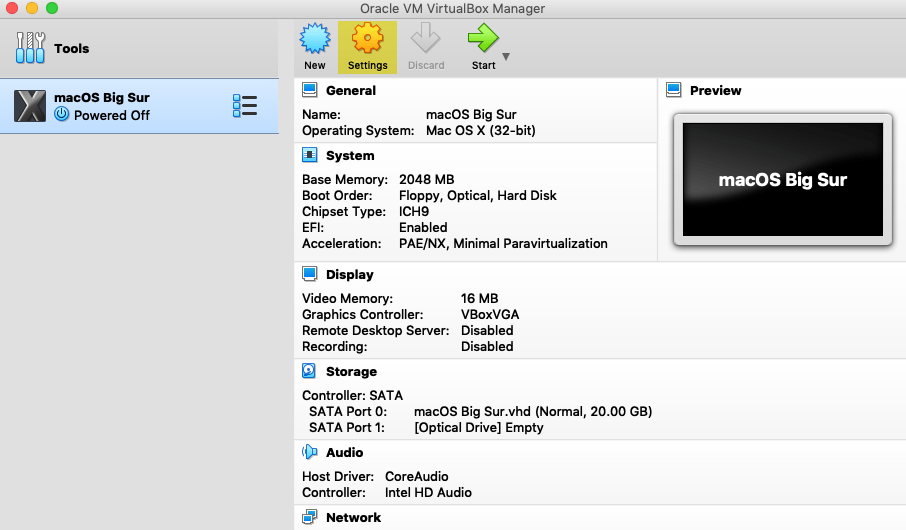
For performing a perfect macOS Big Sur installation on VirtualBox you need to edit some BIOS settings. To edit the settings select the macOS Big Sur created virtual machine and click on Settings.
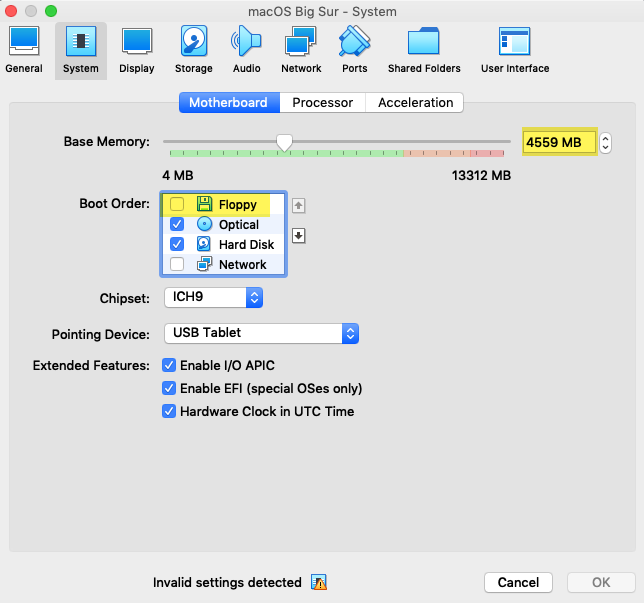
Once the settings window opened, select the “System” tab then uncheck the “Floppy disk”.
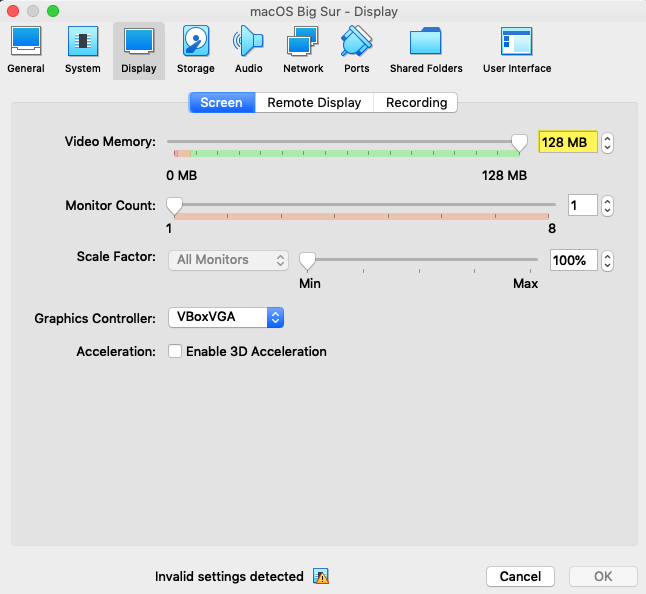
Select the “Display” tab and increase the Video Memory size up to 128MB.
Now select the “Storage” tab, click on “Empty”, click on “disk icon”, then click on “Choose/Create a virtual disk optical” option.
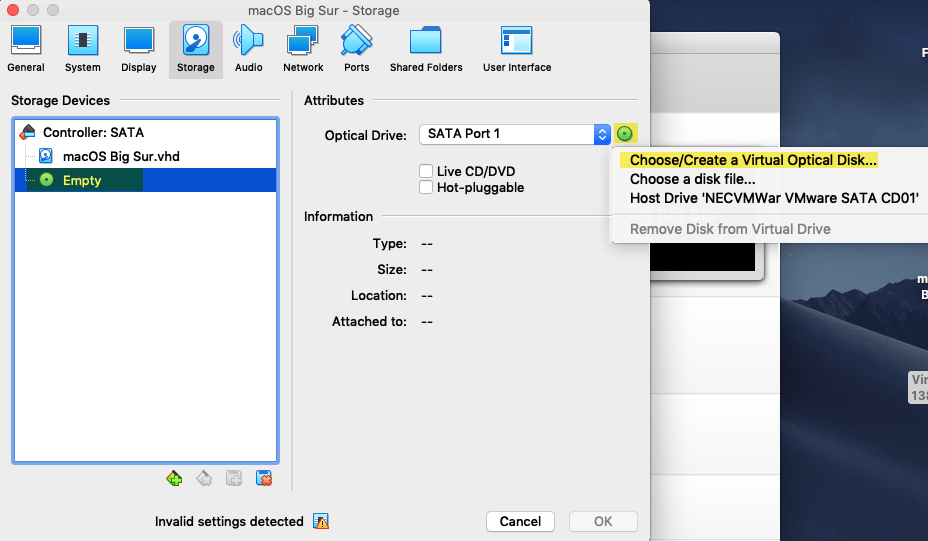
Once the other window opened click on the “Add” option, then navigate to macOS Big Sur ISO or vmdk file and click “Open”.
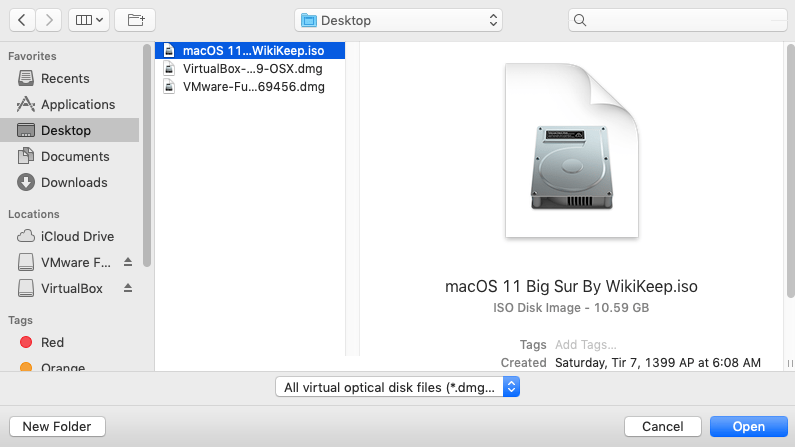
Here macOS Big Sur virtual machine image is inserted, click “Choose” and click OK to save changes.

Start installing macOS Big Sur on VirtualBox
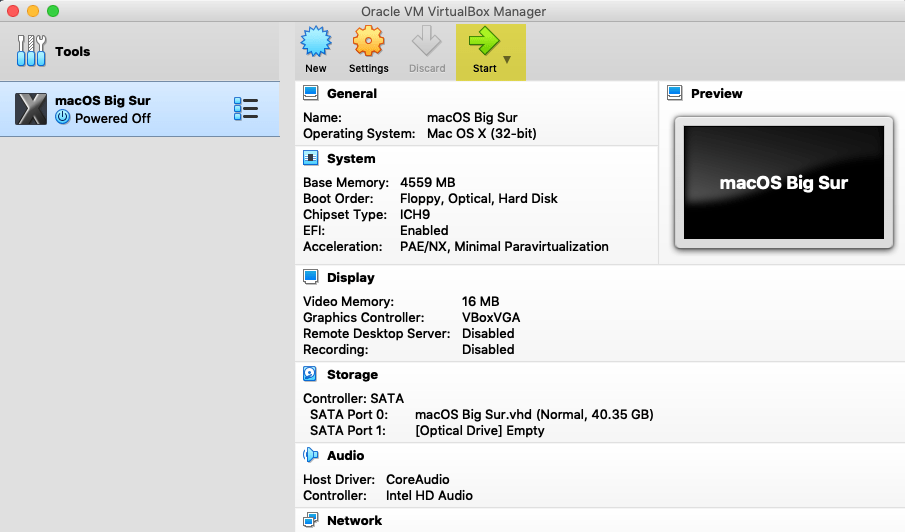
Once everything performed clearly then let’s start installing macOS Big Sur on VirtualBox on Mac. Select the macOS Big Sur created virtual machine and click on the Start button.
- Wait for the Apple logo to go-ahead.
- Select your language and click on the continue option.
- Select “Disk Utility” and click continue.
- Now select the disk from left-handed and click on the “Erase” button. Enter a name, Format: Mac OS X Extended (journaled), Scheme: GUID Partition Map, and click “Erase”.
- When the disk erased click Done and close the Disk Utility window.
- Choose Install macOS and click continue.
- To set up the installation click continue.
- Agree with the terms and conditions of macOS Big Sur.
- Select the disk where you want to install macOS Big Sur.
- Wait for the installation of macOS Big Sur.
Fix “BiErrorDomain error 3.” on VirtualBox
Might be you should face the above error while installing macOS on VirtualBox. To bypass the error check the below link.
- Once the macOS Big Sur installation completed select your language and click continue.
- Select your written and spoken language and click continue.
- On the Accessibility window click continue.
- On the Data & Privacy click continue.
- Sign in with your Apple ID and click continue.
- Agree with the terms and conditions of macOS Big Sur and click continue.
- Create a computer account
- In the Express set up window click continue.
- On the Analytics window click continue.
- Select sign up later in the screen time window.
- Disable or Enable Siri for macOS Big Sur.
- Choose light, Dark, an Auto mode for macOS Big Sur.
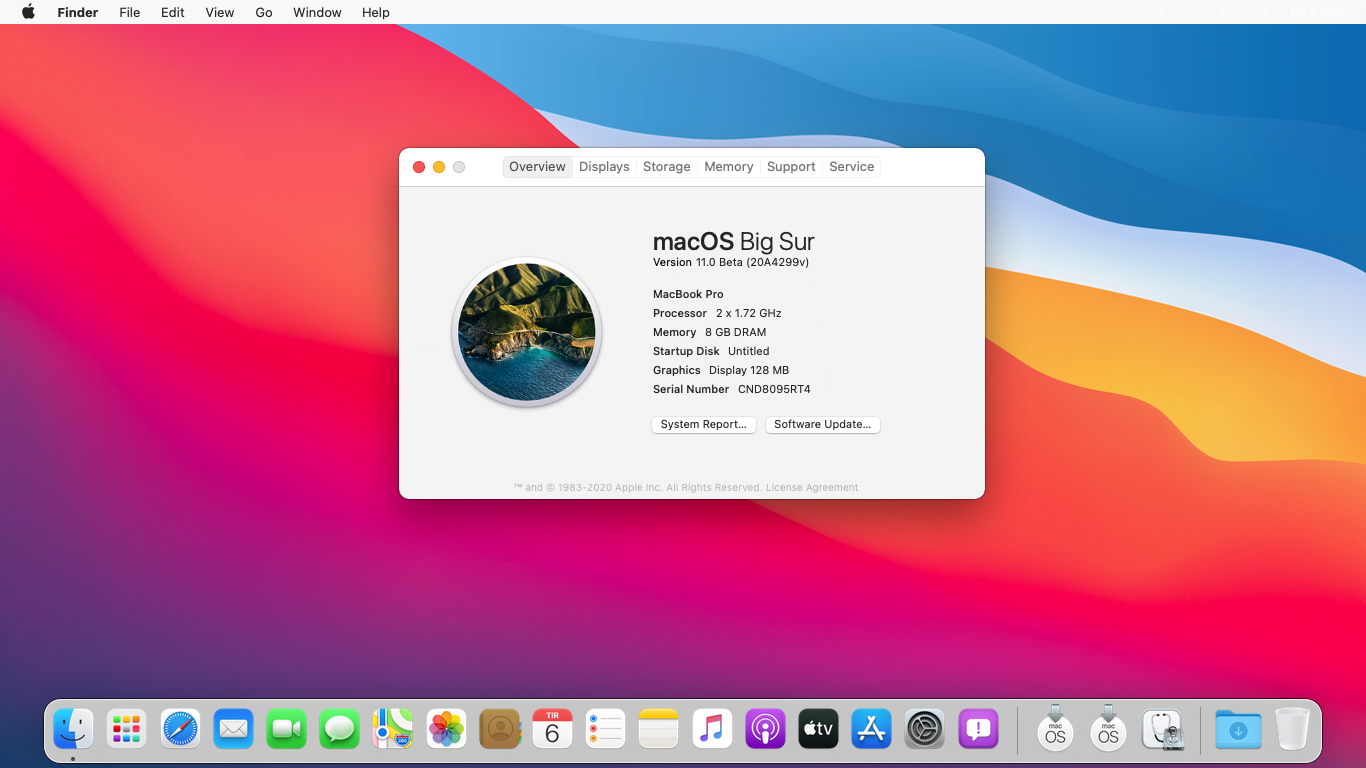
- And Finally, macOS Big Sur has been installed on VMware Fusion on Mac.
To install macOS Big Sur on VMware & VirtualBox on Windows PC, check the below links down. All the stuff is ready for you in two different articles.
I really don’t understand what did you try to with your commands
# Create a macOS Big Sur Virtual Disk Image
hdiutil create -o /tmp/bigsur -size 10250m -volname bigsur -layout SPUD -fs HFS+J
—————————————————————————————————————————————
# Mount this Image to macOS
hdiutil attach /tmp/bigsur.dmg -noverify -mountpoint /Volumes/bigsur
# Use macOS Big Sur Createinstallmedia Tool to create a Installer Image
sudo Contents/Resources/createinstallmedia –volume /Volumes/bigsur –nointeraction
# Unmount Volume Install macOS Beta
hdiutil eject -force /Volumes/Install\ macOS\ Beta
# Convert the bigsur.dmg to a bigsur.iso for Virtual Machine
————————————————————————————————————————————-
hdiutil convert /tmp/bigsur.dmg -format UDTO -o ~/Desktop/bigsur.cdr
# Move and Rename bigsur Image to Desktop
mv ~/Desktop/bigsur.cdr ~/Desktop/bigsur.iso
you created .dmg in directory tmp
and finally used that .dmg to create car then iso
what mount/eject/unmount then?
Using the following commands will help you to create a macOS big Sur ISO file, which we use for installing it on VMware or VirtualBox, check the link to learn the complete guide thanks.
https://wikikeep.com/how-to-create-macos-big-sur-iso-image-for-vmware-virtualbox/