Apple redesigned macOS Big Sur with a redesigned interface and new features, including widgets, Control Center, and many more. The update of macOS Big Sur brings lots of changes that were not mentioned in WWDC 2020. Such as a system capable of installing software updates faster in the background of macOS.
The macOS Big Sur users are unable now to use their Mac during the update process. The update process may take up to an hour, on the other hand, the installation of the update will be installed during the boot of Mac.
Apple mentioned the process of faster updates installation in the background of macOS Big Sur on Mac. Once the macOS Big Sur installed on your Mac PC. Then the Softwares updates will be run in the background for being faster than before.
Those points weren’t introduced by Apple Inc during the WWDC “Worldwide Developer Conference” 2020. I got that important to mention in this content.
For installing macOS Big Sur on VMware & VirtualBox you need to prepare it’s ISO image file. The process of creating a macOS Big Sur ISO file is pretty much easy and interesting on your actual Mac machine. Also, you can create this process on virtual machines too, just need to install any of the following macOS High Sierra, macOS Mojave 10.14, macOS Catalina 10.15 on the virtual machines.
- How to Install macOS 11 Big Sur on VMware on Windows PC
- How to Install macOS 11 Big Sur on VirtualBox on Windows PC
Create macOS Big Sur ISO Image for VMware & VirtualBox
For downloading the macOS Big Sur installer file you need to be enrolled with the Apple Developer Program website that costs the amount of $100. If you are already a part of Apple Developer then over ahead to macOS Big Sur and download from there.
And if you are not a part of Apple Developer then download the macOS Big Sur Assistant Package installer from the below link.
- Download macOS Big Sur Assistant Package Installer
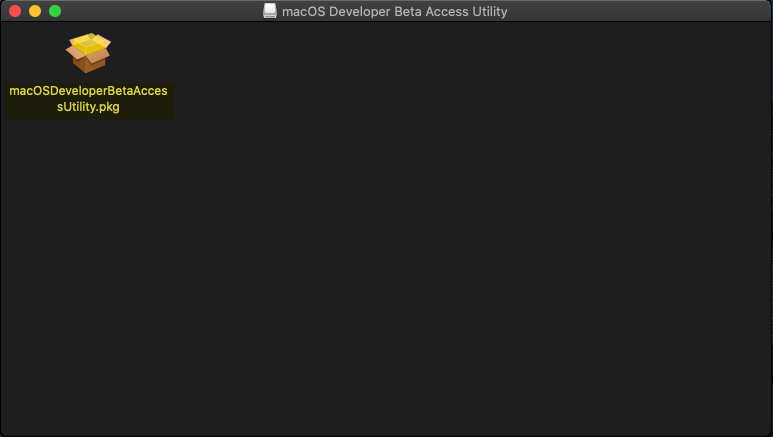
When you have downloaded the Assistant Package installer. Extract its dmg file into your desktop and open the installation. On the “macOSDeveloperBetaAcessUtility” double-click on “macOSDeveloperBetaAccessUility.pkg” to open the installation.
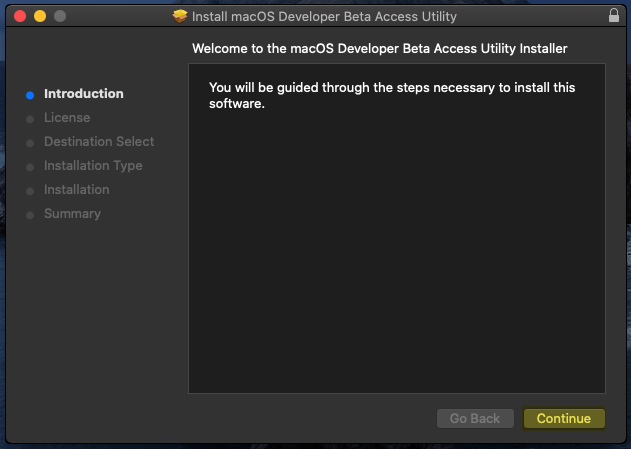
In the introduction window click continue, agree with terms and conditions, click Install enter your username password, and click install software.
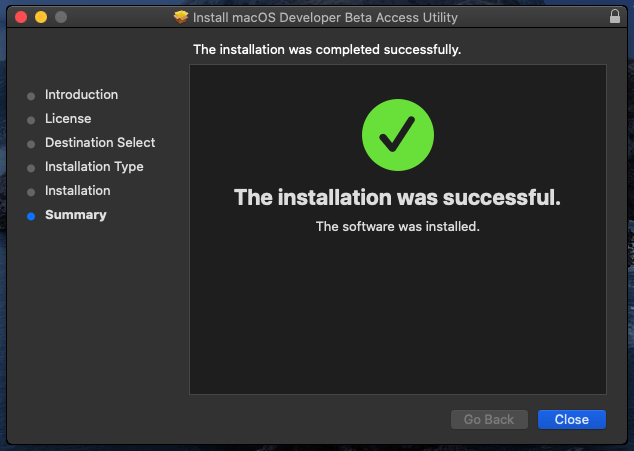
Once the installation completed click close
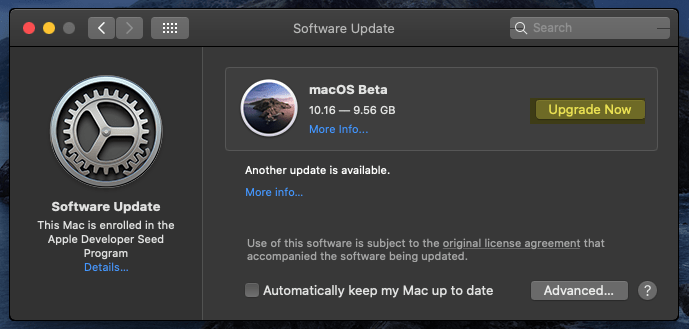
When you closed the Package window, automatically it will start searching for macOS Big Sur. When the search completed click on the “Upgrade Now” option.
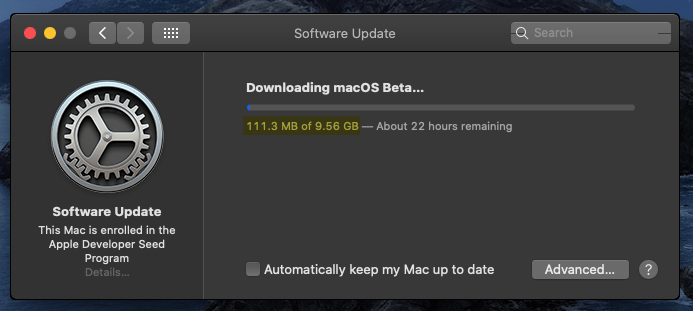
Wait until macOS Big Sur should be downloaded, the process of downloading will take some time. Also, it depends on your internet connection.
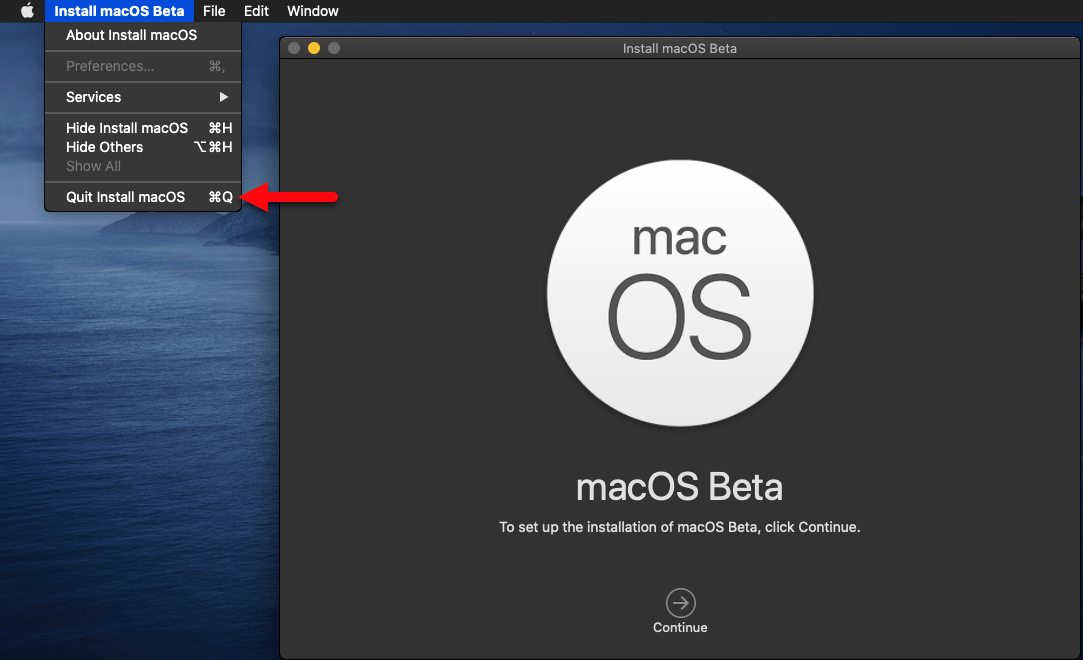
When the macOS Big Sur Beta downloaded, the installation window will pop-up. Navigate to the left-handed corner of the window and click on “Install macOS Beta” then click on “Quit install macOS”. To use the shortcut key press command+Q to close the installation.
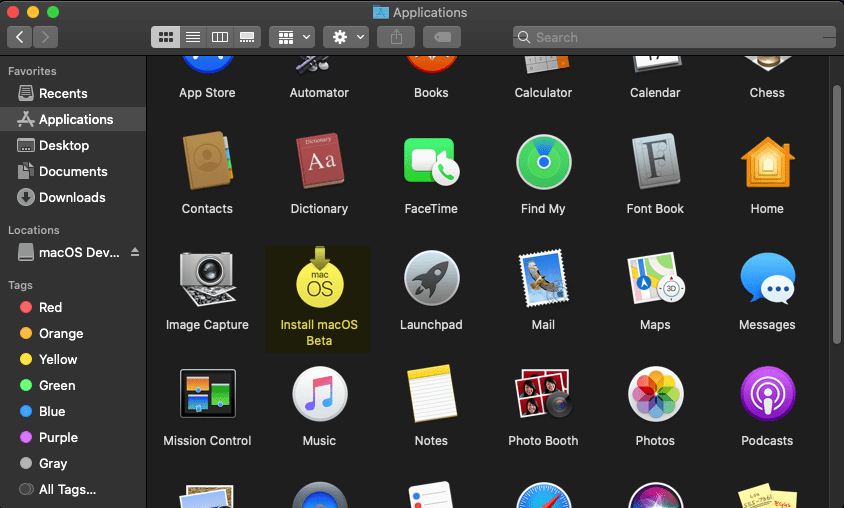
Now navigate to the Applications folder and check there that the “Install macOS Beta” file exists there. If the macOS Big Sur Beta file doesn’t exist in the Applications folder then find out and move it to the Applications folder.
To create a macOS Big Sur ISO image file for VMware & VirtualBox. Over ahead to search spotlight type terminal and press enter to open. When the terminal opened, apply the below commands step by step to the terminal window.
# Create a macOS Big Sur Virtual Disk Image
hdiutil create -o /tmp/bigsur -size 10250m -volname bigsur -layout SPUD -fs HFS+J
# Mount this Image to macOS
hdiutil attach /tmp/bigsur.dmg -noverify -mountpoint /Volumes/bigsur
# Use macOS Big Sur Createinstallmedia Tool to create a Installer Image
sudo /Applications/Install\ macOS\ Beta.app/Contents/Resources/createinstallmedia --volume /Volumes/bigsur --nointeraction
# Unmount Volume Install macOS Beta
hdiutil eject -force /Volumes/Install\ macOS\ Beta
# Convert the bigsur.dmg to a bigsur.iso for Virtual Machine
hdiutil convert /tmp/bigsur.dmg -format UDTO -o ~/Desktop/bigsur.cdr
# Move and Rename bigsur Image to Desktop
mv ~/Desktop/bigsur.cdr ~/Desktop/bigsur.iso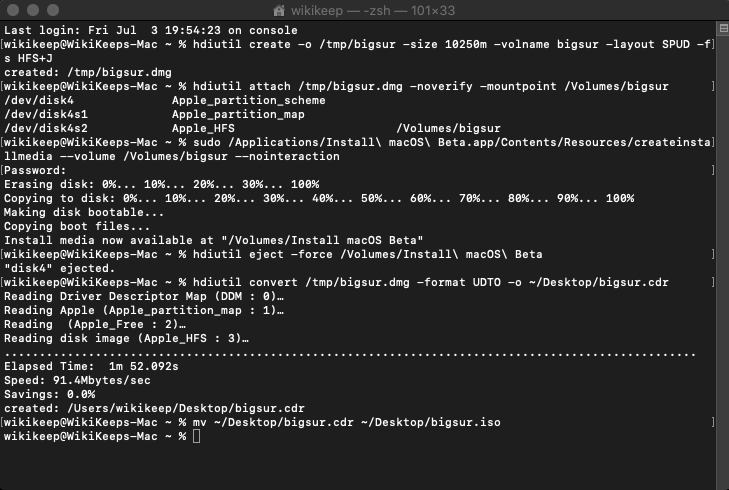
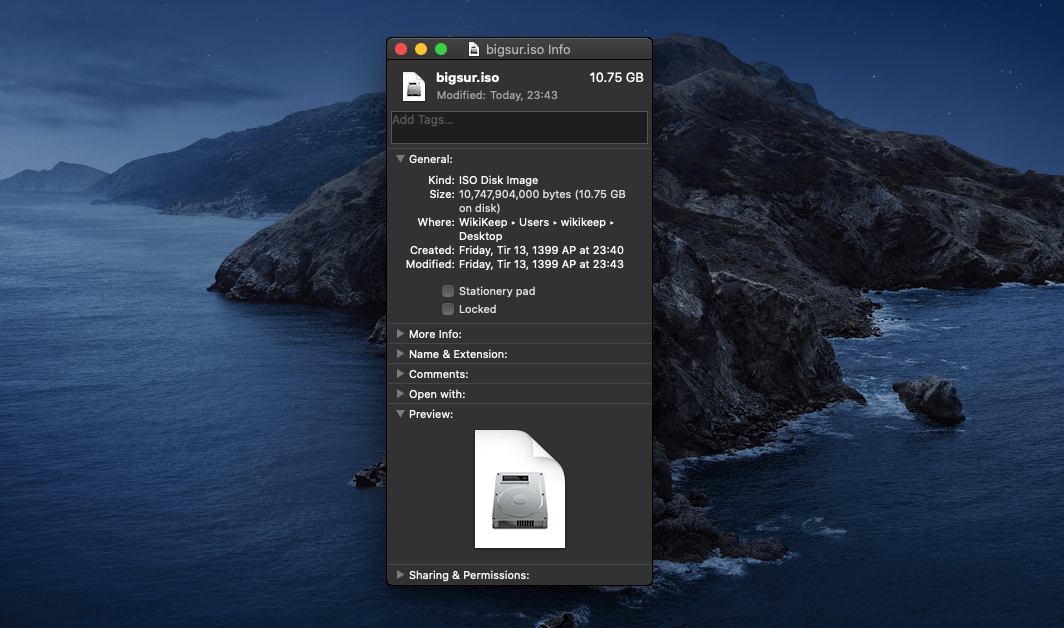
When the commands applied to the terminal for creating a macOS Big Sur ISO image file. Then the ISO file will appear in your desktop window. Below you can check the ISO screenshot.
If you faced any kind of problem regarding creating an ISO file of macOS Big Sur. Use the below comment section for the solution. Remember that your feedback can be a big support for our website.
Can we make it in virtual machine??