After macOS Mojave 10.14 Apple released the latest operating system for Macintosh computers called macOS Catalina 10.15. At the WWDC Worldwide Developer Conference Apple 2019 Keynote in June, macOS Catalina brought unlimited features to the OS. Till the end of the year, Apple kicked out the final version of the macOS Catalina operating system for Mac users. Its year 2020 still Apple is working on the latest update of macOS Catalina.
With the release date of macOS Big Sur 11.0, Apple revealed the latest update of macOS Catalina that called its version 10.15.6. Remember that keeping up to date your computer is much important because with every release many issues will be fixed. As in macOS Catalina 10.15.5 update, Apple brought the update to Battery health management features for MacBooks. Including new option to run off the Zoom in FaceTime Chats.
macOS is only can support by Mac, MacBooks, and Macintosh PC’s. But there is a piece of the best platform called virtualization that allows the users to install macOS products on that. Like there is VMware Workstation, VirtualBox, and Hyper-V. These platforms allow you to have a clean installation of macOS Catalina, or macOS Big Sur.
- How to Install macOS Catalina 10.15 on VMware on Windows PC
- How to Install macOS Catalina 10.15 on VirtualBox on Windows PC
However, through this guide, I want to explore the method to install macOS Catalina 10.15 on Laptop. Its good news that now the Intel-based processors also can support the macOS operating system without using Boot camp assistant or any other thing. On the other hand, if you have consisted of the following computers like HP, Dell, Lenovo, Asus, Acer, Surface Pro, then using the following guide you can have a clean installation of a macOS operating system on that.
The installation might be complicated for you because you will install a macOS product for the first time on the Intel processor. Don’t forget to check the following Macs and MacBooks that are compatible with macOS Catalina 10.15
- MacBook (2015 or newer)
- MacBook Air (2012 or newer)
- MacBook Pro (2012 or newer)
- Mac mini (2012 or newer)
- iMac (2012 or newer)
- iMac Pro (2017 or newer)
- Mac Pro (2013 or newer)
Install macOS Catalina 10.15 on Laptop
When it comes to the laptop its a bit complex because every laptop has its individual hardware configuration. Therefore, all the fixes drivers are separately different from each other. Mostly, the below down fixes files contain all the drivers which can work for your laptop.
Download required files:
- Download Audio Fix
- Download Ethernet Fix
- Download Battery Fix
- Download Trackpad Fix
- Download Brightness Fix
- Download ACPI sets
- Download Postinstall Folder
- Download Pre EFI folder
- Download Clover Configurator
- Download macOS Catalina 10.15 Installer file
- 16GB USB Flash drive
Attention! Before installing make sure about your Hardware compatibility like CPU, Graphic Card, Motherboard, WiFi, and Other Hardware.
Step 1. Create Bootable USB Drive
For creating macOS Catalina 10.15 USB flash drive firstly you have to download the installer file, which can be downloaded from Mac App Store. When the installer file downloaded the macOS Catalina installer automatically transferred to the Application folder.
You can follow the below links to create a macOS Catalina Bootable USB drive.
- How to Create macOS Catalina 10.15 Bootable USB Installer Drive
- Easiest Way to Create macOS Catalina 10.15 Installer USB Drive
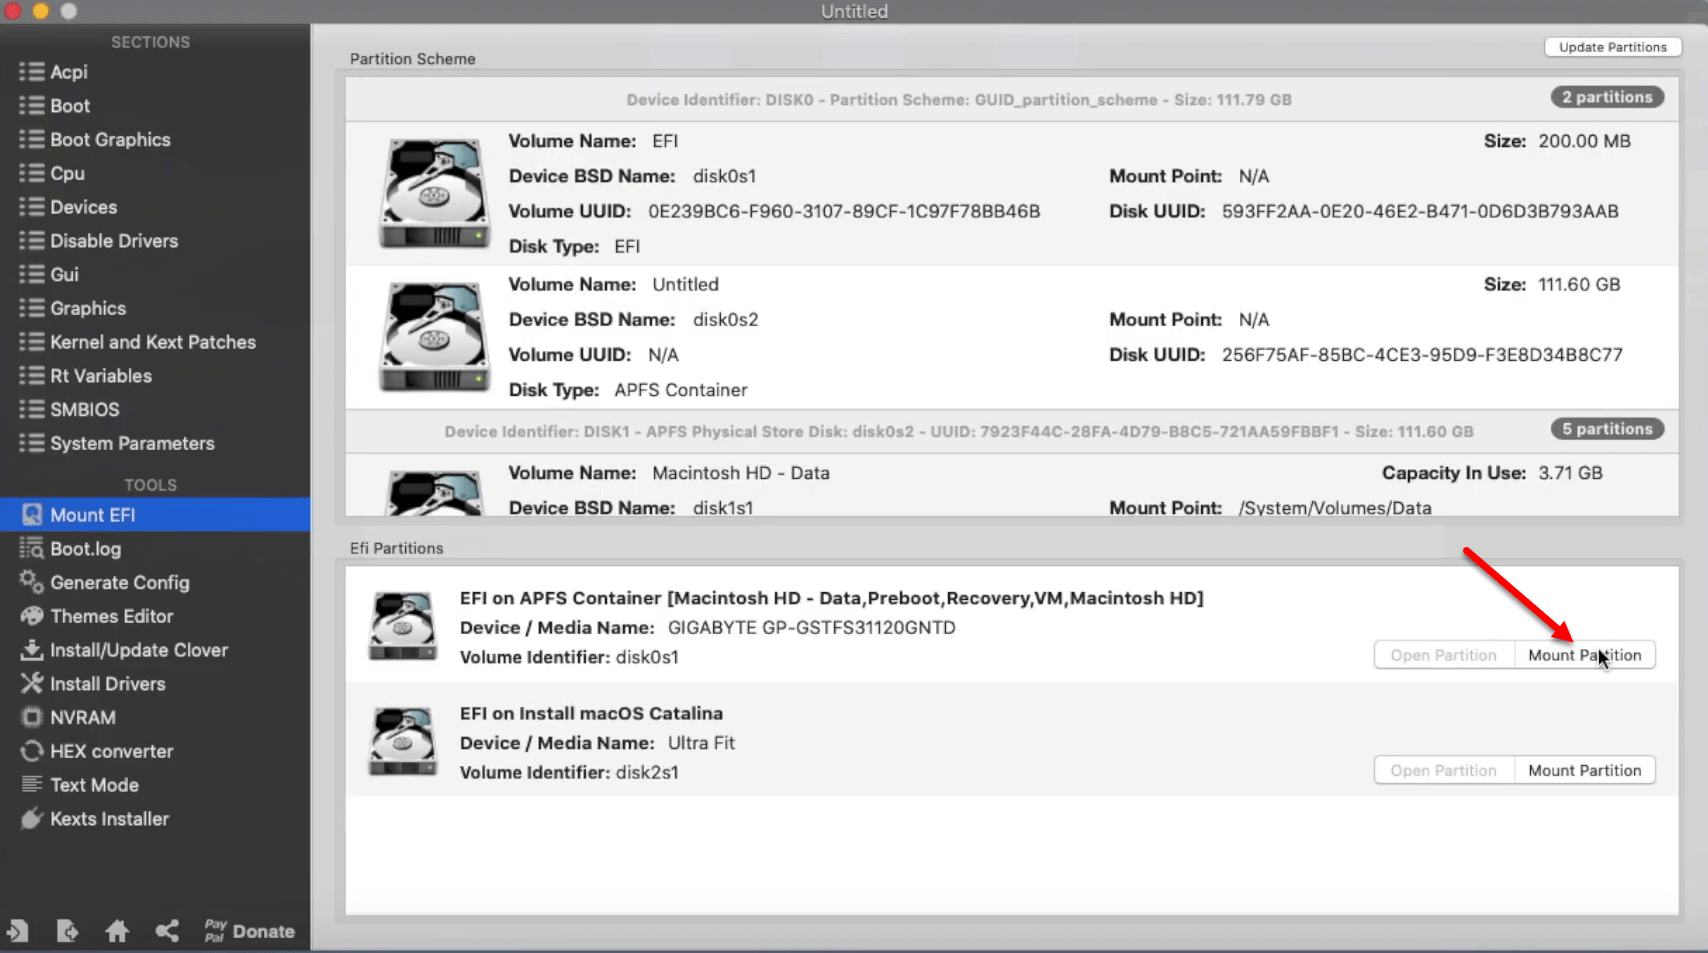
Attach another USB flash drive for the Post-install and the EFI files. Then open the Clover Configurator, when the clover configurator opened click on “Mount EFI” and click on “Mount the Partition” enter your username password and click OK.
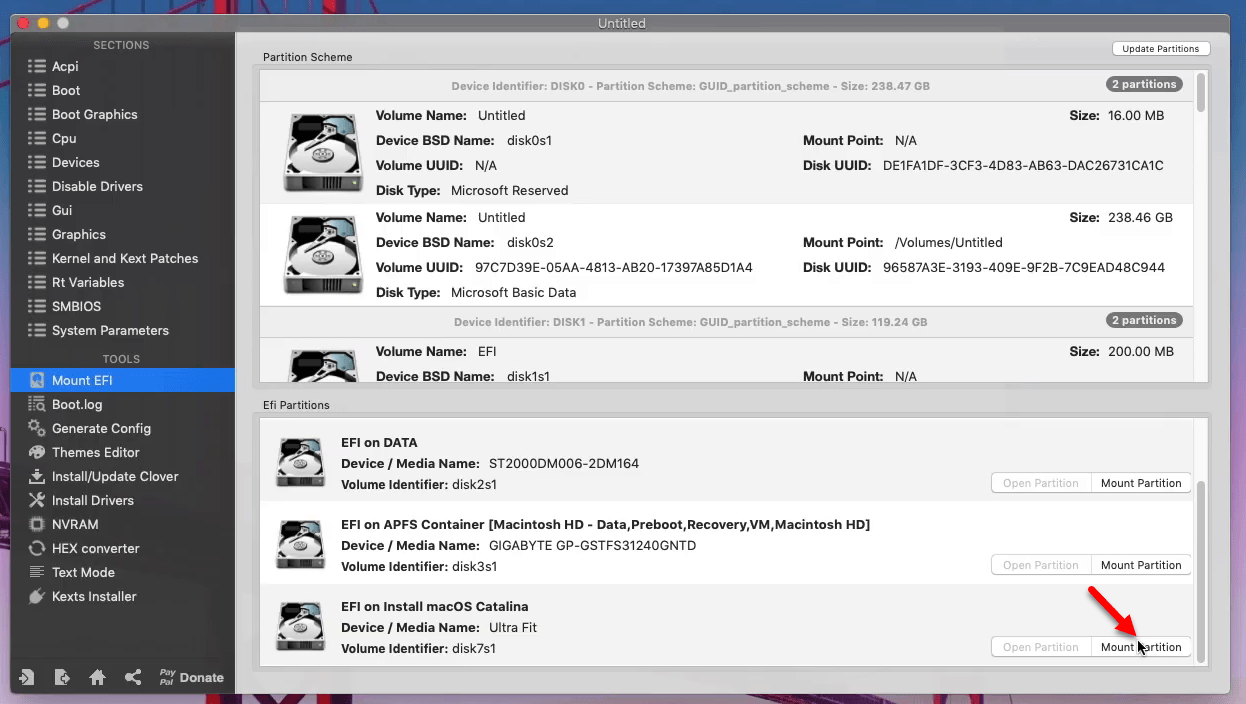
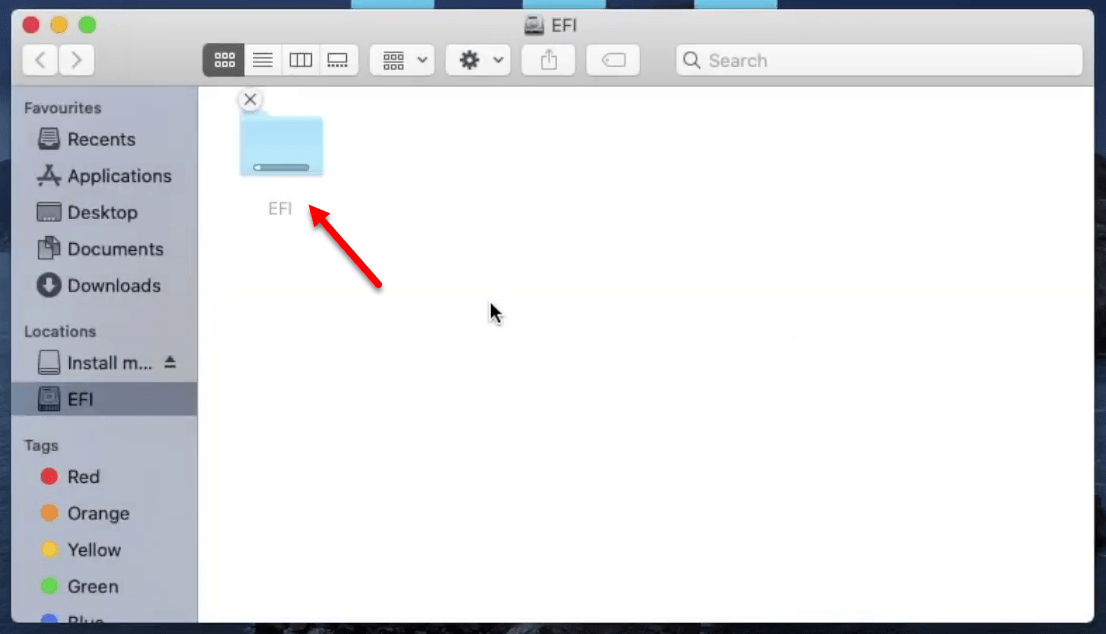
Once the EIF partition created copy the EFI file from download folder and paste it into the EFI partition of your USB flash drive.
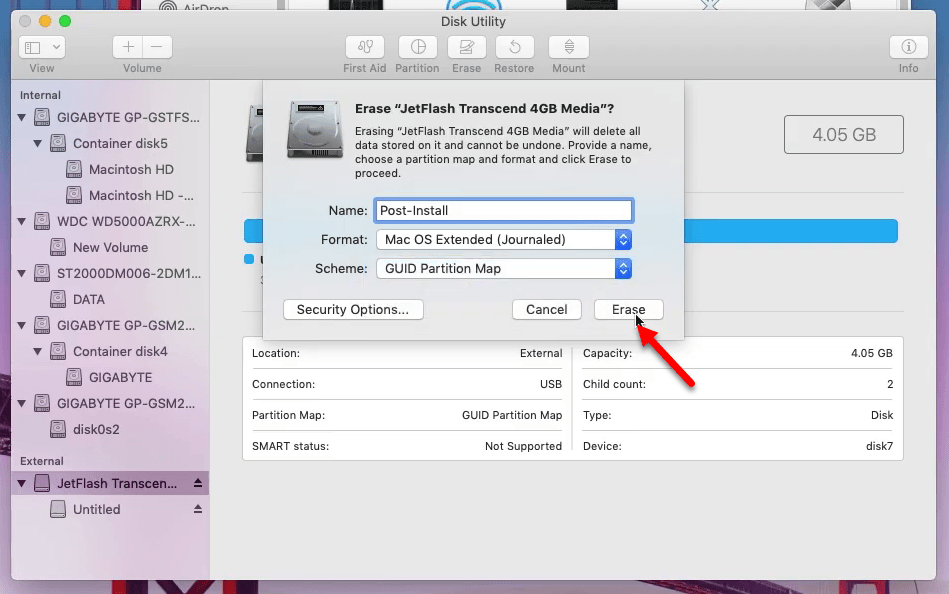
Attach the next USB flash drive for copying the post-installation files. To copy the files you need to format the USB flash drive using Disk Utility. To open the Disk Utility head over to Search Spotlight type disk utility and press enter to open. Once the Disk Utility opened format the USB drive according to the below down settings.
- Name: Post-Install
- Format: Mac OS X Extended (Journaled)
- Scheme: GUID Partition Map
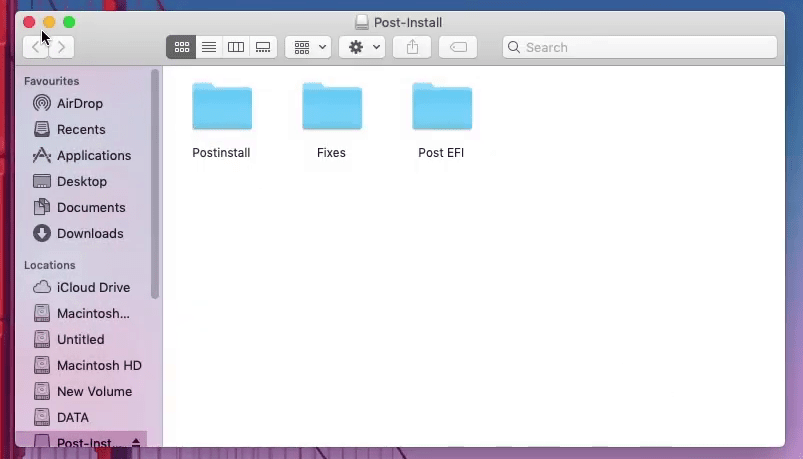
Once the USB Drive formatted navigate to download folder copy the Post-install, Fixes, and Post EFI file to the USB flash drive.
Step 2. Configure BIOS Settings for macOS Catalina
Usually, while installing the macOS operating system on a laptop, and Hackintosh you need to configure its BIOS settings. I want to install macOS Catalina on the ASUS laptop, and the BIOS settings key is F12. And each laptop contains different BIOS key.
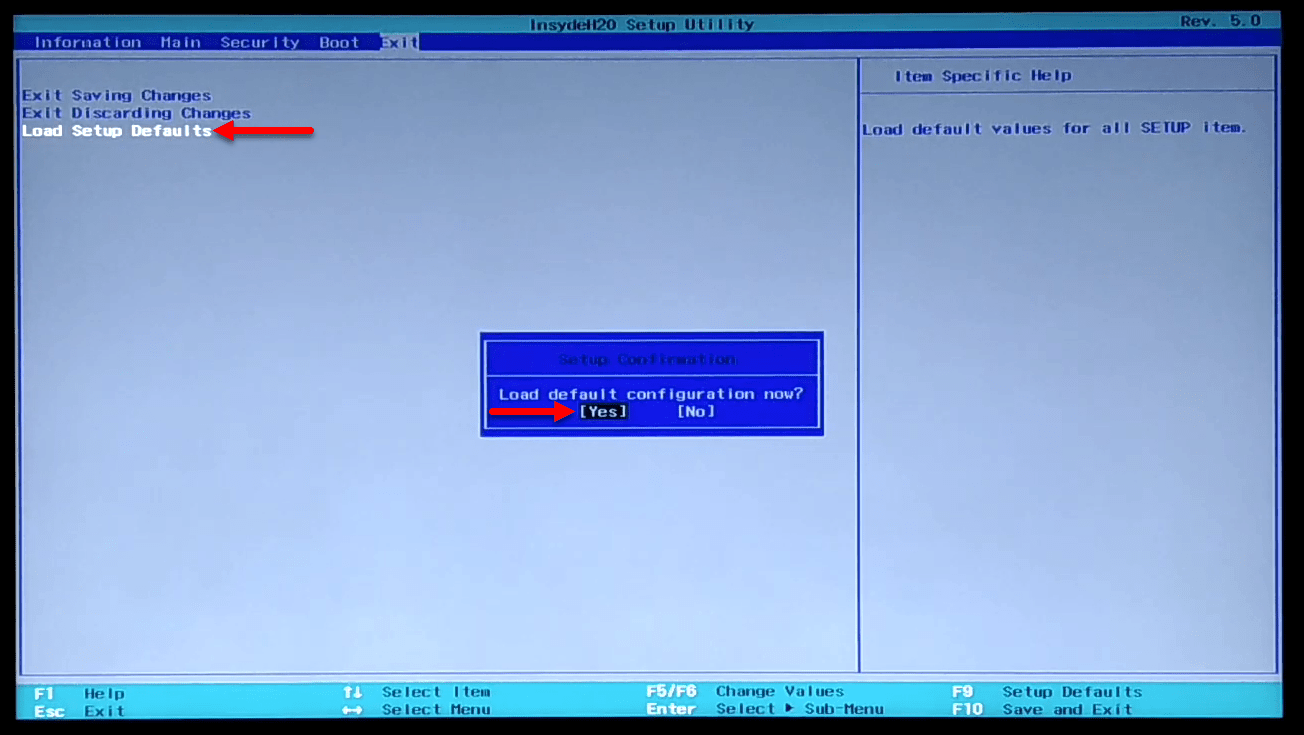
Once everything got ready, restart your laptop and press the BIOS Settings key. Head over to the “Exit” tab and select “Load Setup Defaults” press enter and select “YES”.
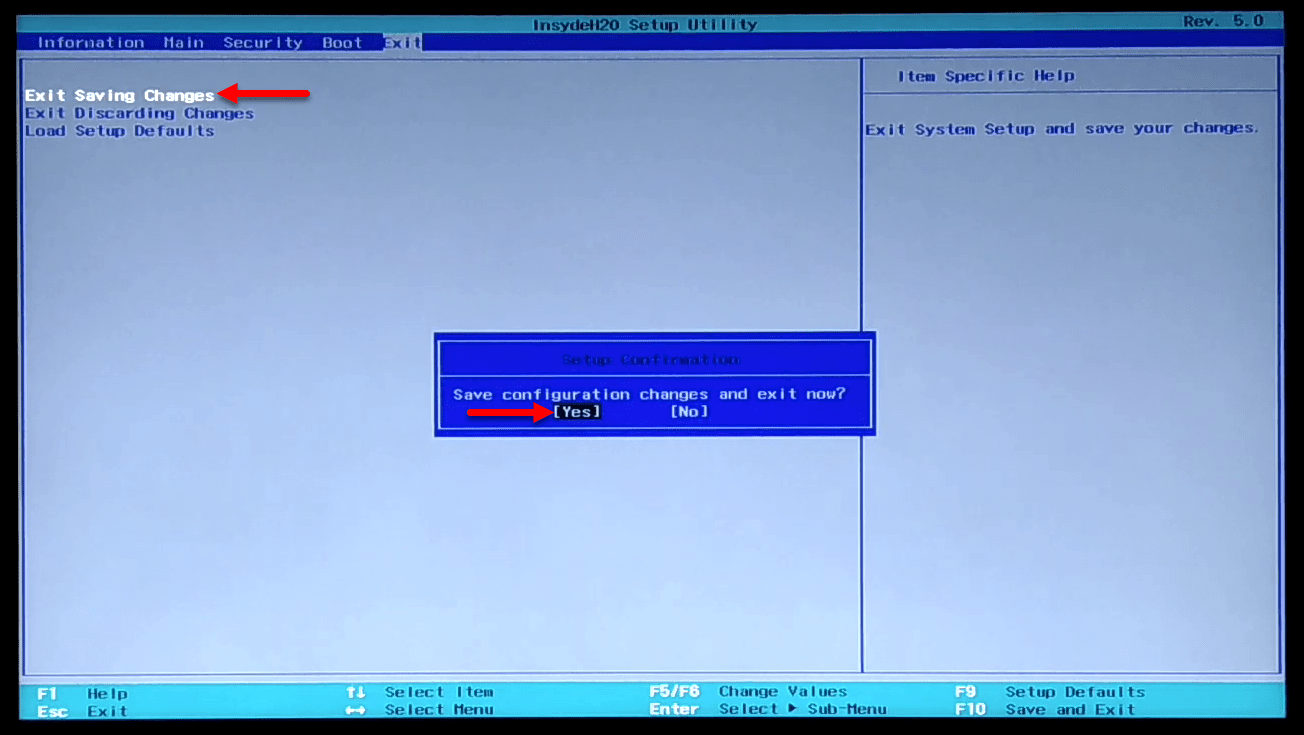
Head over to “Exit Saving Changes” press enter select “YES” and press enter.
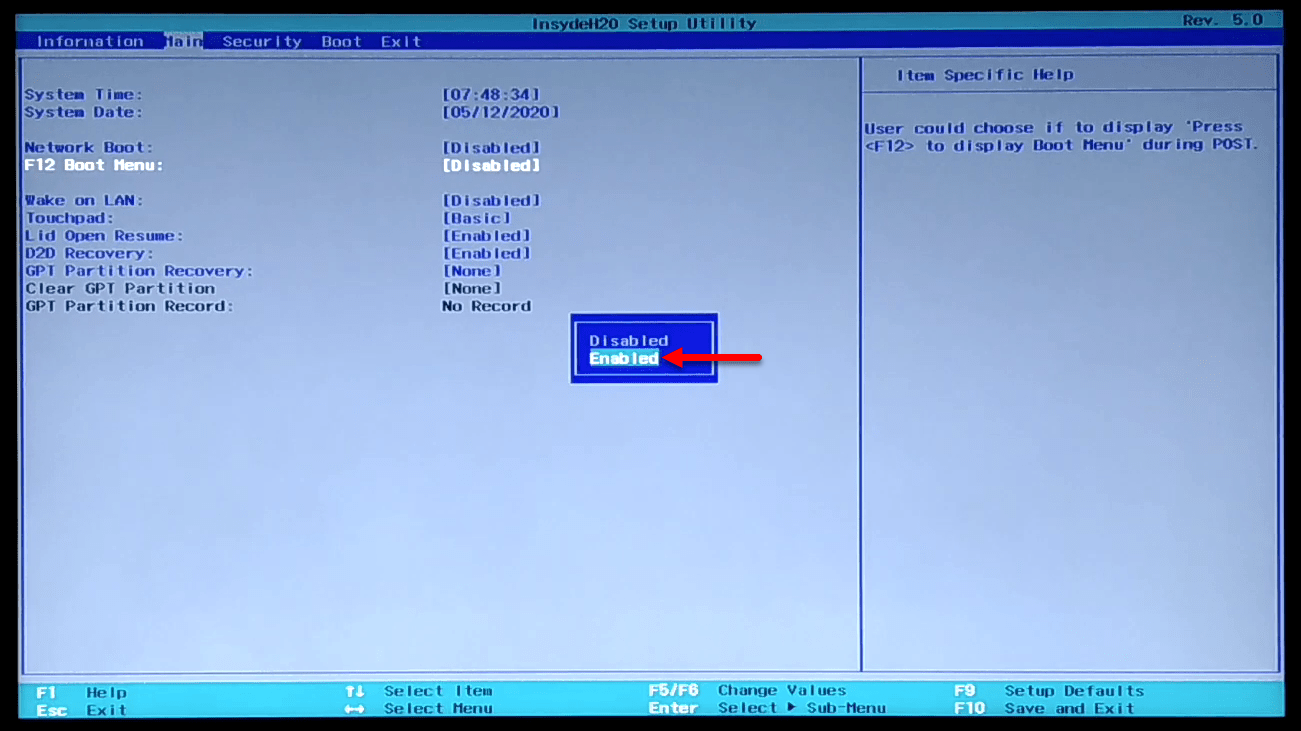
Once the settings changed, your laptop will restart again press the BIOS settings key. Now select the “Main” tab, select “F12 Boot Menu” press enter and select “Enabled” option.
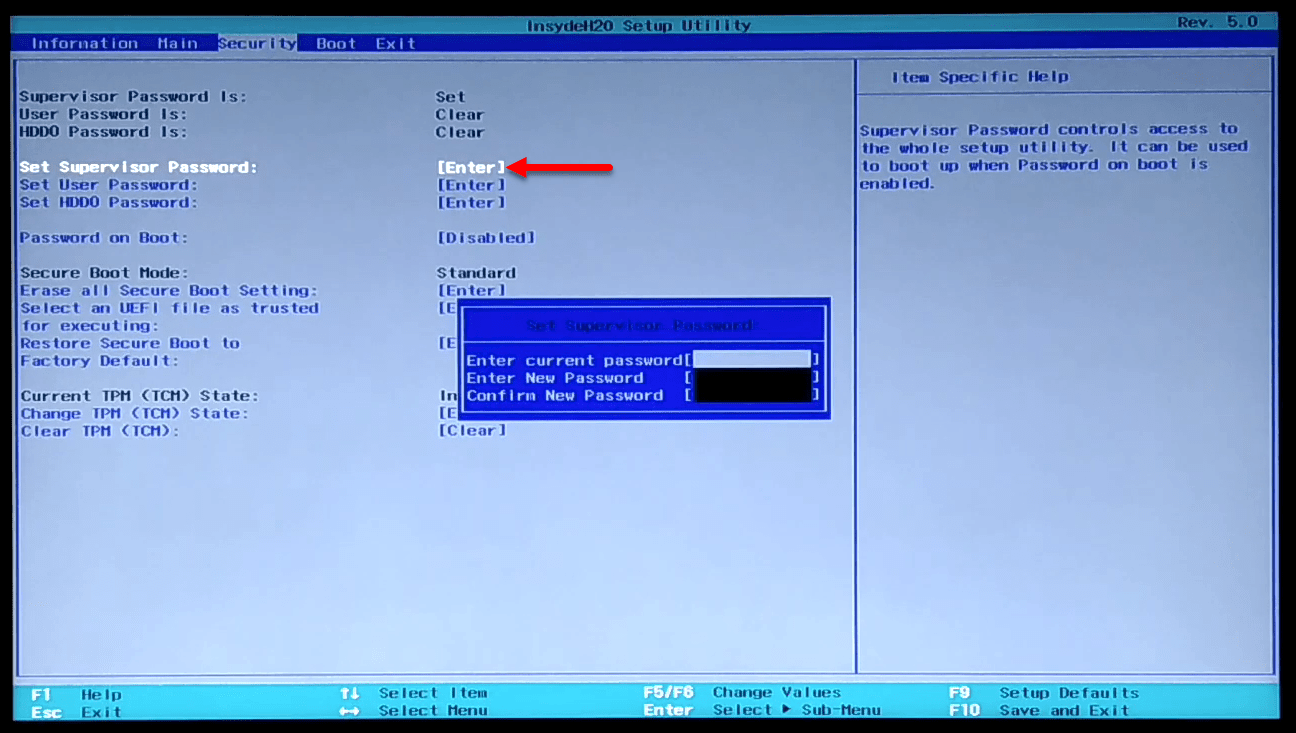
Now go to the Security tab, to disable the secure boot menu you need to set the supervisor password. So, select the “Set Supervisor Password” option and press enter. Enter your current password supervisor password, enter the new password, and confirm the new password, then press the enter key.
Once the BIOS settings successfully changed head over to the “Exit” tab select “Exist Save changes” and press the enter key and select the “YES” option.
Step 3. Install macOS Catalina 10.15 Now
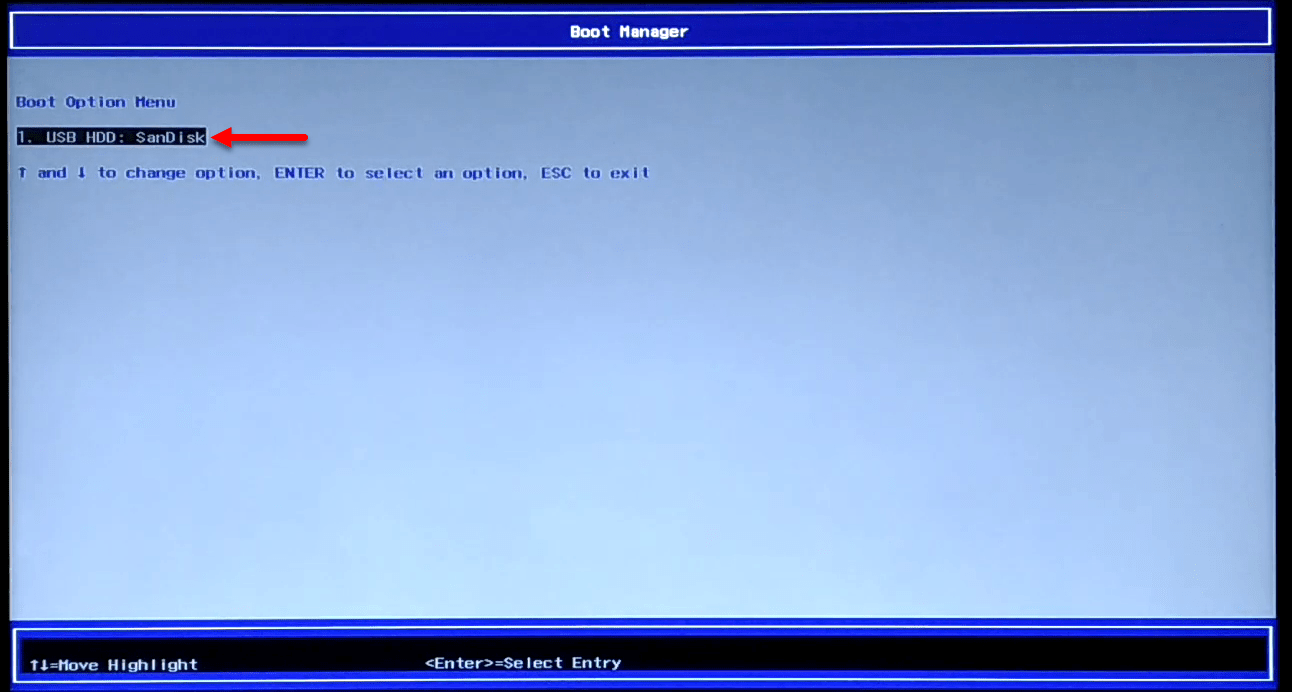
When you have completed all the stuffs to install macOS Catalina 10.15 on Laptop. Attach the macOS Catalina Bootable USB drive and Restart your laptop press the “Boot Menu” key. While you entered to the Boot Menu window select Boot from USB drive.
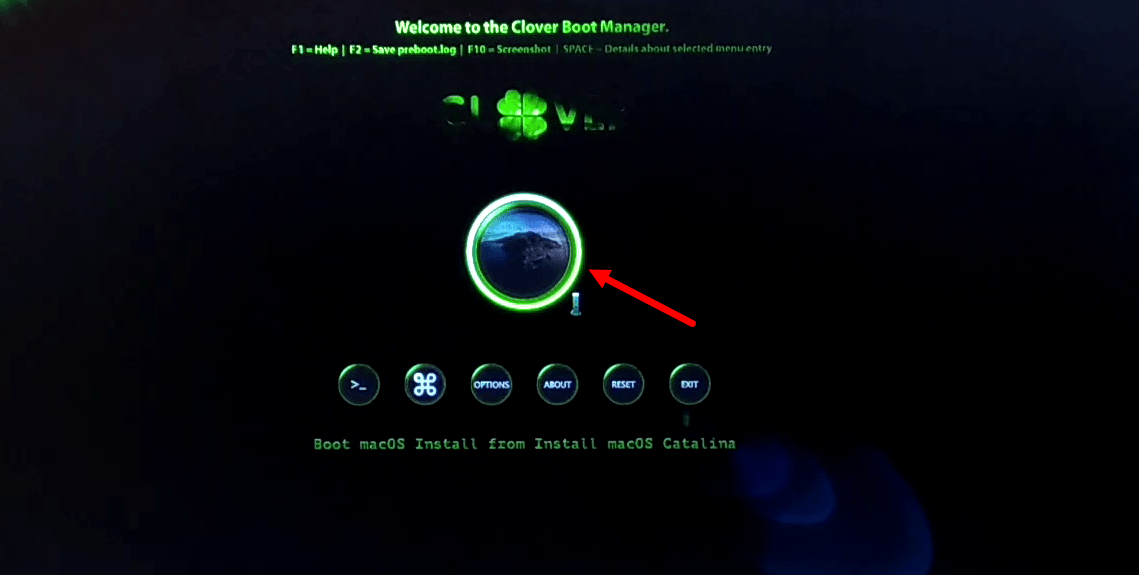
From Clover Boot Manager select “Boot macOS Install from Install macOS Catalina” option and press the enter key.
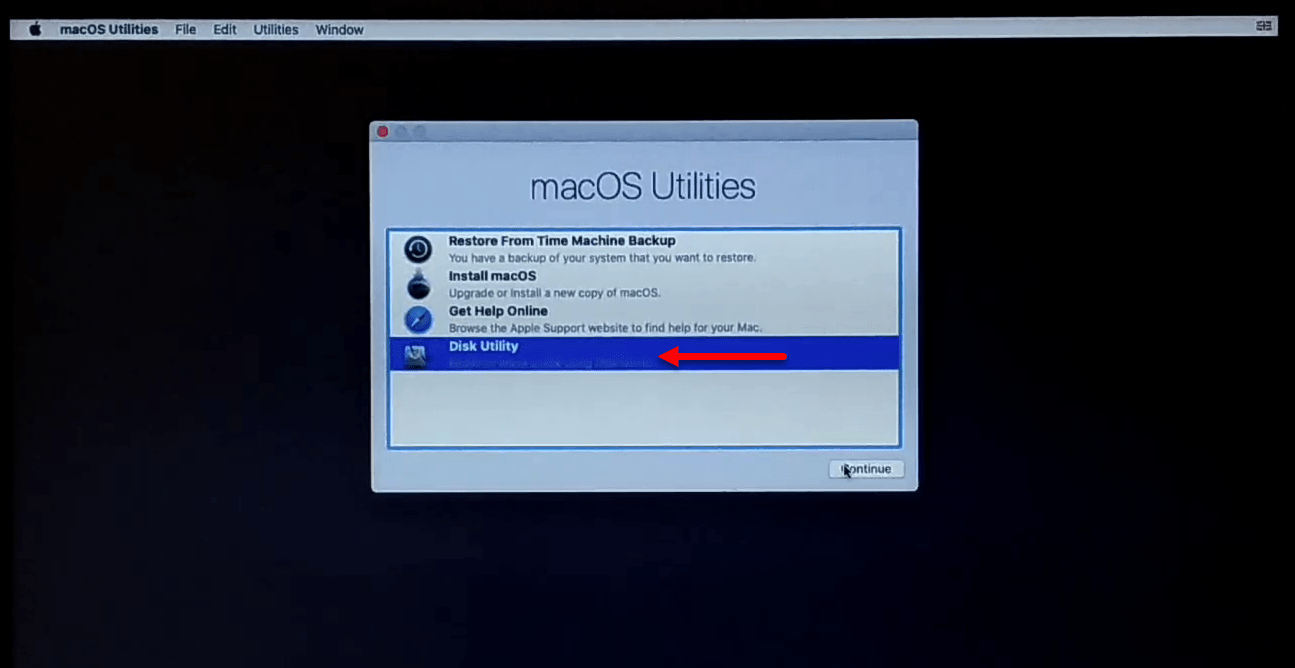
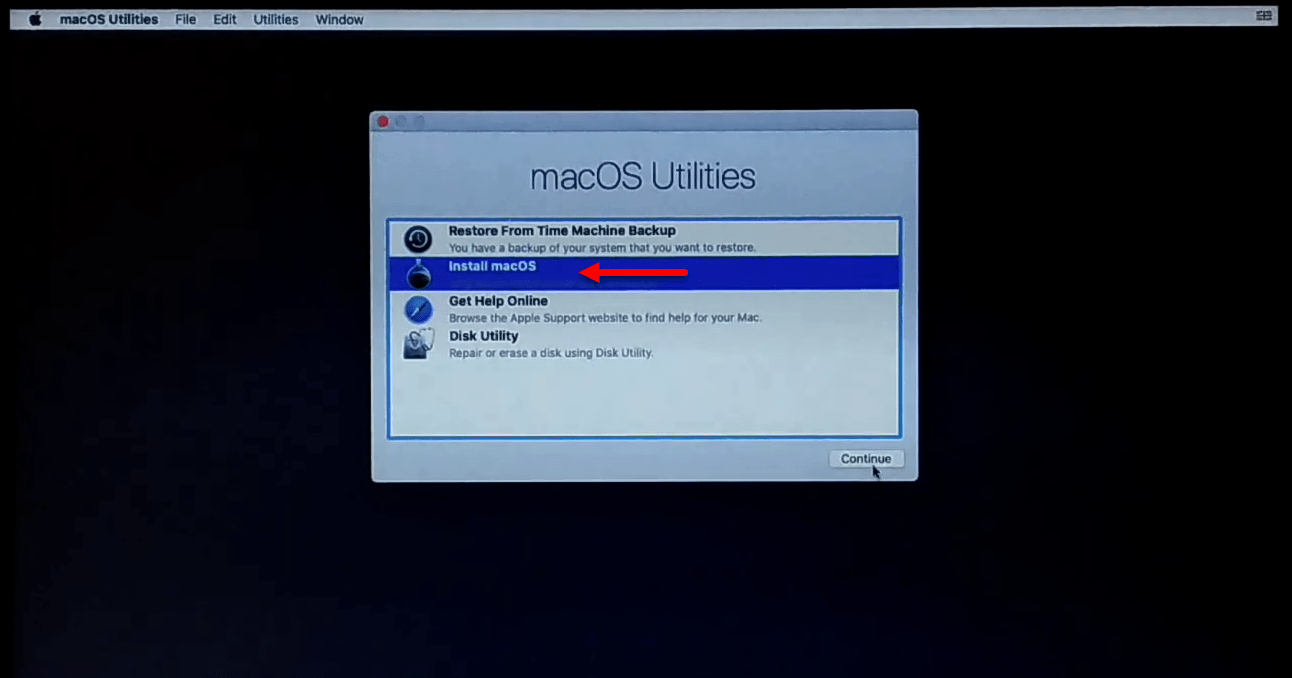
Wait from some seconds for a black screen, when you reached to the macOS Utilities window. Select the “Disk Utility” option and click continue.
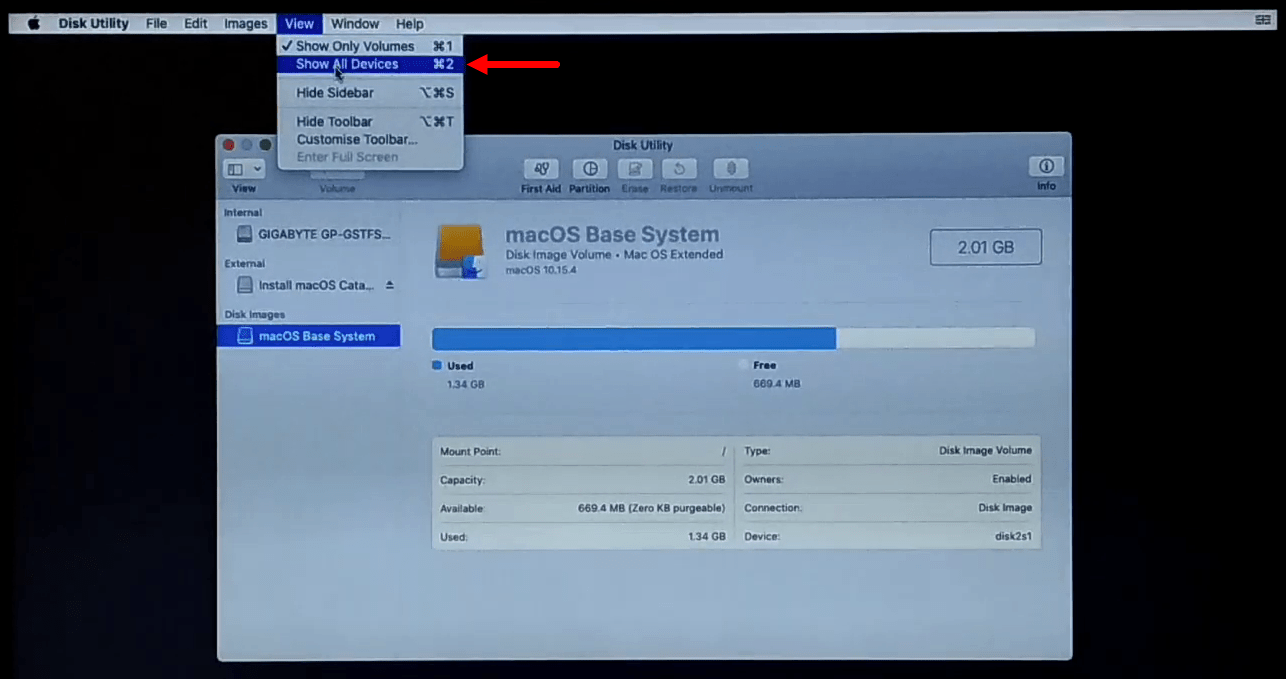
If the drives are hidden in the list of disk utility click on “View” and select “Show All Devices”. After that, all the attached devices will appear.
Select the disk where you want to install macOS Catalina 10.15. Click on the “Erase” option and format the current disk according to the below settings.
- Name: Macintosh HD
- Format: APFS
- Scheme: GUID Partition Map
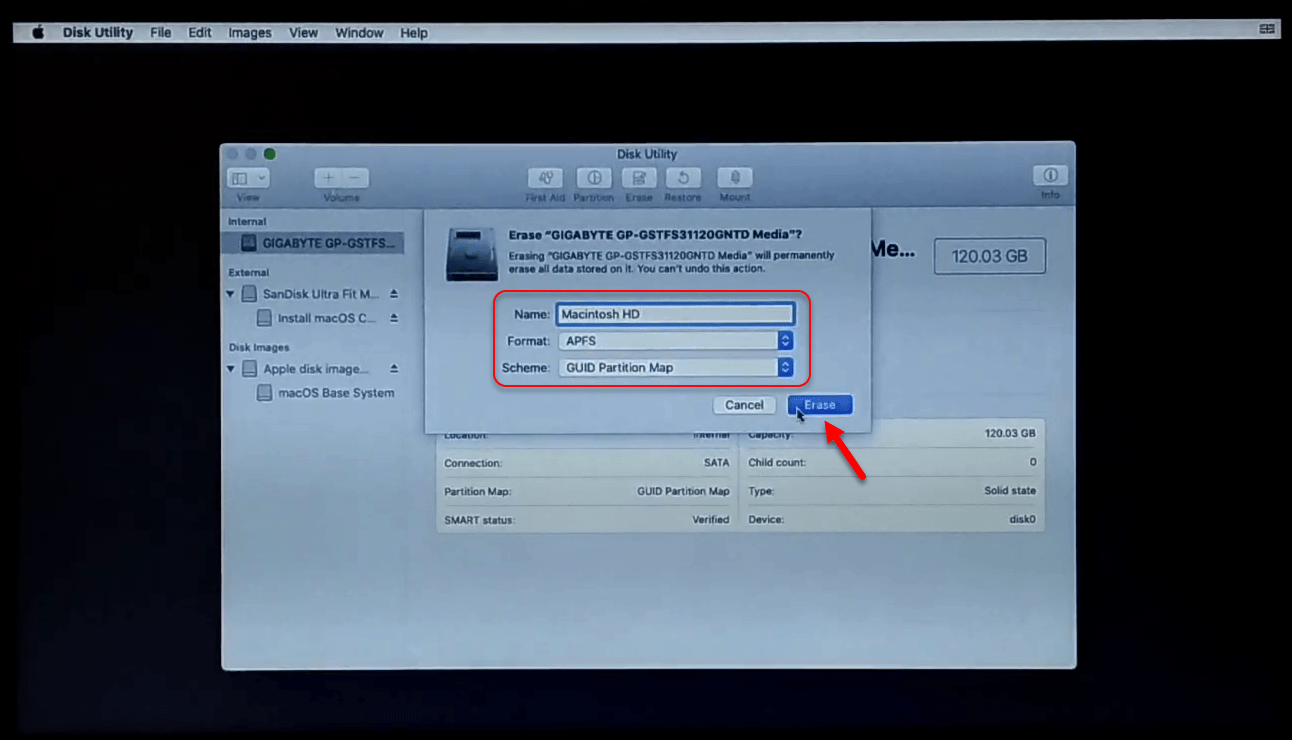
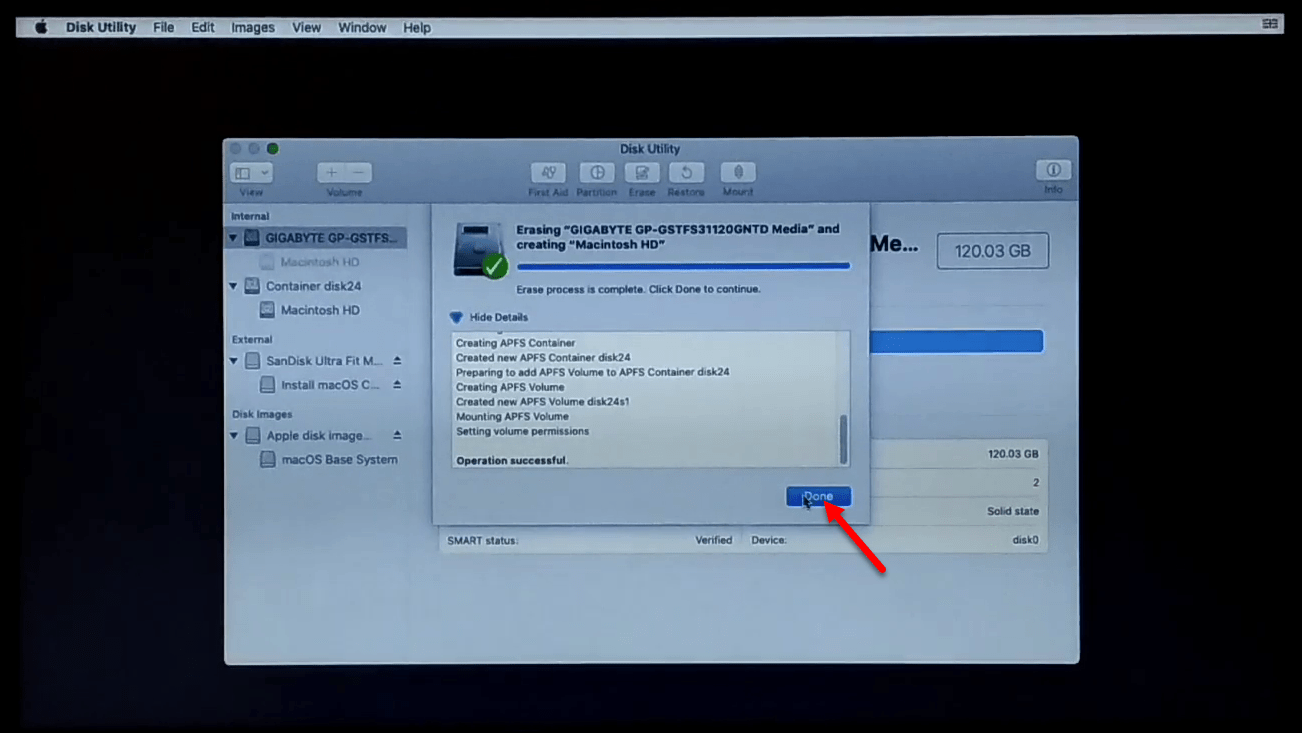
When the disk erased click on Done option and close the Disk Utility window.
Select “Install macOS” and click continue
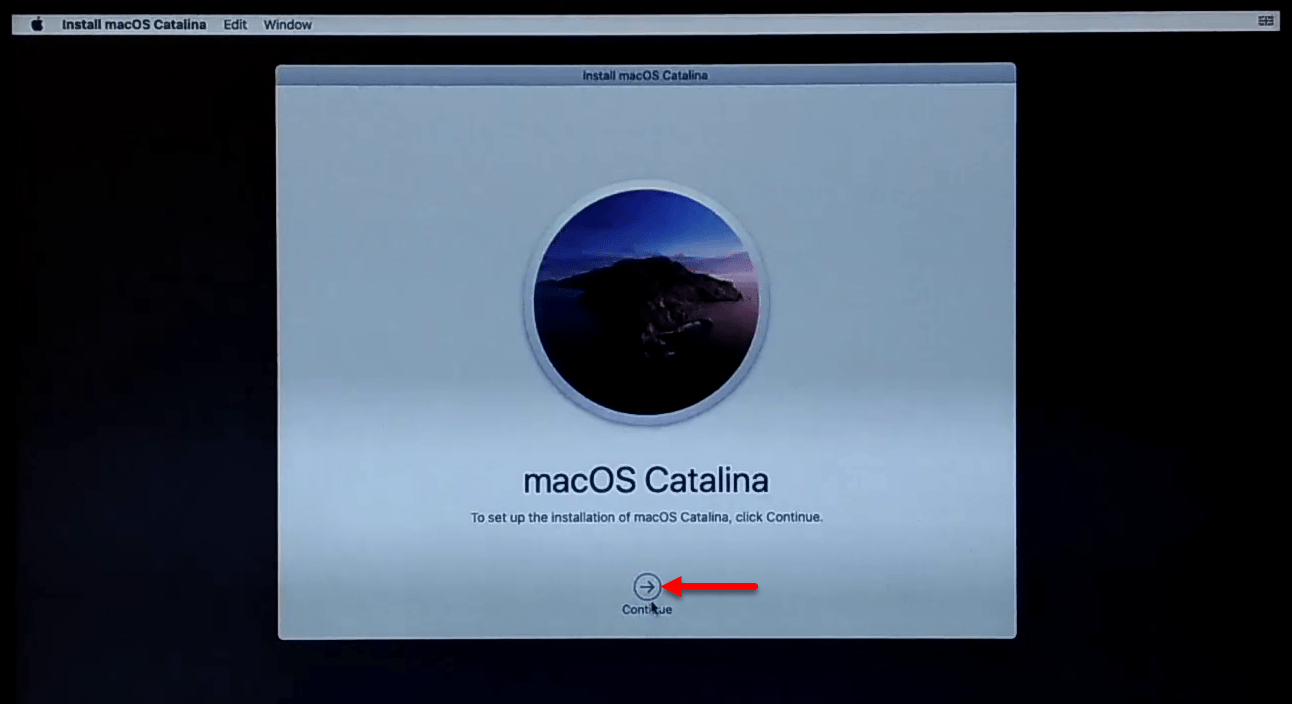
To set up installation of macOS Catalina, click continue
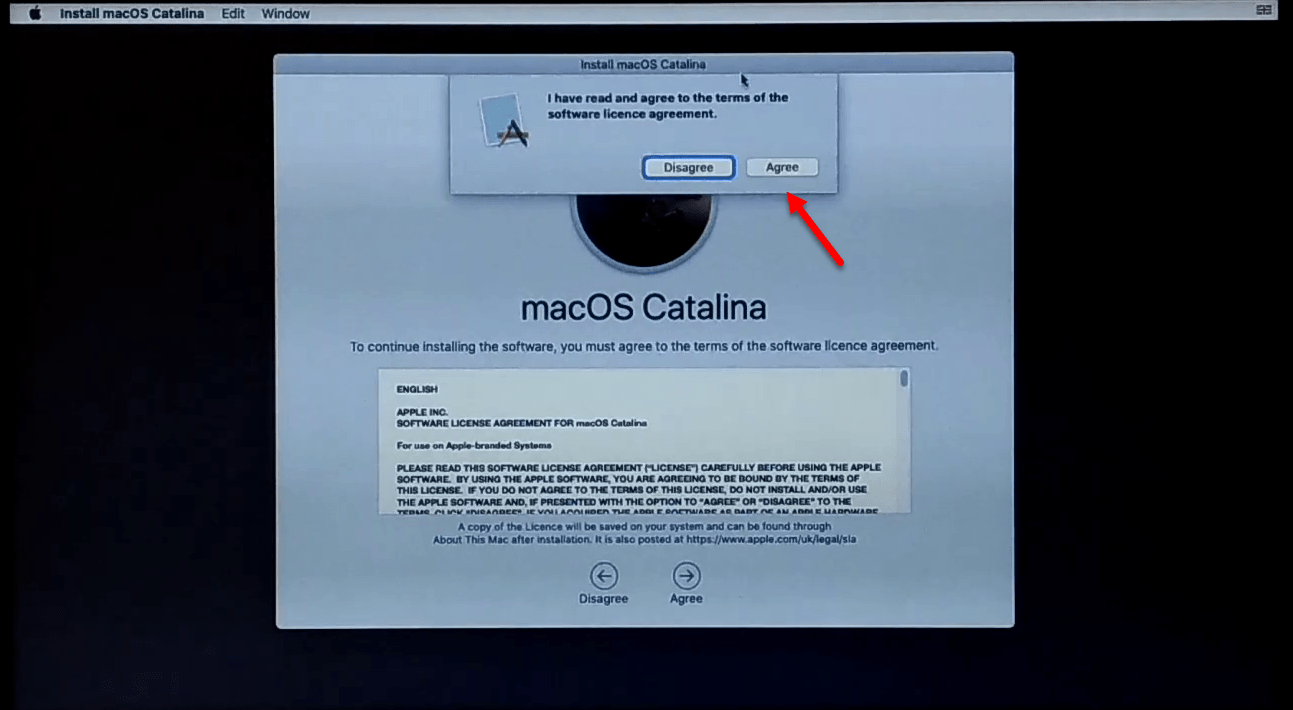
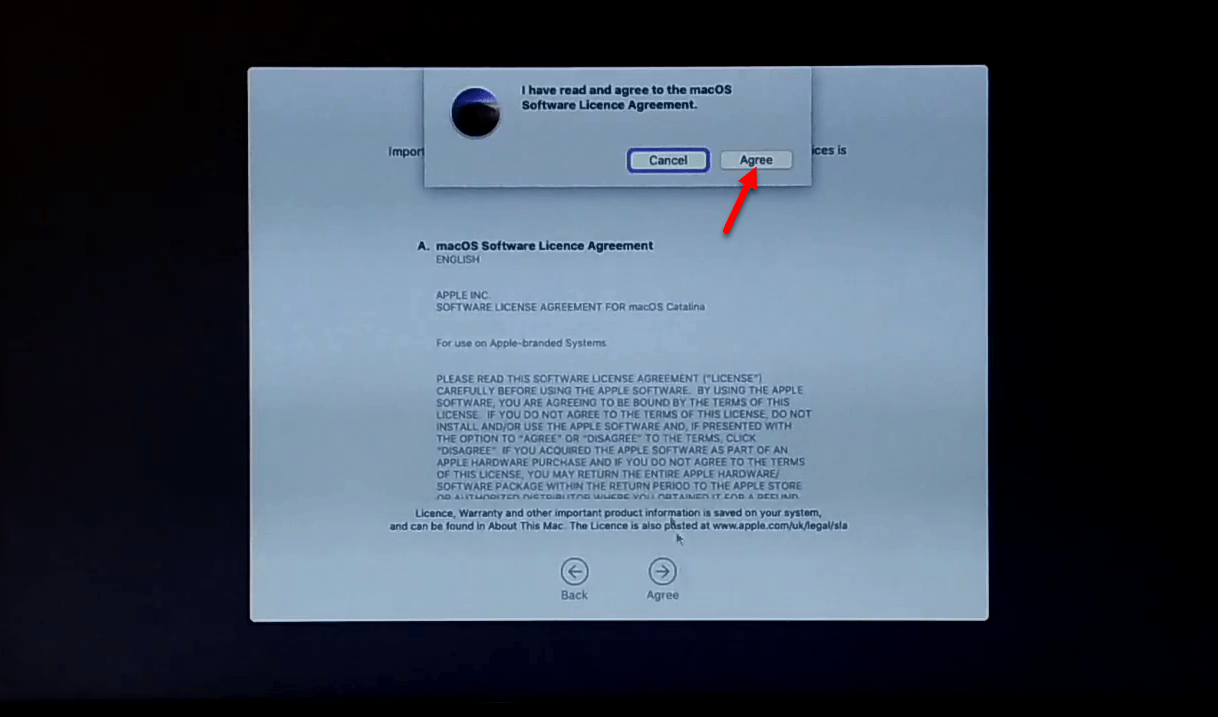
Agree with terms and conditions of macOS Catalina
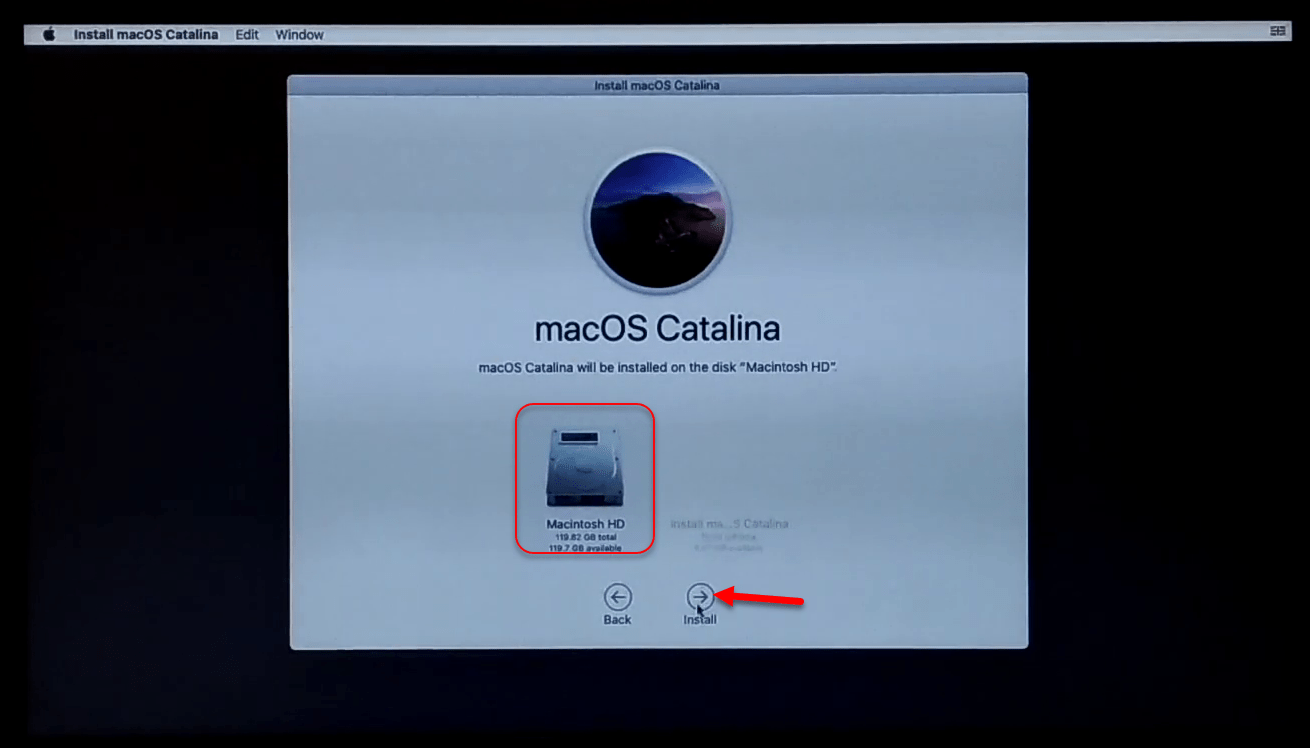
Select the disk where to install macOS Catalina and click Install.
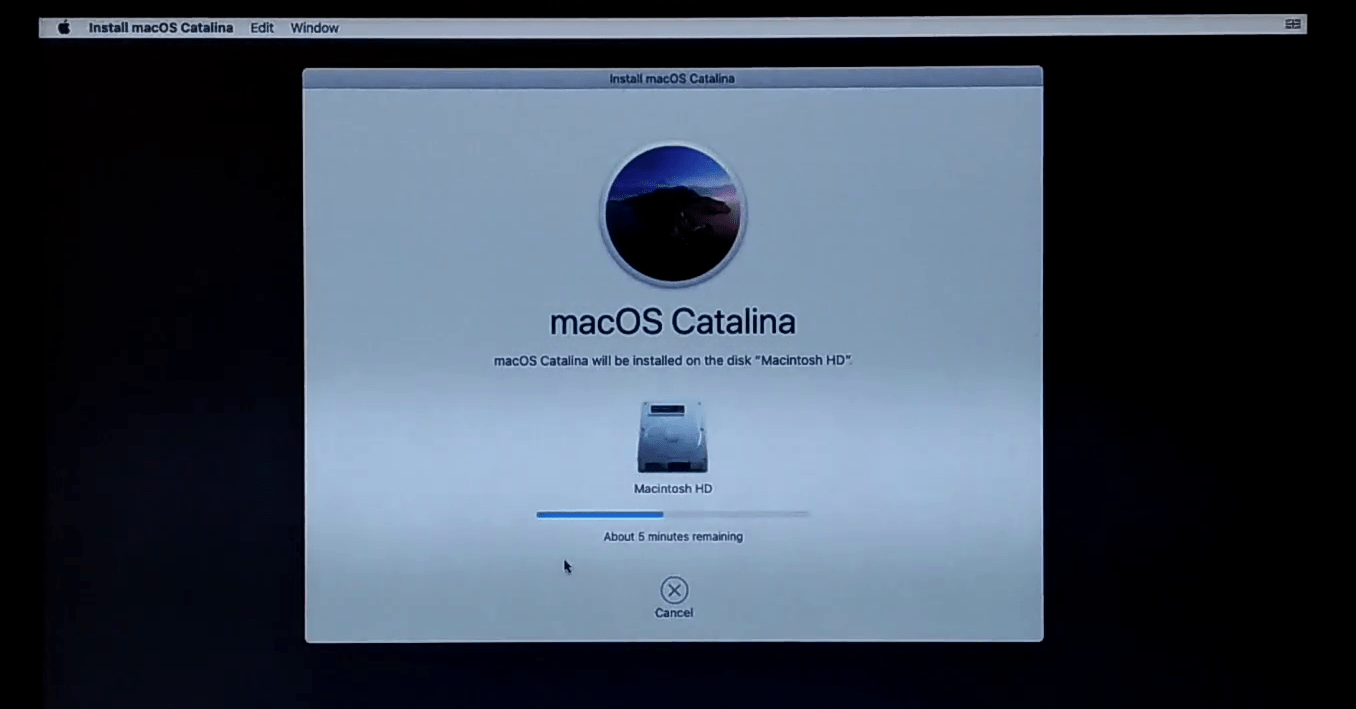
Wait for this process of installation it might take some time.
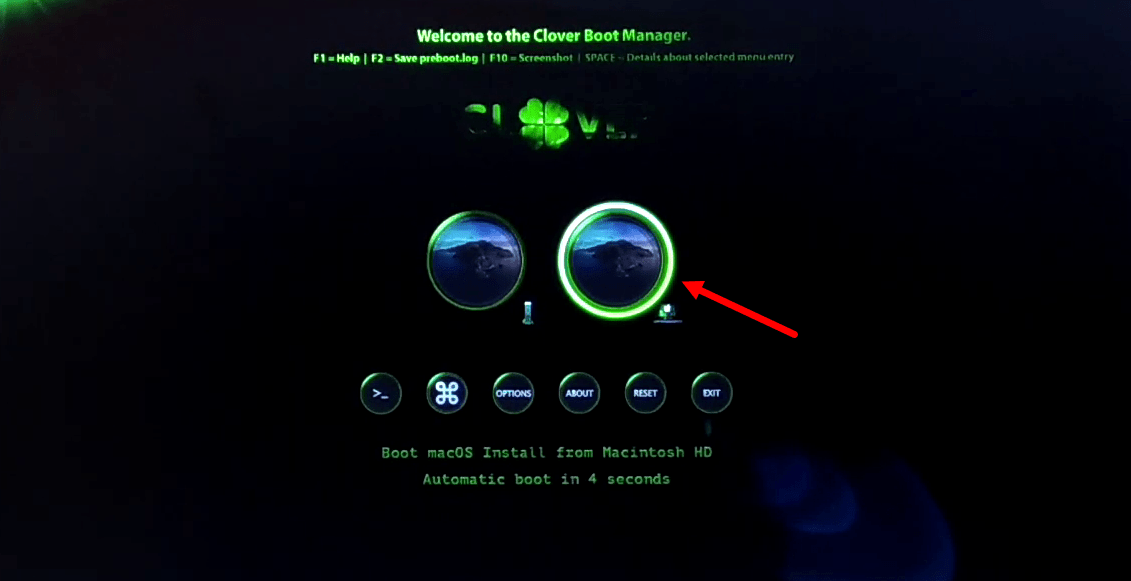
When the installation completed automatically your laptop will restart, now select “Boot macOS Install from Macintosh HD” option and press enter key.
Now again here it will start installing macOS Catalina
Step 4. Complete macOS Catalina Basic Settings
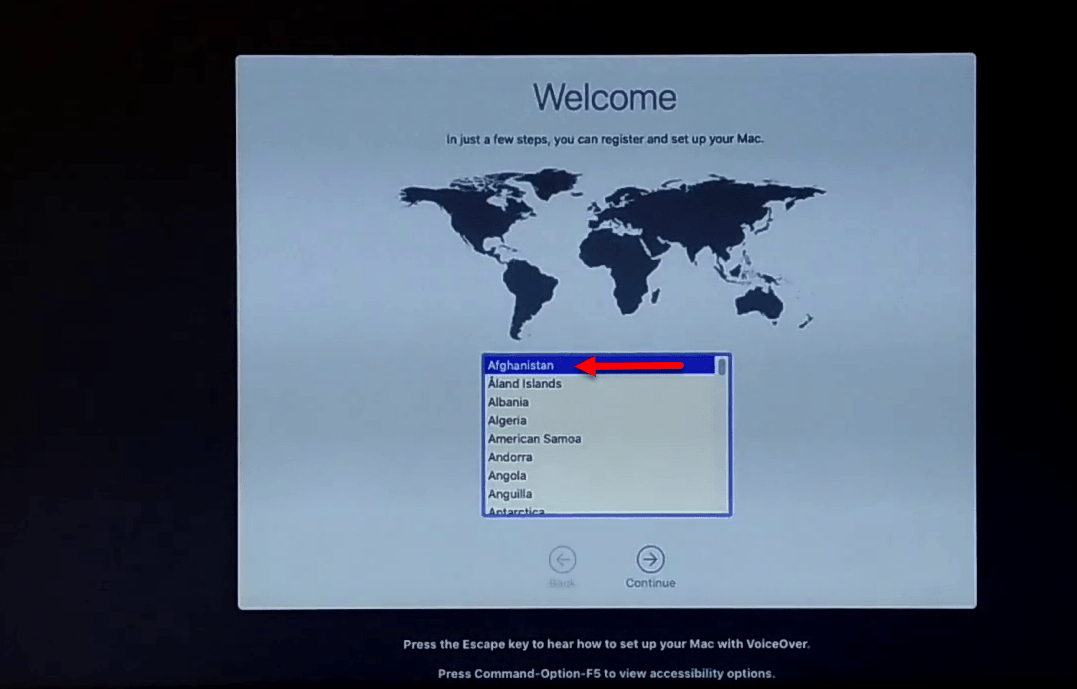
Once the macOS Catalina completed you will be required to complete the basic settings. In the first welcome window select your country and region then click continue.
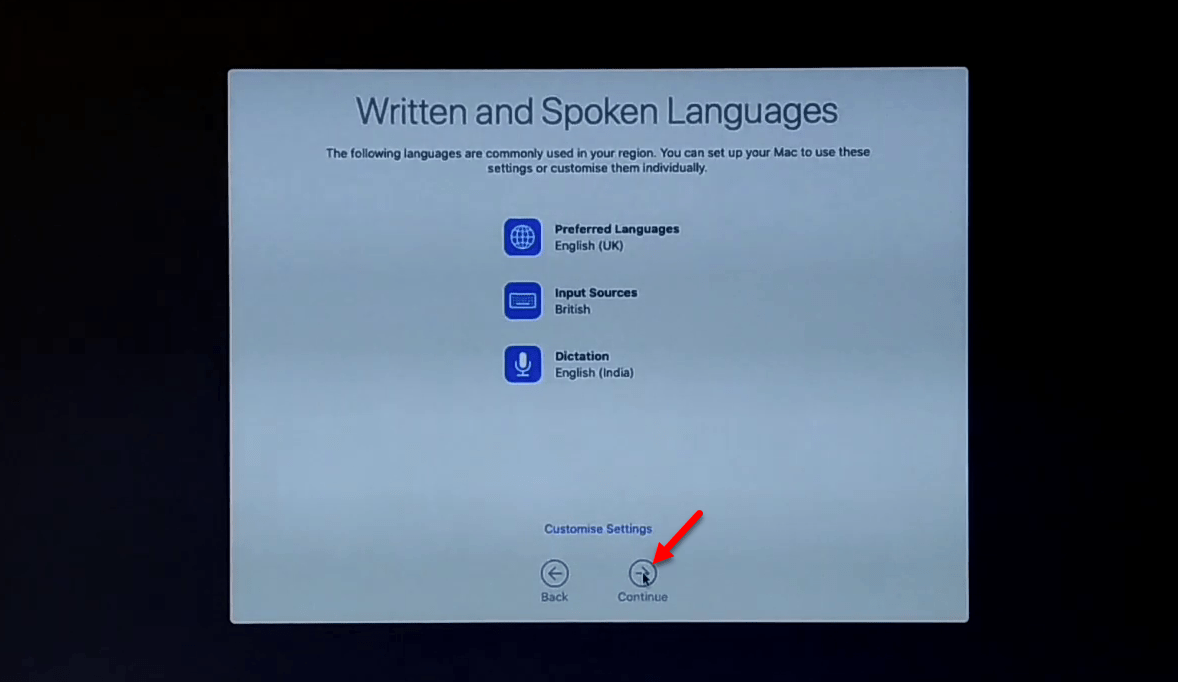
Select your written and spoken language and click continue.
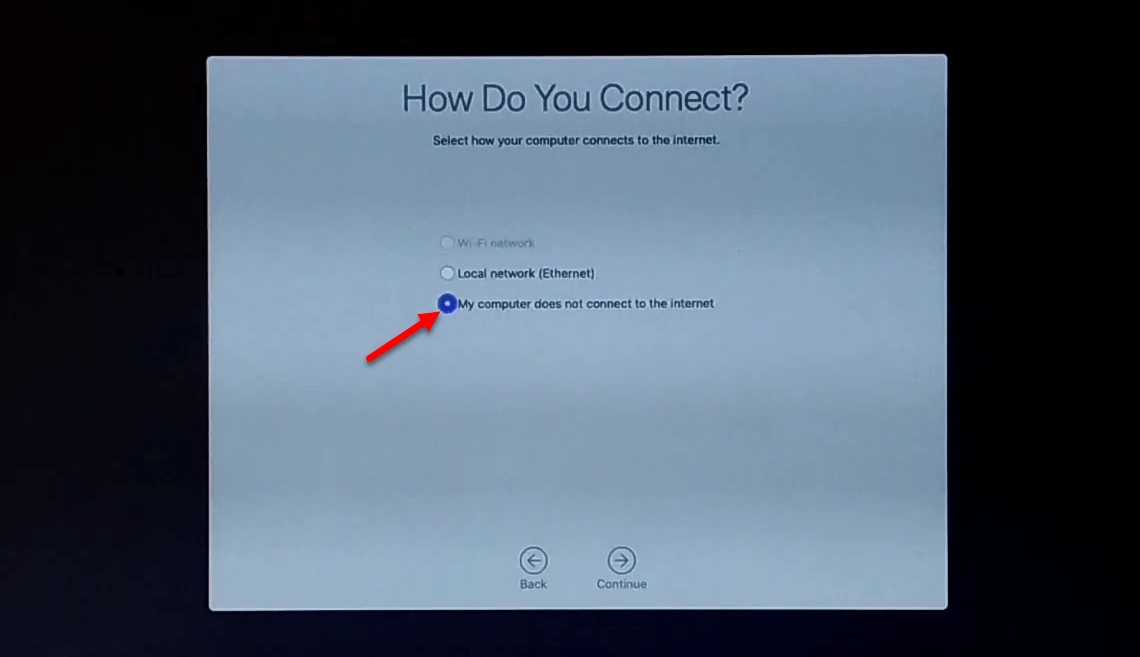
Select the option “My computer doesn’t connect to the internet” and click continue.
Agree with the terms and conditions of macOS Catalina.
- Create your computer account and click continue
- Click continue on express set up
- Again click continue on Analytics
- Click continue on screen time
- Choose your look for macOS Catalina
- And finally macOS Catalina successfully installed on a laptop.
Step 5. Install Fixes Files
When the macOS Catalina 10.15 successfully installed on your laptop, head over to and install the fixes files such as WiFi, Bluetooth, Internet, and Graphic Display.
Attach your USB flash drive which contains the Post-installation files, Fixes, and Post EFI files. Open the USB flash drive and copy the files into your desktop.
Open Clover Configurator, click on Mount EFI, and you need to mount the EFI Partition your system drive.
Now copy the EFI file from your desktop and paste it into the EFI partition your system drive and restart your laptop.
When coming back to your laptop check each of the settings that should work properly.
Related: