
If you are Windows 10 OS user, then the system automatically creates temporary files. Sometimes usually the temporary files delete them automatically when they are useless. Or in some cases, it may not be removed, like the program using the temporary file crashes suddenly. By increasing the number of undeleted temporary files by the passage of time it will cover up the space of your local drive.
In some cases, by using Windows 10 operating system you might notice is that the temporary files created by the operating system itself, or some cases the temporary files may be created by the applications which are running. However, the temporary files are harmful for your computer, it can reduce the performance of your computer, or it can take up your hard disk space. Therefore, we have taken that much important to delete the temporary files to increase the performance and free up the disk space. Fortunately, there are a bunch of third-party applications that can delete the temporary files.
Delete All Temporary Files in Windows 10 With One Click
Windows 10 is one of the best operating system that in every situation we can handle with it. It can complete or get our job done in the office home and everywhere. Mostly, it’s about a few years that we are using the Windows 10 operating system. With those, we have already learned a few tricks to optimize the performance of Windows 10 on the computer. Through, this guide you will learn how to delete all temporary files in Windows 10 with one click.
Before getting to the point, you need to copy and paste the below down commands in the notepad. After pasting it to notepad you need to save the commands as “cmd” file. After the cmd file being created, you need to run it as an administrator to delete the temporary files.
@echo off
del /s /f /q %windir%\temp*.*
rd /s /q %windir%\temp
md %windir%\temp
del /s /f /q %windir%\Prefetch*.*
rd /s /q %windir%\Prefetch
md %windir%\Prefetch
del /s /f /q %windir%\system32\dllcache*.*
rd /s /q %windir%\system32\dllcache
md %windir%\system32\dllcache
del /s /f /q “%SysteDrive%\Temp”*.*
rd /s /q “%SysteDrive%\Temp”
md “%SysteDrive%\Temp”
del /s /f /q %temp%*.*
rd /s /q %temp%
md %temp%
del /s /f /q “%USERPROFILE%\Local Settings\History”*.*
rd /s /q “%USERPROFILE%\Local Settings\History”
md “%USERPROFILE%\Local Settings\History”
del /s /f /q “%USERPROFILE%\Local Settings\Temporary Internet Files”*.*
rd /s /q “%USERPROFILE%\Local Settings\Temporary Internet Files”
md “%USERPROFILE%\Local Settings\Temporary Internet Files”
del /s /f /q “%USERPROFILE%\Local Settings\Temp”*.*
rd /s /q “%USERPROFILE%\Local Settings\Temp”
md “%USERPROFILE%\Local Settings\Temp”
del /s /f /q “%USERPROFILE%\Recent”*.*
rd /s /q “%USERPROFILE%\Recent”
md “%USERPROFILE%\Recent”
del /s /f /q “%USERPROFILE%\Cookies”*.*
rd /s /q “%USERPROFILE%\Cookies”
md “%USERPROFILE%\Cookies”
takeown /F C:\Windows.old* /R /A
pause
cacls C:\Windows.old*.* /T /grant administrators:F
pause
rmdir /S /Q C:\Windows.old\
echo.
attrib -h -r -s %windir%\system32\catroot2
attrib -h -r -s %windir%\system32\catroot2.
net stop wuauserv
net stop cryptSvc
net stop bits
net stop msiserver
Ren C:\Windows\SoftwareDistribution SoftwareDistribution.old
Ren C:\Windows\System32\catroot2 Catroot2.old
net start wuauserv
net start cryptSvc
net start bits
net start msiserver
echo.
echo Task completed successfully…
echo.
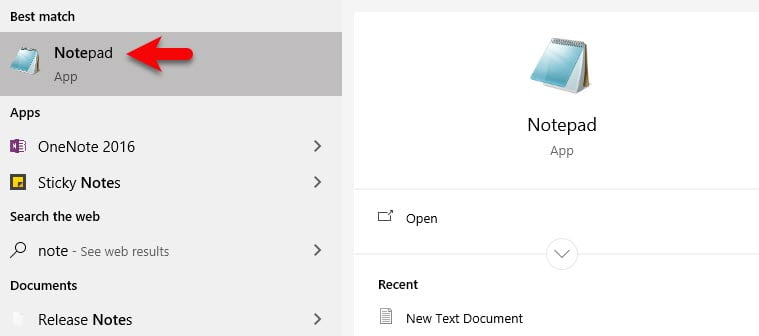
PAUSEStep 1. Head over to the Windows 10 start menu, type notepad. Once the notepad appeared hit enter to open it.
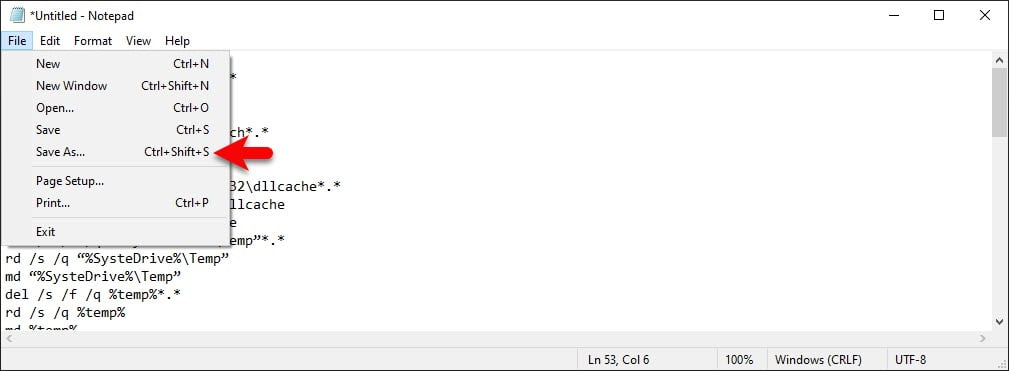
Step 2. Copy the above commands and paste into notepad, then click on the “File” option and click Save As.
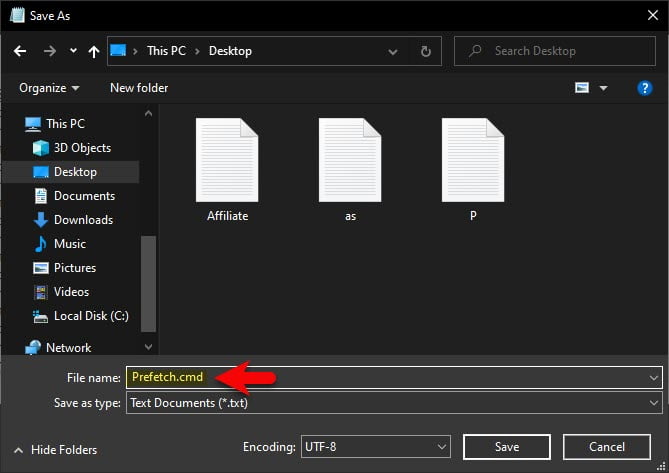
Step 3. Select the destination then rename like “Prefetch.cmd” and click save.
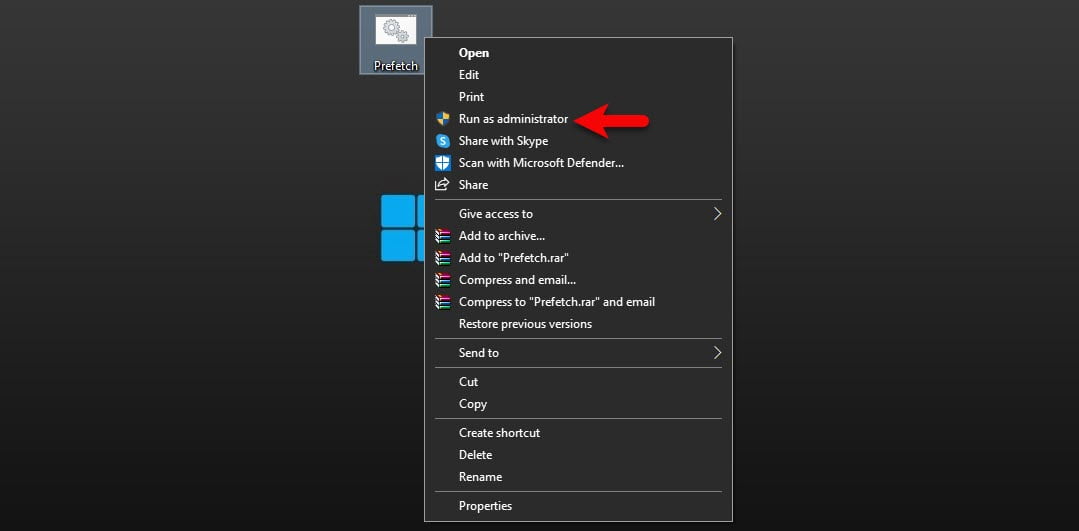
Step 4. As you see the below screenshot the file is saved with cmd. So, now you need to run the file to delete the temporary files from your local drive, right-click on the prefetch file and Run as administrator.
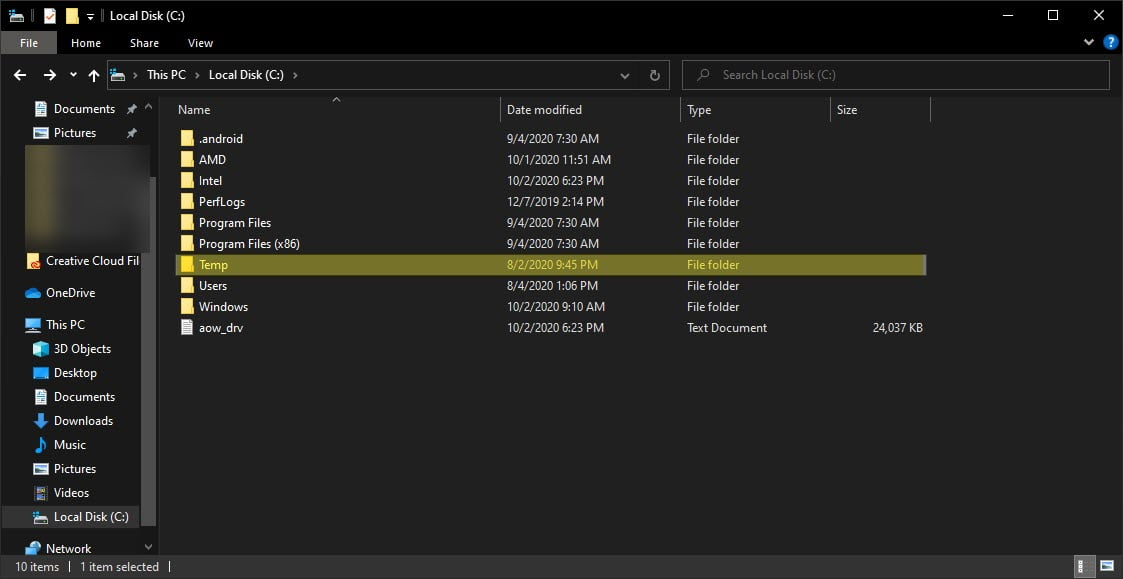
Step 5. Head over to the local hard drive, and check the temp folder if there should exist any temporary file.
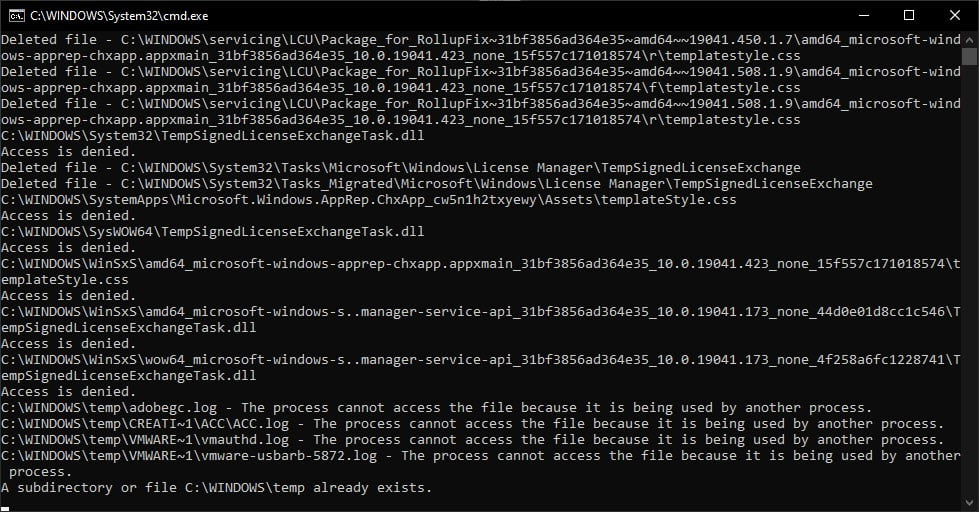
Step 6. After running the prefetch file, wait for it until it should ask from the next step what to do.
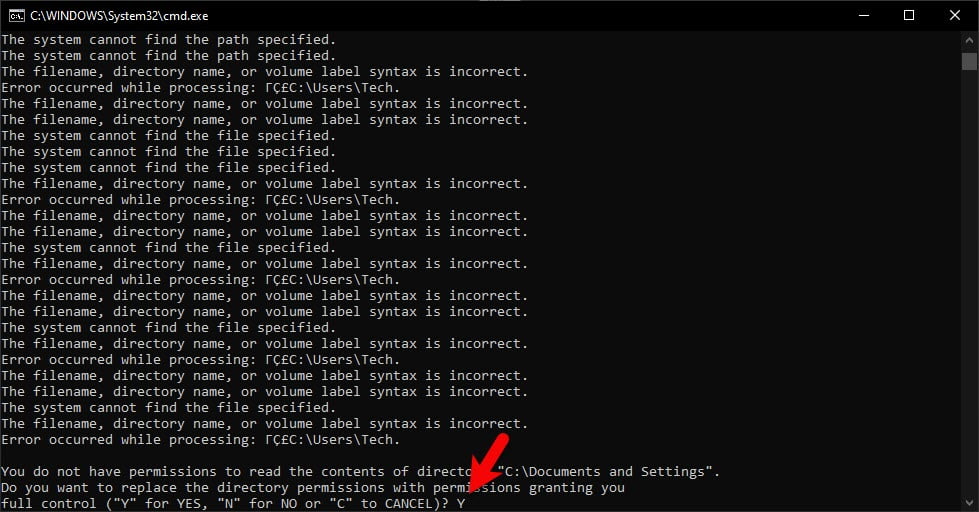
Step 7. Do you want to replace the directory permissions with permissions granting you full control, type “Y” for Yes, and type “No” for the cancellation?. So, we want the directory permission to be replaced here type “Y” and hit enter to continue the process.
Step 8. Here again, press any key to continue, once again it will require you to confirm it by typing “Y”.

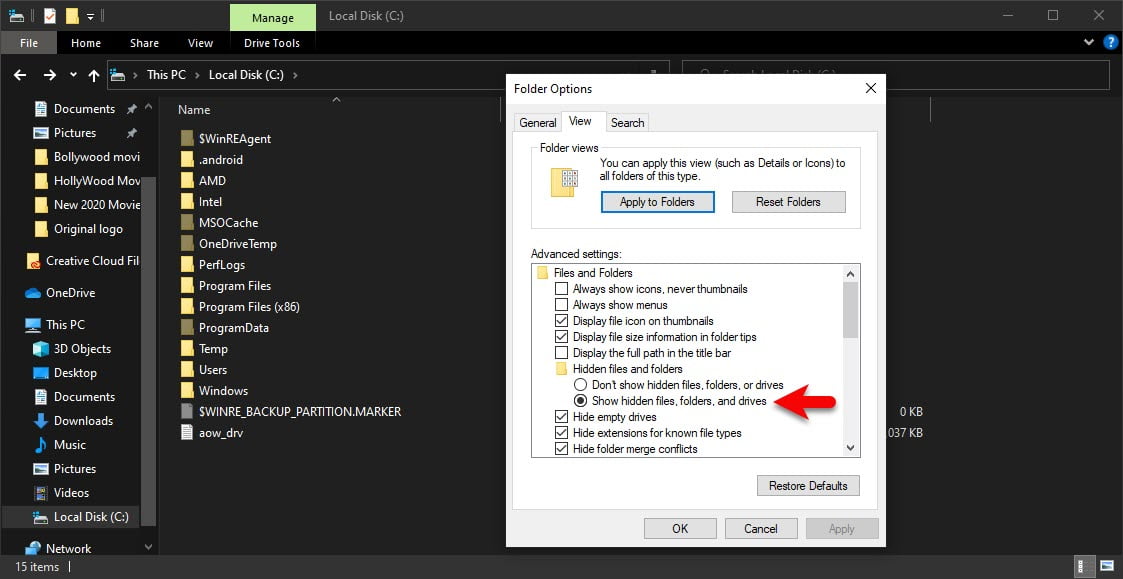
Step 9. Once the command process has been completed automatically the screen will close. After that, navigate to the local drive and check out the temp file if that is deleted. Sometimes the temporary files are hidden in the local drive. So, to show that click on “View” from the top, and click “Options”.
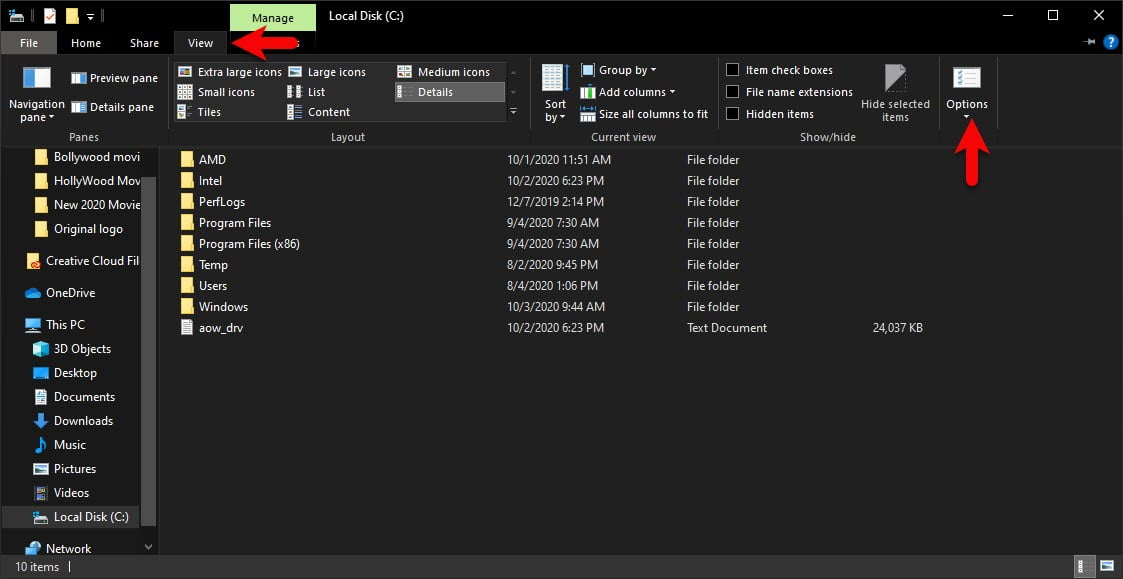
Step 10. Again click on the “View” option then select “Show hidden files, folder, and drives” option then click Apply. After that, check out the temporary file, sometime Windows itself will create the chunk files that by press the delete button those files will be gone from the local drive.
- How to Enable Ultimate Performance Mode in Windows 10
- How to Clear All Cache in Windows 10 on Your PC
- How to Speed Up Your Windows 10 Performance! (New)
Bottom Line
For increasing the disk space on Windows 10 or increase the speed performance of Windows 10 on your PC, you need to delete all the temporary files. Whether you are using third-party applications or the above guide, but you have to delete the temporary files from your computer. The temporary files can be very harmful for your computer that can be counted from damaging your necessary files up to your hard drive.