
Are you a Windows user, have you ever thought about How to Speed Up Your Windows 10 Performance. Exactly Windows 10 is one of the most coded operating system from Microsoft Inc. Windows 10 has a bunch of latest features that need lots of system resources. Naturally, when an operating system is being added with significant features normally it can be heavy. The same Windows 10 2004 update is heavy, and most of the users are complaining about it that it covers lots of hardware equipment that causes them to make slow down the computer.
Computer hardware continues to speed up the operating system which already installed on your computer, for example, the computer which contains high hardware equipment has a better speed. If you have upgraded from Windows 7,8,8.1 directly to Windows 10 operating system then you might feel how much your machine is working fast to do the action. For that reason, after Windows 8.1 Microsoft released Windows 10, and after Windows 10 there is no more version of Windows, and still Microsoft keeps updating Windows 10 to the latest version with the highest quality and features. But again if it’s the shiniest version of Windows still it contains some issues that need to be fixed by our hand in order to take up it from the slow down step.
Most of the users are doing some tricks to fix the slow issues on Windows 10, but the stories tell you to turn off some fun features on Windows 10 operating system in order to boost up its speed. Speeding up the Windows 10 operating system is totally free, therefore, you don’t need to pay for it.
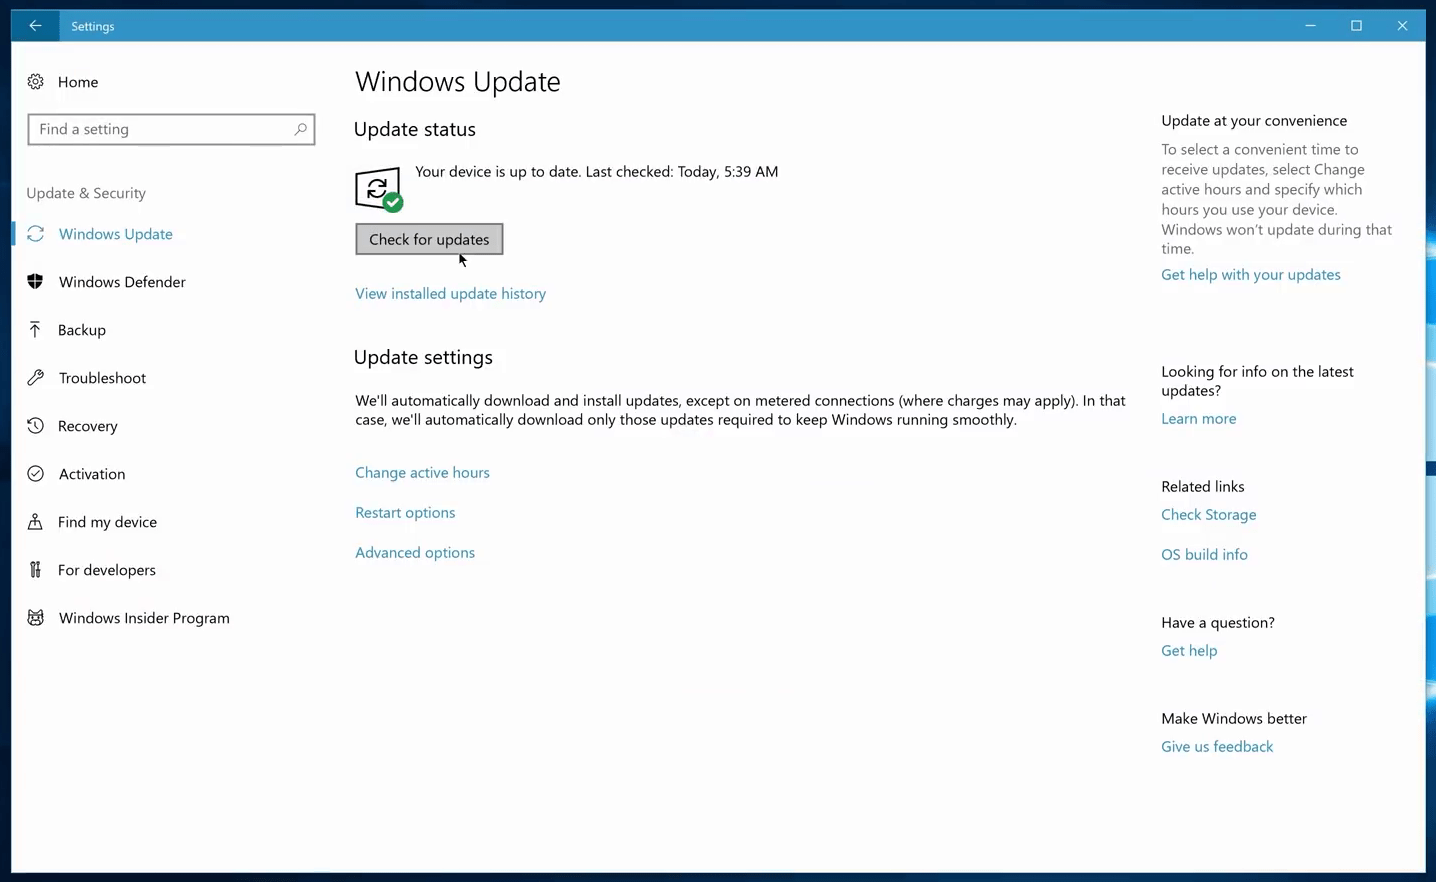
One of the advanced tip that recommended to boost up Windows 10 operating system speed. You need to keep up to date the OS version, the update process is easy, head over to Windows 10 start menu click on the Gear icon setting then click on the Security & Update option, and check for the latest update of OS. After installing the update your computer may run faster since that it includes the hardware updates.
Speed Up Your Windows 10 Performance
Step1. Power Option Settings
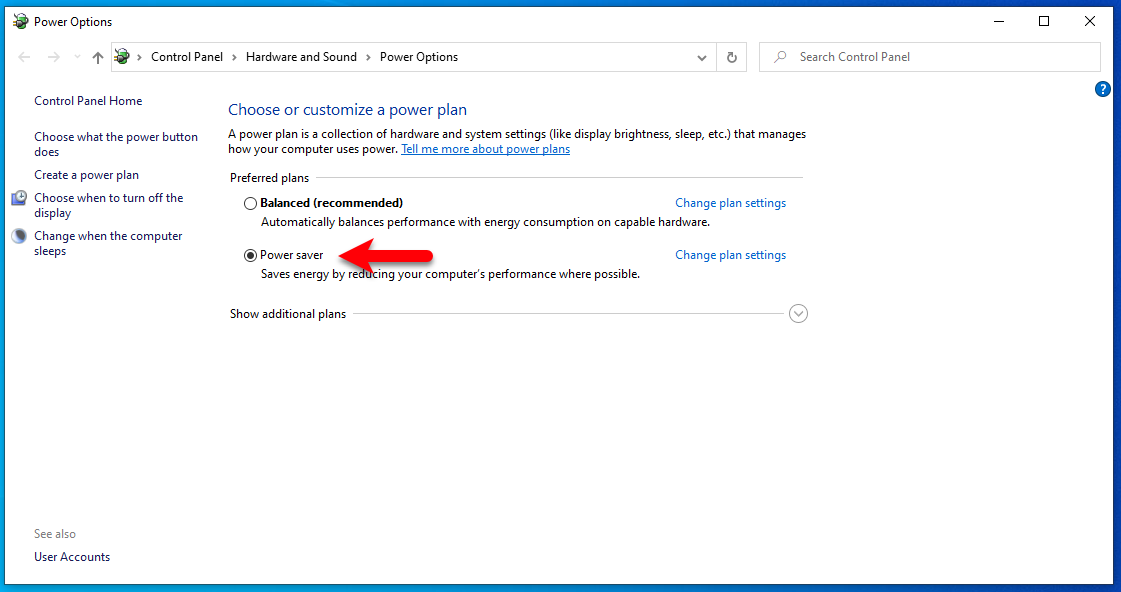
The power option is playing one of the important rules on every operating system, while opening the power option settings on the Windows 10 operating system, you will see there three different options Balanced (Recommended), Power Saver, and High Performance. Usually, as I have tested out the power saver has lots of effect on Windows 10 performance. But most of the users are selecting the High performance from the list.
Navigate to Windows 10 start menu then click on Gear icon settings, then click on the “System” option. From the left-handed menu bar select the “Power & Sleep” option, then click on “Power additional settings”. When the additional settings opened select “Power Saver”, or “High Performance” and click “Change plan settings”.
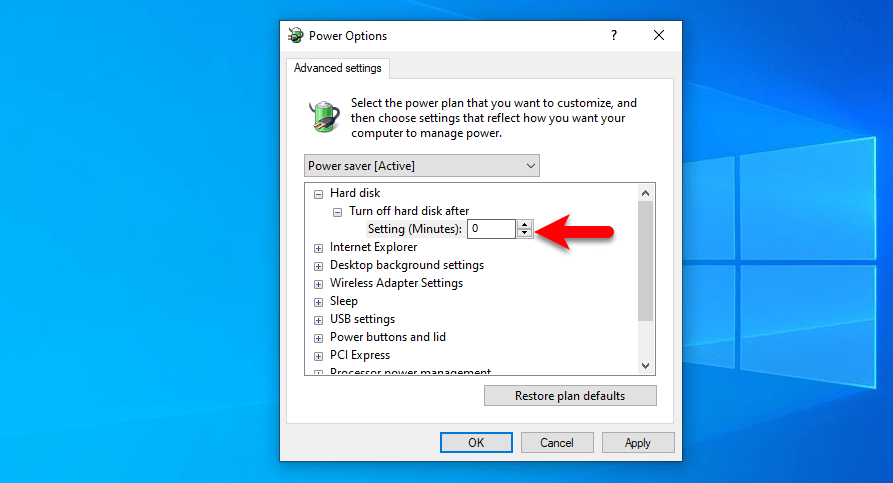
When the additional settings window opened click on the “Change Advanced Power Settings” option.

Go to the settings and change the Power minutes from 20 to “0”. Scroll down click on the “Power process management” option, then change the settings from %100 to “0”. And go to the Maximum process speed make sure that you have set it to %100, at last click on “Apply” to make changes.
Step2. Windows Settings
In this step are going to disable the unwanted or rarely using settings features from the Windows settings. By doing that you can retrieve a good amount of system resources free, which will naturally cause good system performance. The internal features which is not useful and you don’t need them in use. Simply you can disable that, as we have performed that it speeds up the operating system. The features which can cover the hardware usages, that can make your operating system to go slow down.
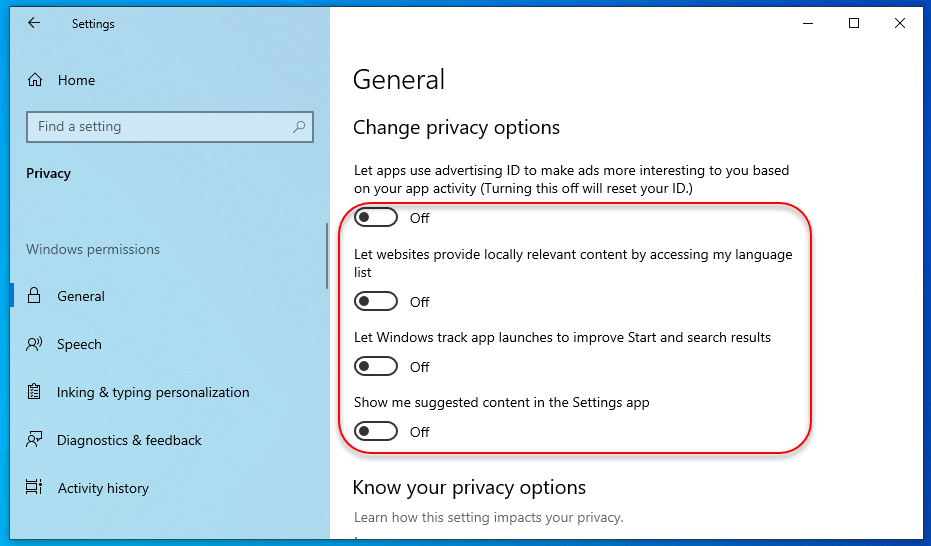
Click on Windows 10 start menu, then click on the Gear icon settings option. Once it launched click on the “Privacy” option, from the privacy option select the “General” option.
- Disable the “Let apps use advertising ID to make ads more interesting to you based on your app activity (Turning this off will reset your ID).
- Let websites provide locally relevant content by accessing the language list.
- Let Windows track app launches improve start and search results.
- Show me suggested content in the settings app.
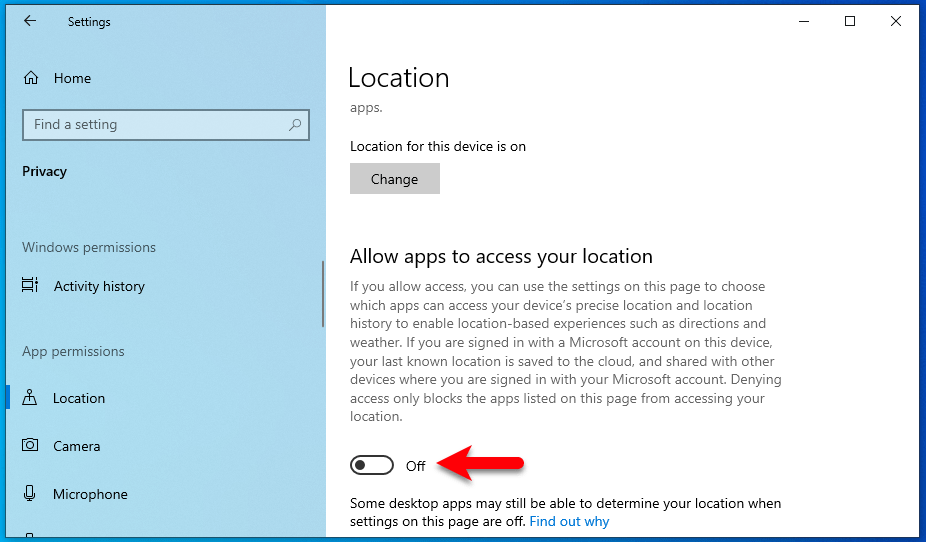
Navigate to the location tab and disable the location service, then click on the “Change” option and disable the location for this device.
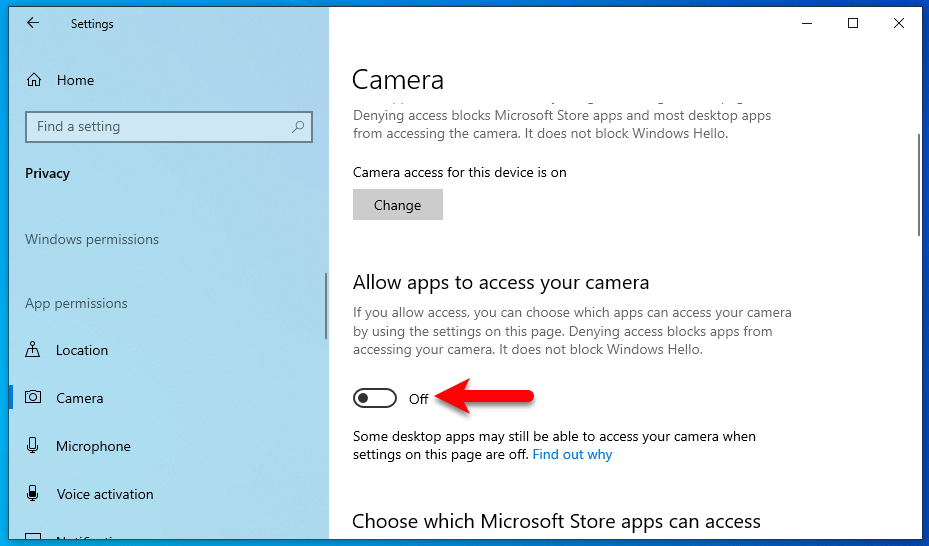
Navigate to the Camera tab, then disable everything that users your camera, except some required apps.
- Navigate to the Microphone tab and disable the apps that use the microphone, except some required apps.
- Navigate to the Contacts tab, then disable the apps which are not in use. Or if you have other preferences you can leave them enabled.
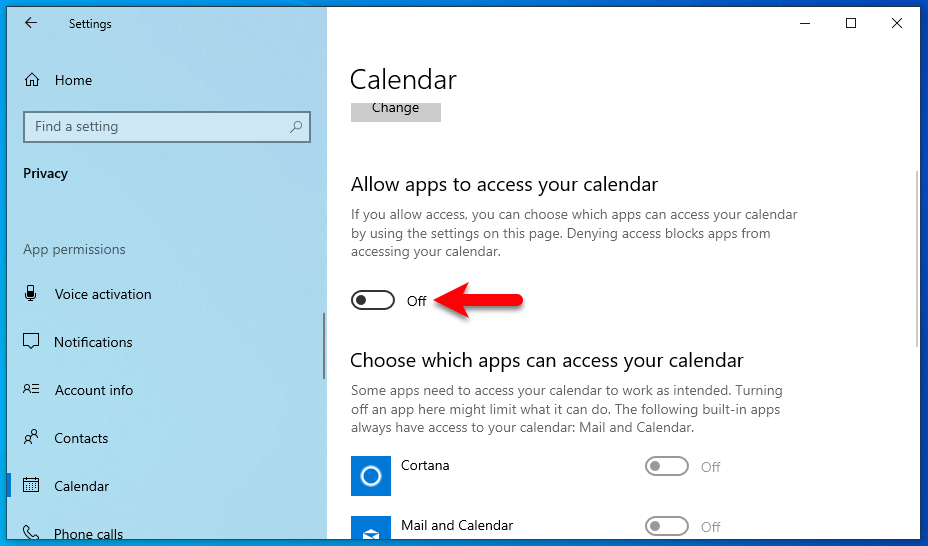
Head over to the Calendar tab and disable the let app access my calendar.
Navigate to the Call History tab and disable the let apps access my call history.

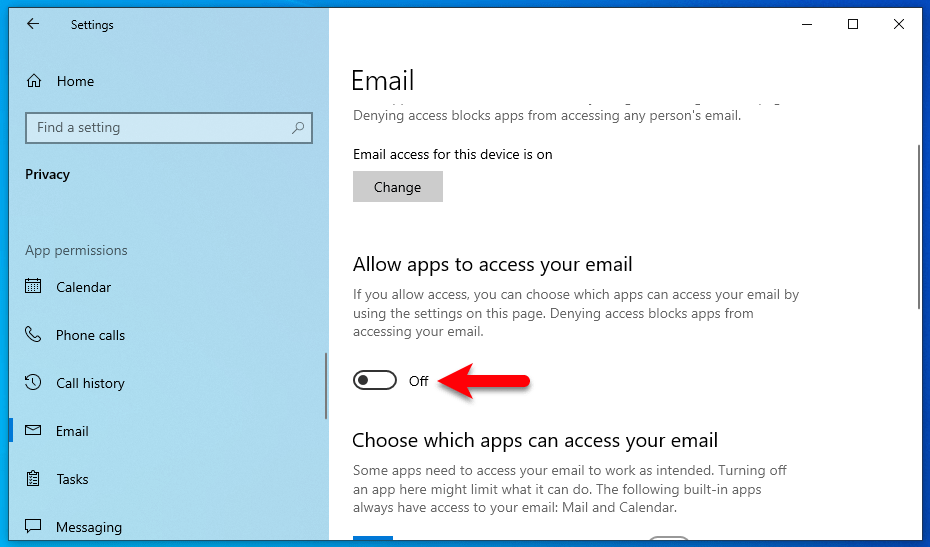
Navigate to the Email tab, then disable the Email option.
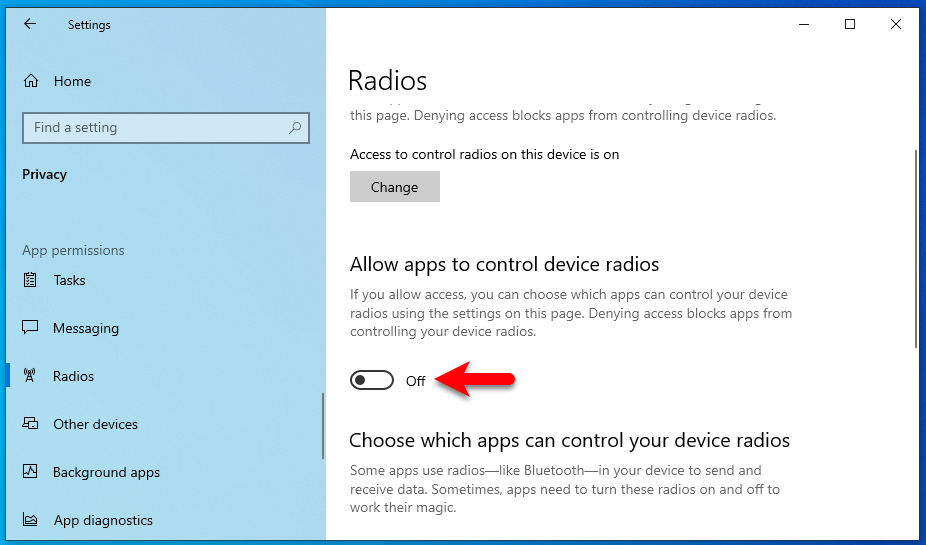
Navigate to the Radios tab, and disable the Radio option.
- Navigate to Feedback and Diagnostics and choose the “Basic: Send the data necessary to keep Windows up to date and secure”.
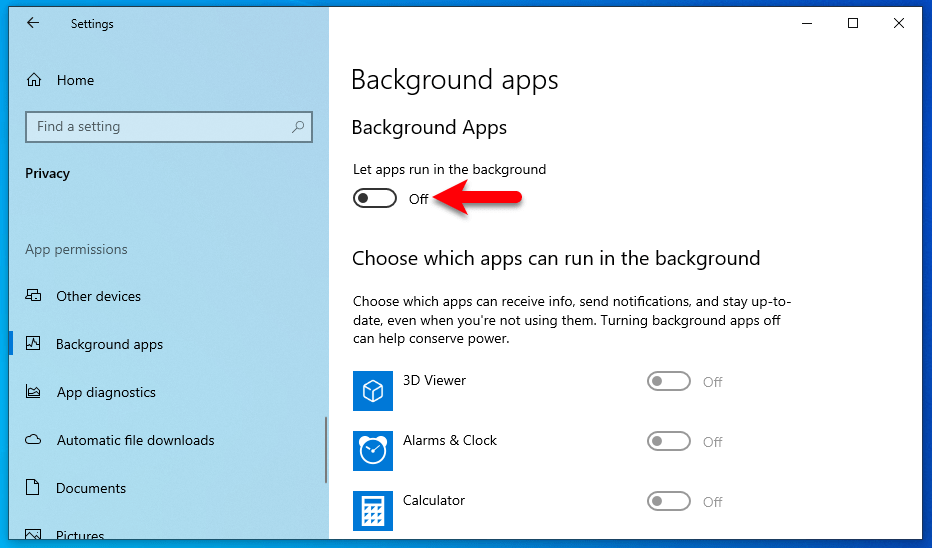
Navigate to the Background apps option, and disable the apps which are not in use, except the Email, Skype, Windows Defender, Settings, or other apps that you are using daily.
Now go to the settings main window, then click on “System” settings. When you are there click on the “Notification and actions” option and disable the below down settings.
- Show notifications on the lock screen.
- Show reminders and incoming VoIP calls on the lock screen.
- Allow notifications to play sounds.
- Show me the Windows welcome experience after updates and occasionally when I sing in to highlight
- what’s new and suggested.
- Get tips, tricks, and suggestions as you use Windows.
- Disable the apps which you don’t want to receive notifications.

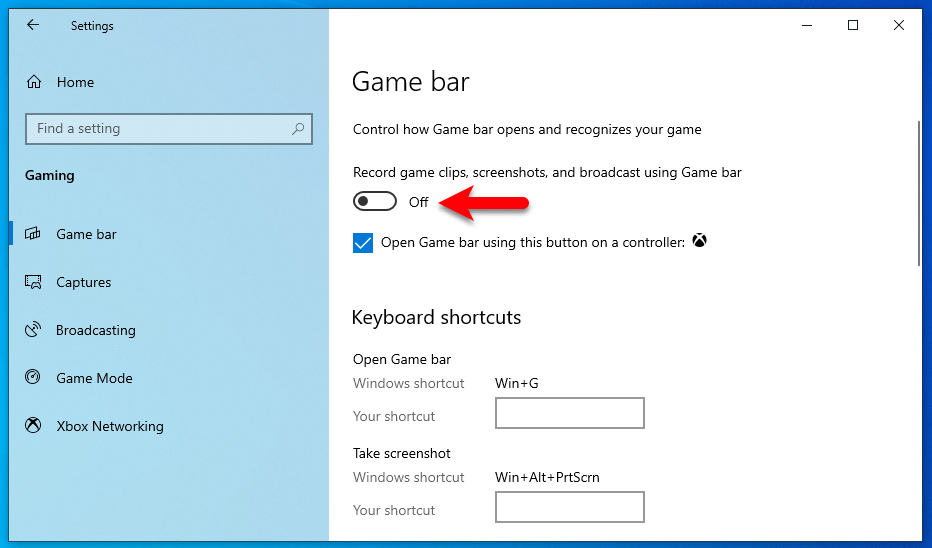
Again go back to the settings main window and click on the “Gaming” option. Click on the “Game Bar” option, and disable the option “Record game clips, screenshots, and broadcast using Game bar”.
- Navigate to the Game DVR tab, and disable the “Record in the background while I am playing Game” option.
- Disable “Record audio when I record a Game”.
- Disable “Capture mouse cursor in recordings”.
- Navigate to Broadcasting tab, and disable “Record audio when I broadcast”.
- Scroll down and disable “Capture mouse cursor in broadcast”.
- Go to Truplay tab, make sure that you have disabled that too.
Step3. Defragment and Optimize Drives
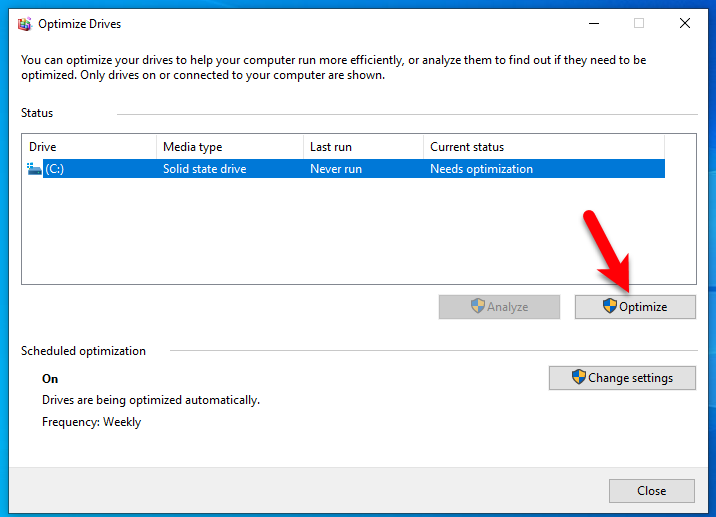
This defragment and optimize drives is an internal built which helps you to optimize your HDD/SDD drives on Windows 10 operating system or older version of Windows. It’s highly recommended for every user after getting much slow down there PC they are required to perform this in order to optimize the drives and boost up the machine speed.
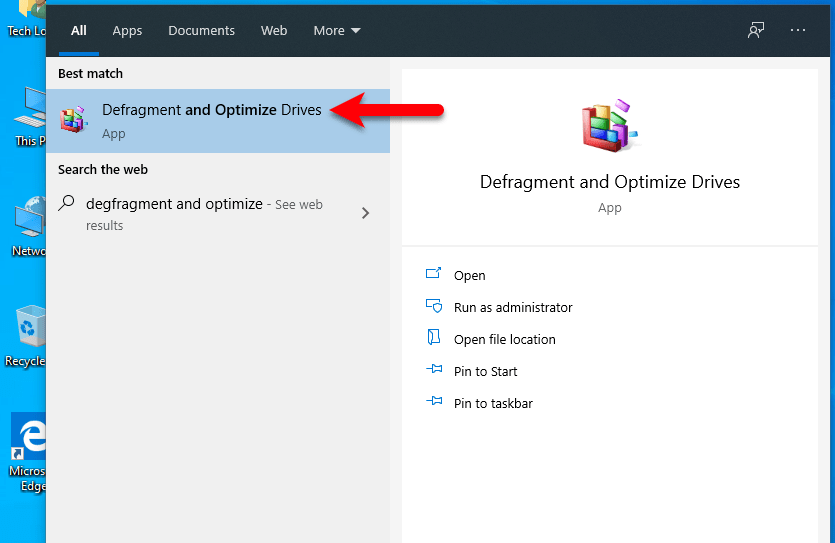
Head over to the Window 10 start menu, then type there “Defragment and Optimize Drives”, once it appeared hit enter to open.
Once the Degrament window opened, select the C drive or system drive which you have installed the Windows 10 operating system, and click on the “Optimize” option.
Step4. Disable Unwanted Startup Programs
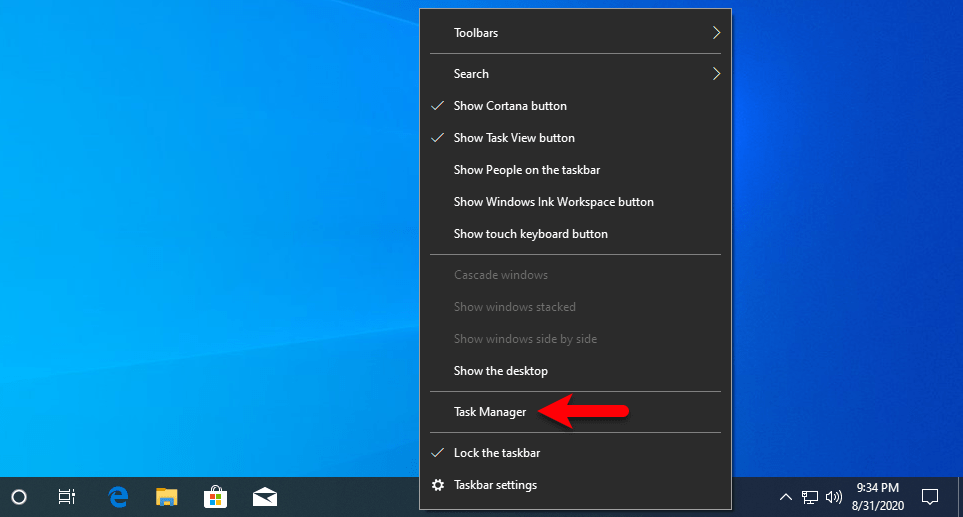
The startup program such as uTorrent application that always when turning on Windows 10 it will prompt-up. Therefore, the same there are a variety of applications that while turning on the Windows it will appear on the desktop window. Then those applications can cause you to make slow down your machine, there are two options to disable them. One is to disable that from the application setting, or the second is to disable them from the task manager.
Right-click on the Windows taskbar and select task manager option.
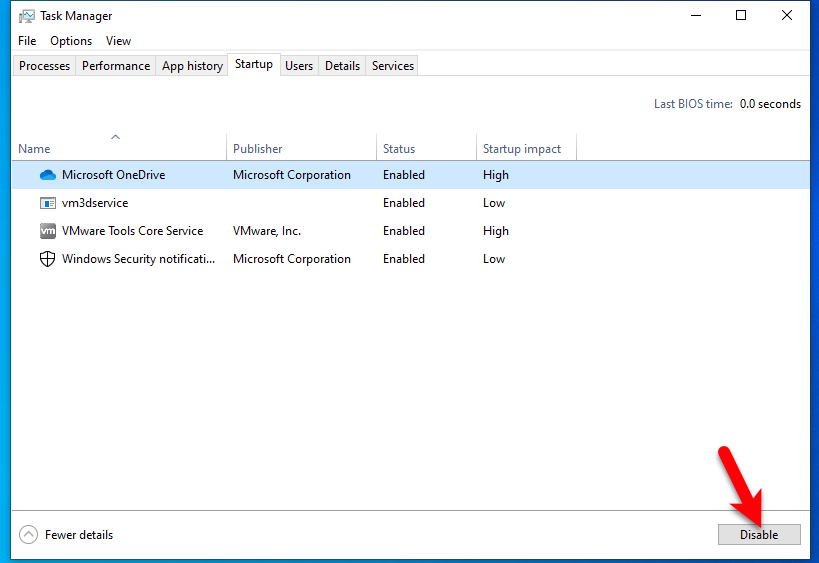
Once you are there select the startup tab, and click on the app and click disable.
Step5. Delete Every Unnecessary Files
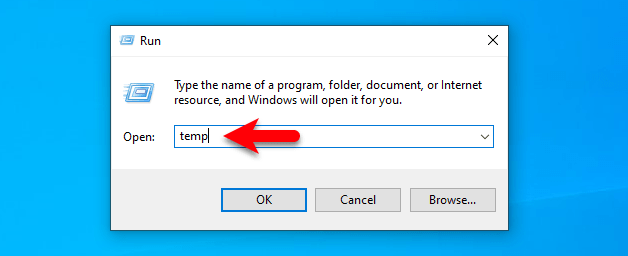
When installing an application on your computer, sometimes automatically the operating system creates unnecessary files on your system drive. Those files can be counted as bug files, that can cause to make your system to go slow down. Therefore, you need to delete those files, and files are temporary and that is not important in your system.
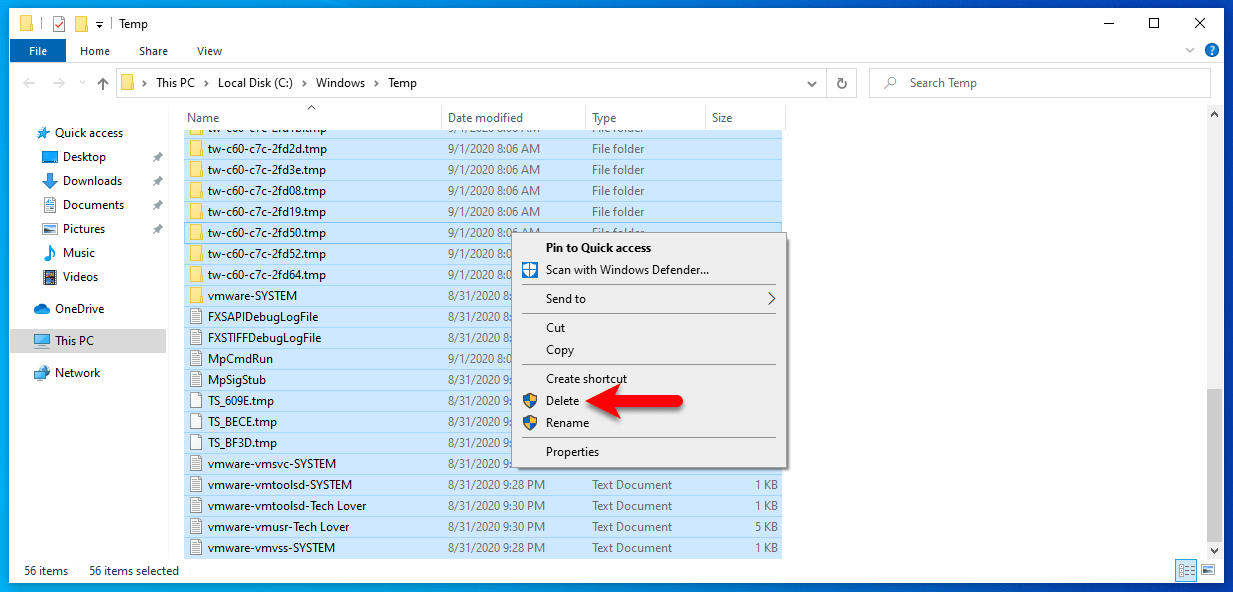
Press and hold the Windows+R button to open the “Run” window, once that is opened type “Temp” and press enter.
Once the temporary files opened select all and press the delete key.
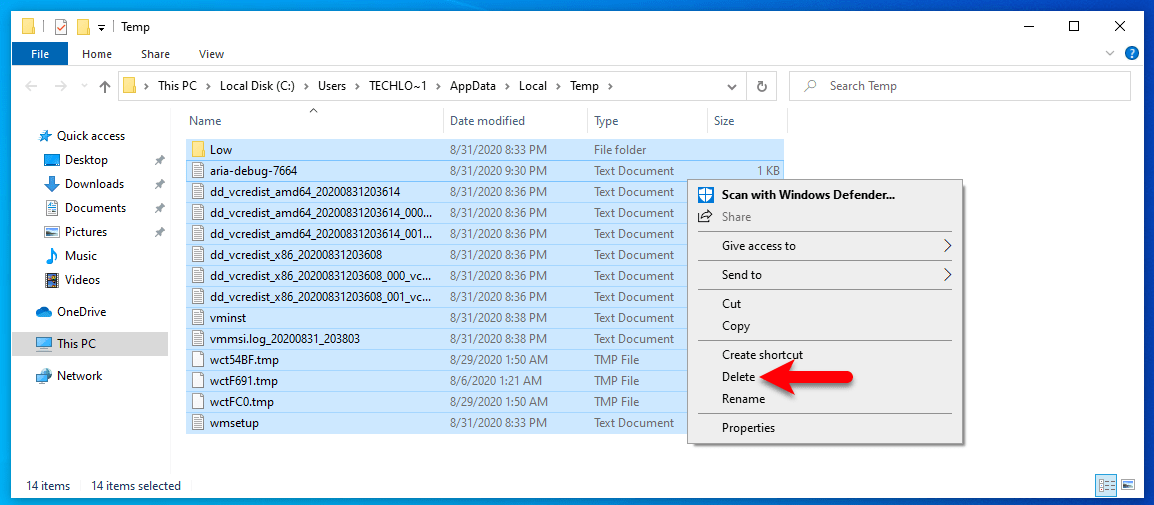
Again go to the “Run” tab, or press the Windows+R key to open, then type “%temp%” and press enter to open. Again select all the files and press the delete key.
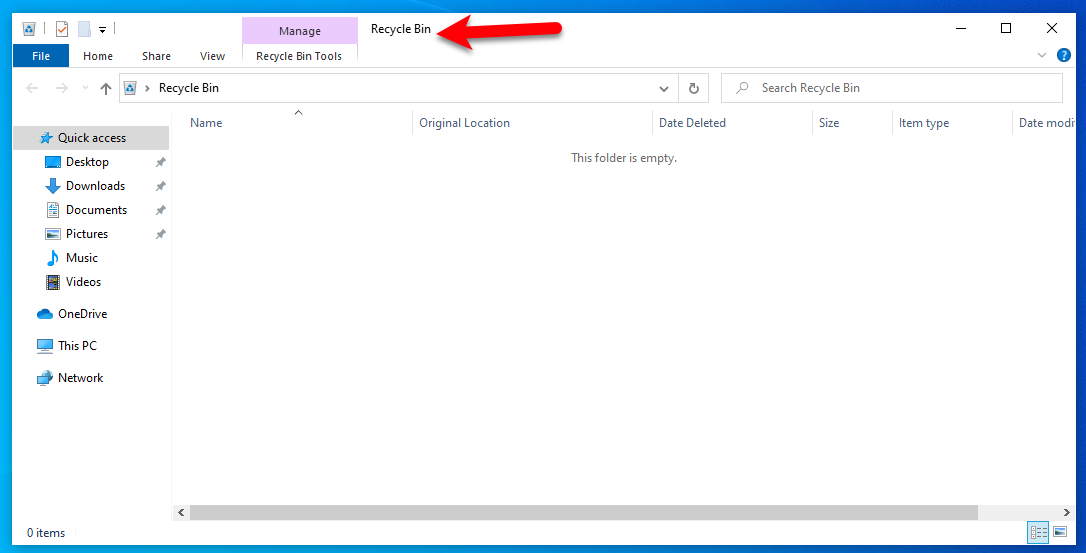
Before heading to the next step, make sure that to delete all the files stored in the “Recycle Bin”. Simply empty the recycle bin, sometimes it also causes to make your system to go slow down.
Step6. Disk Clean Up
Disk Clean up is a feature that natively available on every Windows operating system. This feature of the Windows operating system will help you to delete the junk files from the system drive. Those junk files can cause to cover system drive and make it happen to go your machine slow down. After cleaning the disk from junk files it can help your machine to boost up or speed its performance.
Navigate to Windows 10 start menu type “This PC”, then press enter to open. Once it opened right-click on C drive or system drive and select “Properties”.
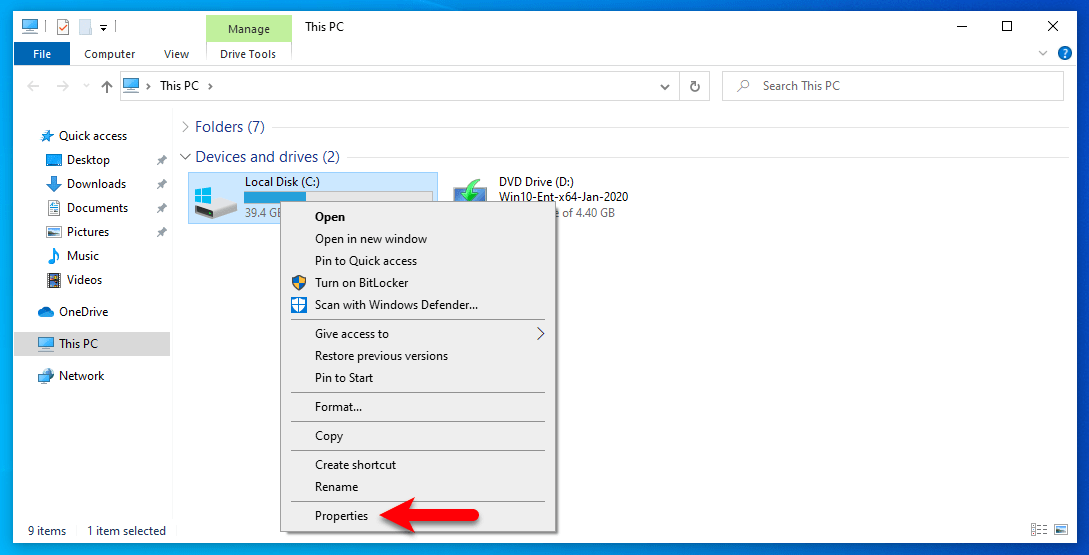
Under the General tab, you will find the Disk clean up option click on that to open.
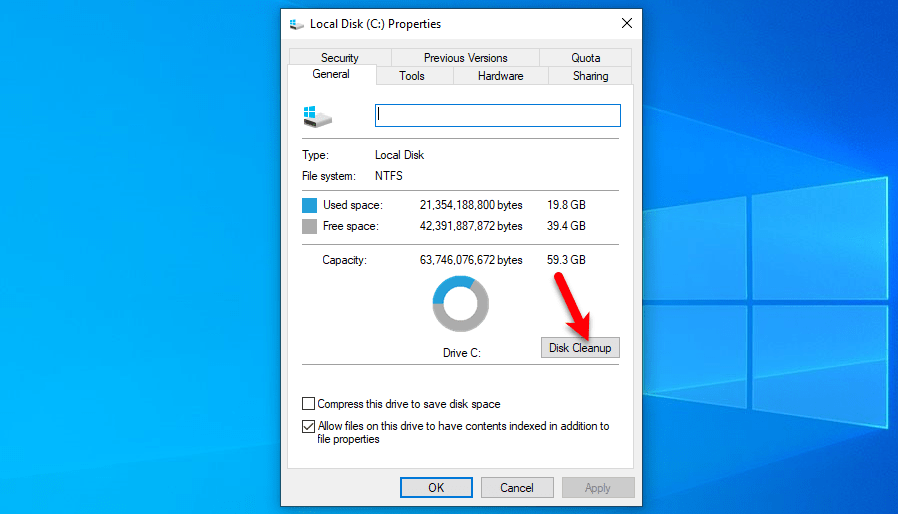
Select download program files, temporary internet files, recycle bin, temporary files, and thumbnails then click on “Clean up system files”.
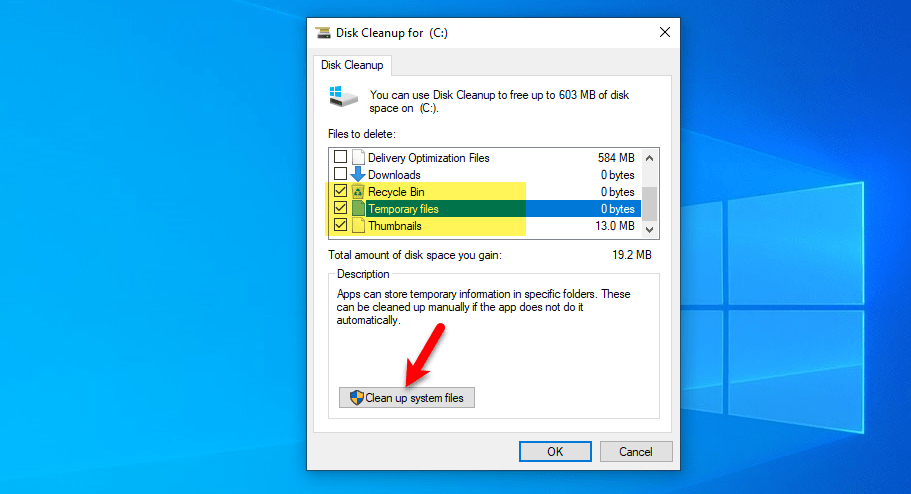
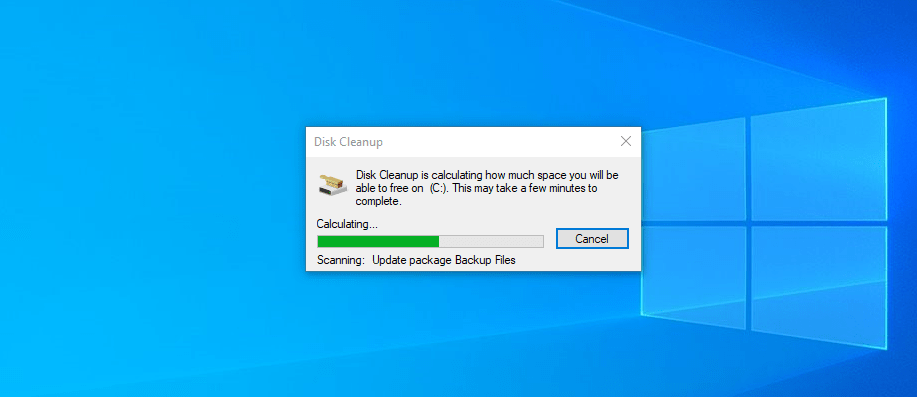
Now, wait until it should clean up the files from the system drive.
Step7. Registry Tweak
The registry tweak will help you to speed up your machine, there are some essiantial that help every Windows 10 operating system users to speed the performance of there machine. The tweaks are playing one of the important parts of Windows to keep your Windows fresh.
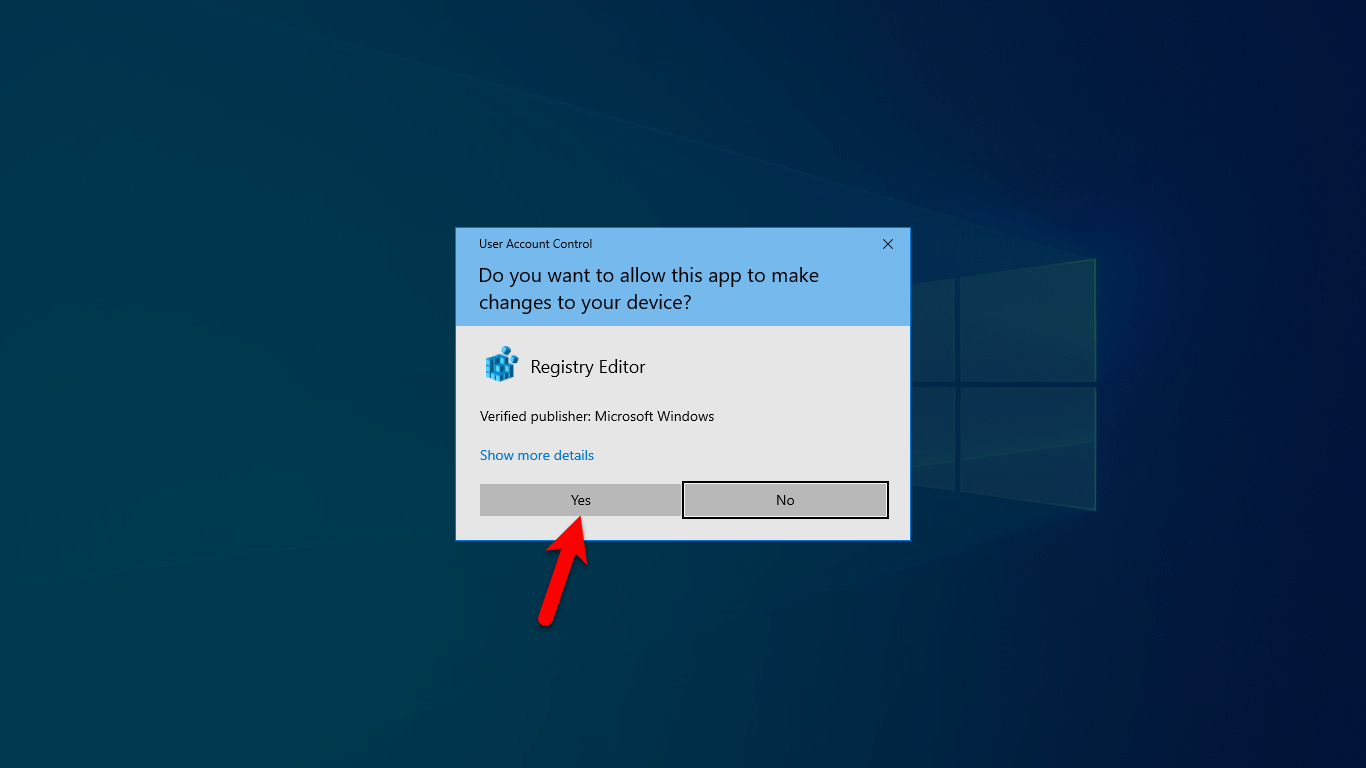
To do that, hit Windows+R to open the “Run” window, once it opened type “Regedit” and hit enter. So, click on Yes to open the registry window.
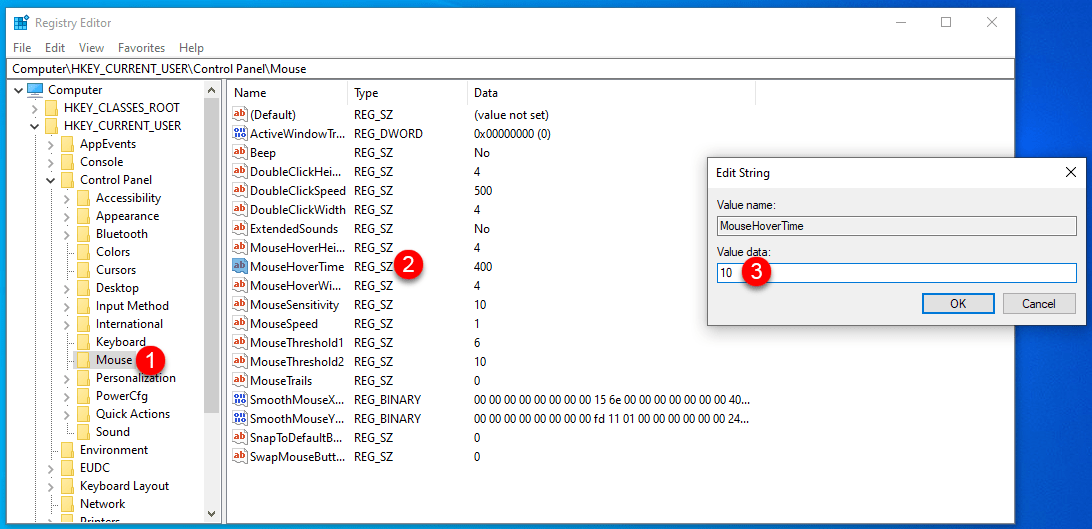
When the registry window opened, click on HKEY_CURRENT_USER>Control Panel>Mouse>Doubel click on MouseHovertime, then change its value from “400” to “10”.
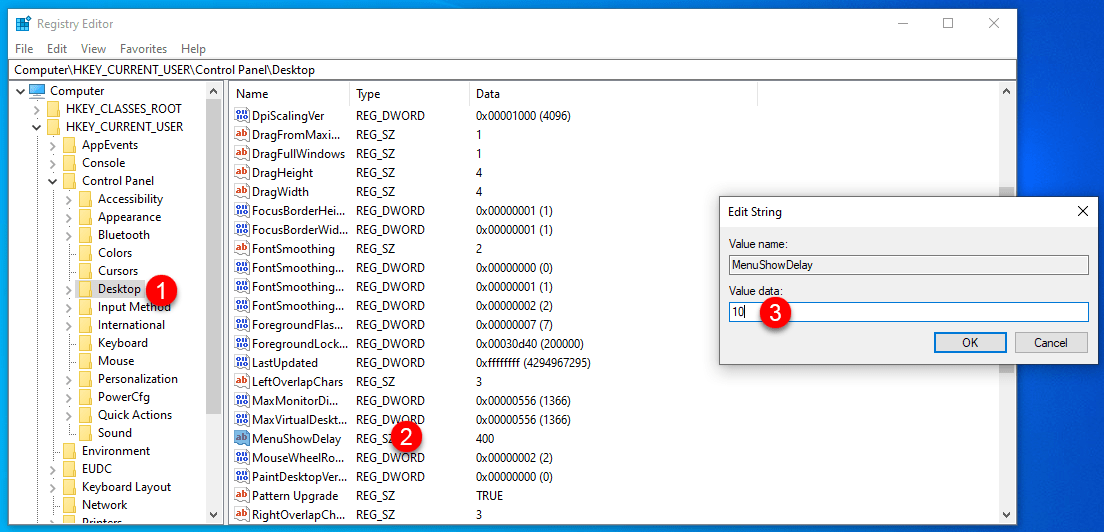
Select the Desktop folder, then double click MenuShowDelay, then change its value from “400” to “10” and press OK.
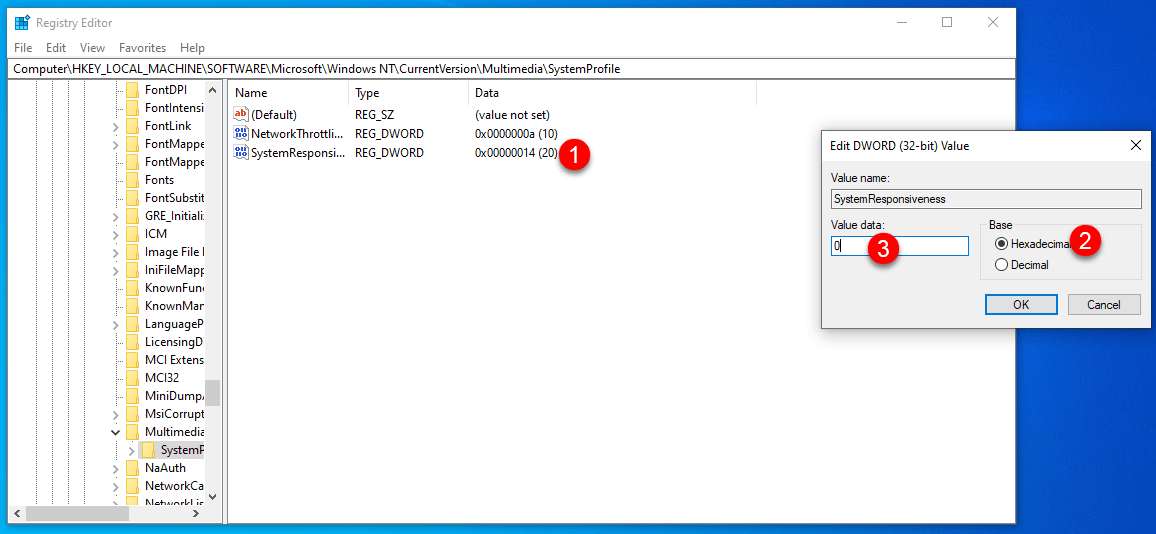
Go to HKEY_LOCAL_MACHINE>Software>Microsoft>Windows NT>Current Version>Multimedia>System Profile> then double click on System Response, change Hexademical and change its value to “0” and click OK.
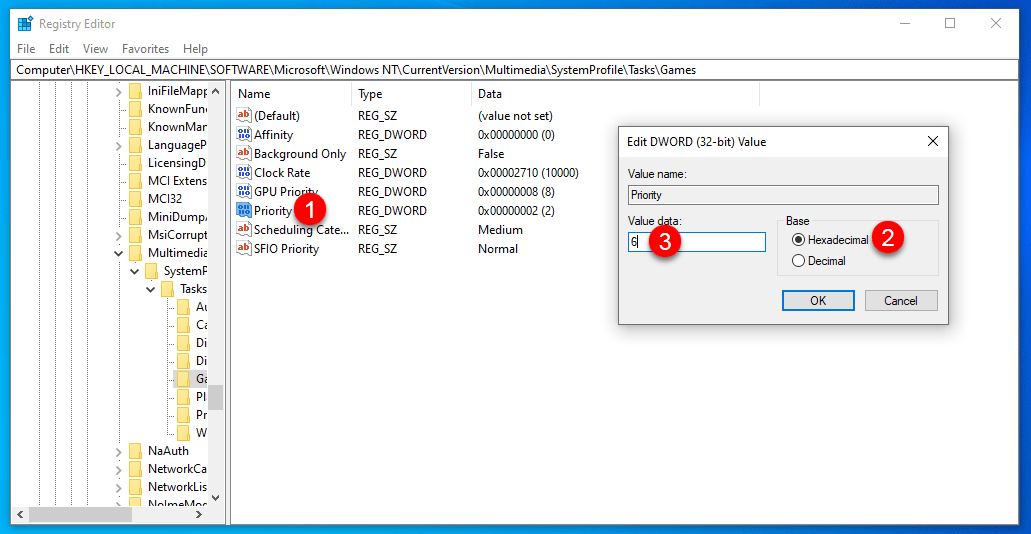
Go to the same system profile folder>Task>Game>Open GPU Priority, then set the value “8” and click OK.
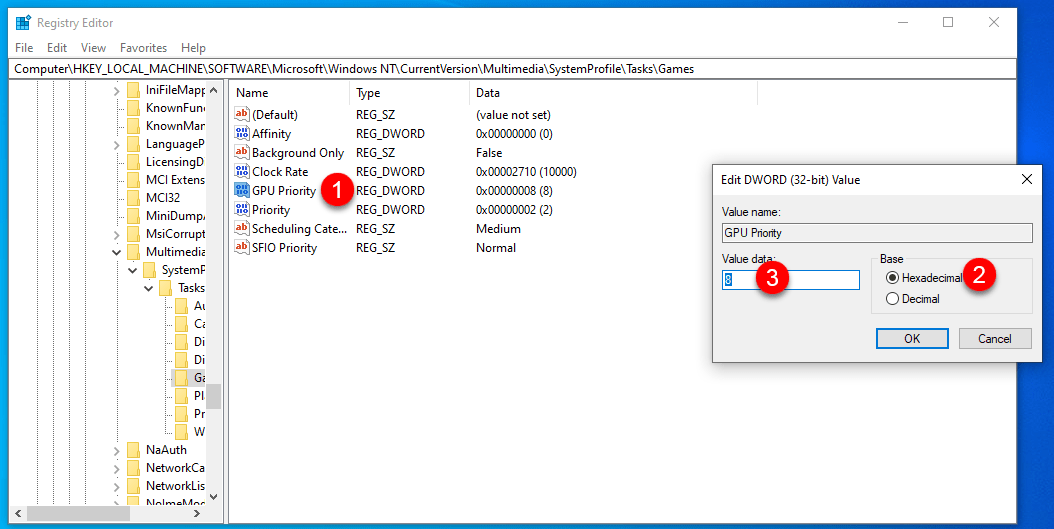
Now open the Priority file and change its value to “6”.
Step8. Reduce Runtime Service
It’s one of the best options to increase the performance by cutting off some of the services. The services which cover the full system and make the system go slow down.
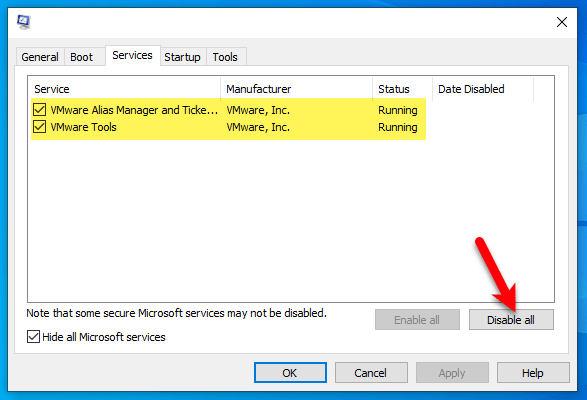
To do this, press Windows+R to open the “Run” window, then type “Msconfig” and press enter to open. When the system configuration window opened select the “Services” tab. Select the services which are running in the background and click Disable.
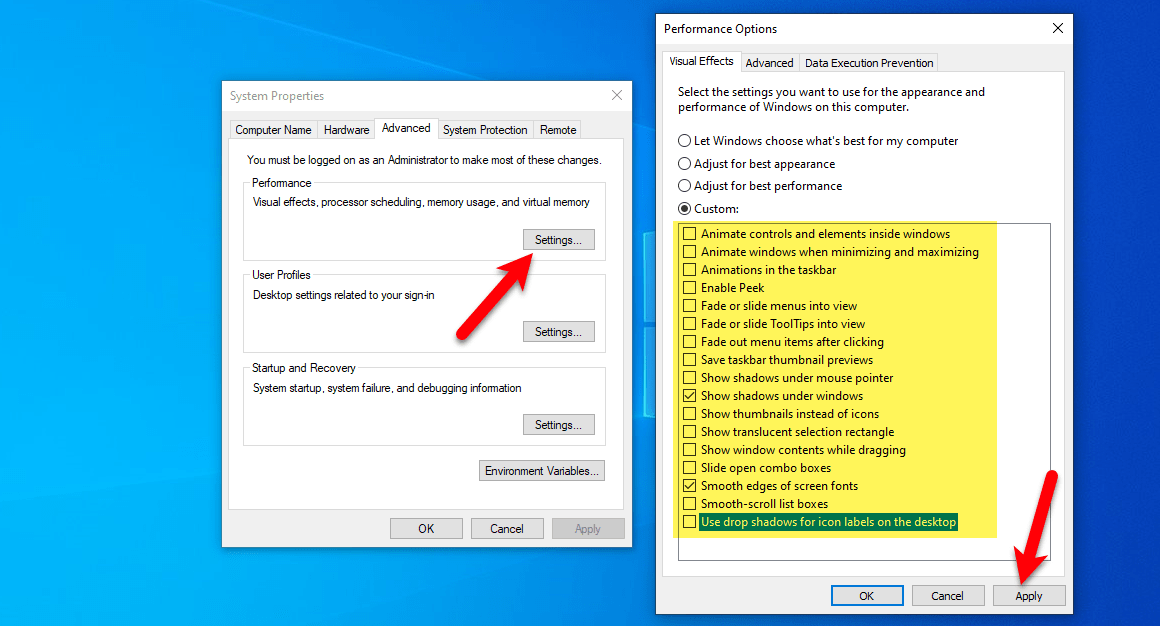
Step9. Reduce Visual Effects
This is the crazy step to reduce visual effects on the Windows operating system that can boost up your Windows 10 operating system performance. Some internal effects that are not too much important and not essiantial on Windows 10 for the daily use. Therefore, you can easily disable those all visual effects and boost up your Windows 10 operation system performance and quality.
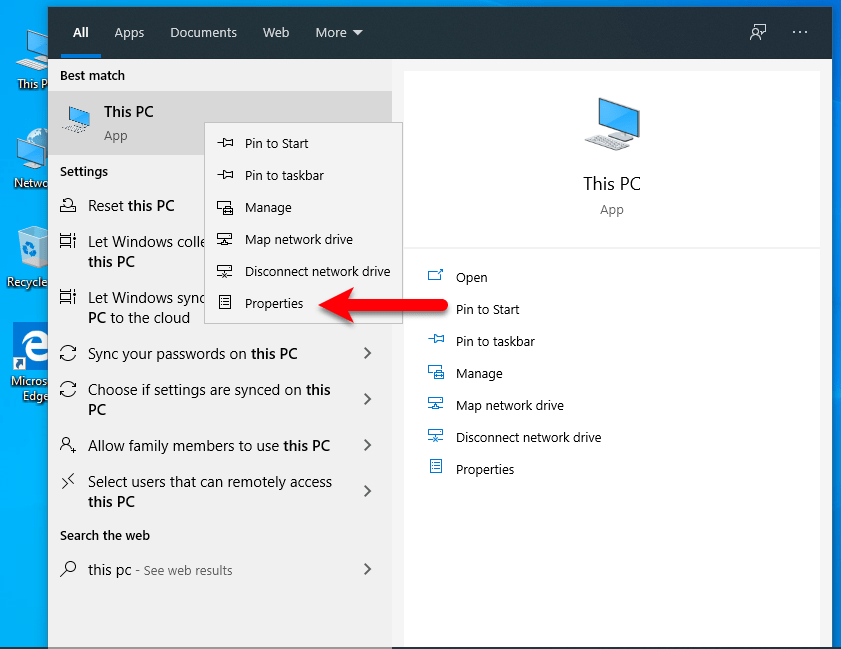
To do that, head over to Windows 10 start menu type “This PC” right-click and select “Properties”.
Now click on Advanced system settings.
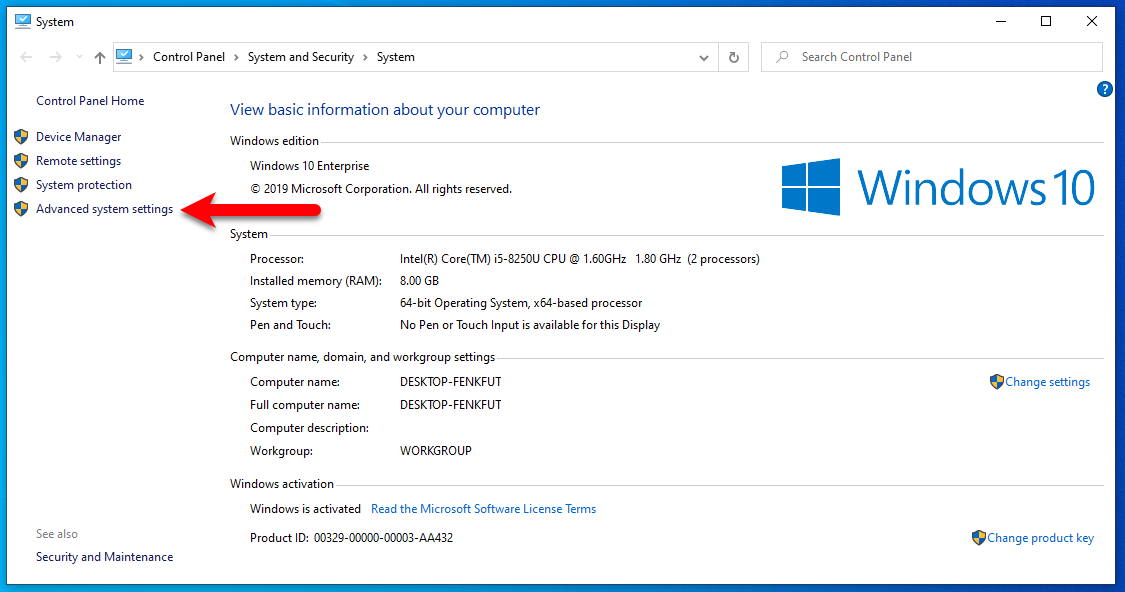
When the system properties opened, select the Advanced tab and click on settings. Once another window opened, then uncheck the preferences and click Apply to save changes.
Step10. Additional Performance Tips
The additional performance tips are contained in the video graphics card. Mostly, the graphic card is playing one of the advanced rules on a machine, whether you are using a macOS or Windows operating system on your computer. Then, of course, it will optimize the performance of your machine. Now most of the heavy software, Games, are running through the graphic card on the machine. In that case, having graphic card hardware on your computer can be better for the best performance.
We are highly recommending for the better performance of the graphic card because most of the new games are enough heavy and it can’t be launch on the RAM “Random processing unit”. Due to that you need to by and replace the graphic card on your machine.