At the worldwide developer conference, Apple rolled out macOS Big Sur with 11.0 versions for Macintosh users including bunch of handy features with a new UI interface. Alongside macOS Big Sur announced iOS 14, WatchOS 14, tvOS 14, and iPadOS 14. You can believe that the macOS Big Sur interface look is being inspired by iOS 14 and iPadOS 14. If you are a Mac user then you might check out the combination of iOS 14 with macOS Big Sur.
With the new UI interface, there are popular features such as Control Center, Messages, Maps, Notifications. These are features that preferred by users, but there are still +85 features introduced in macOS Big Sur 11. Such as, now every part of macOS Big Sur is having round curved edges. With those enhancements, macOS Big Sur is one of the biggest updates of Apple this year.
But unfortunately, Apple didn’t mention that macOS Big Sur is compatible with NTFS format to not? Since 190s NTFS is using as a format on Windows PC. And Mac PCs can’t ready and write NTFS format on macOS Big Sur or any older version of macOS. And the NTFS format is only using on Windows 10 for the filling system.
What is NTFS? NTFS is an NT file system sometimes New technology file system is the file system that the Windows NT operating system uses for storing retrieving files on a hard disk. NTFS is the Windows NT equivalent of the Windows 95 file allocation table FAT and the OS/2 high-performance file system HPFS. However, NTFS offers a number of improvements over FAT and HPFS in terms of performance, extensibility, and security.
Due to that Mac computers doesn’t allow the users to use the NTFS format on Mac as an open-source format. To utilize all the system files with NTFS format on a Mac, then the users must have to pay for that. Because the NTFS format is a major or Windows PC format, using this format on other platforms will be counted as an illegal action.
As a result, Mac doesn’t allow its users to read and write NTFS format on macOS drives. But indeed at the time of macOS Mojave 10.14, the developers figured out the solution to read and write NTFS format on Mac drives. But there are third-party software also to pay for that in order to enable the read and write format for macOS drives.
Through this guide, I will explore for you how to read and write NTFS format on macOS Big Sur. There is a small piece of commands which gives you the ability to read and write NTFS format. Also, the third-party software’s as well.
Read and Write NTFS Format on macOS Big Sur
While running macOS Big Sur on your PC, then some light commands you will activate read and write options. For applying the commands we need to run terminal, this application already available on macOS Big Sur.
The terminal method is pretty easy and it’s free too, don’t worry the process is working very well. As I have tried many times in macOS Mojave, macOS Catalina, and now trying on macOS Big Sur. Follow the below down instructions with terminal prompt.
- If your USB flash drive is attached to your PC, then completely eject the USB flash drive.
- Rename your USB flash drive with an exact name.
- Head over, to search spotlight type terminal press enter to open. Or navigate to Applications folder, Utilities, and terminal.
- When the terminal opened copy the below commands and paste into the terminal then press enter.
sudo nano /etc/fstab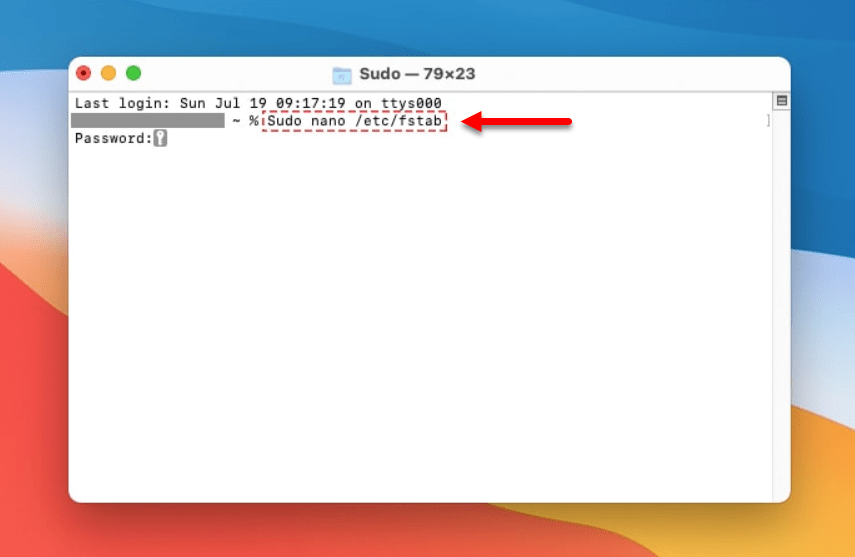
When the fstab code applied head over to the next commands. Change the “Name” of the below down commands with the name of your USB flash that you want to write for NTFS format. For example, we have used the “Data” name for the USB flash drive. Apply the commands and press the enter key.
LABEL=NAME none ntfs rw,auto,nobrowse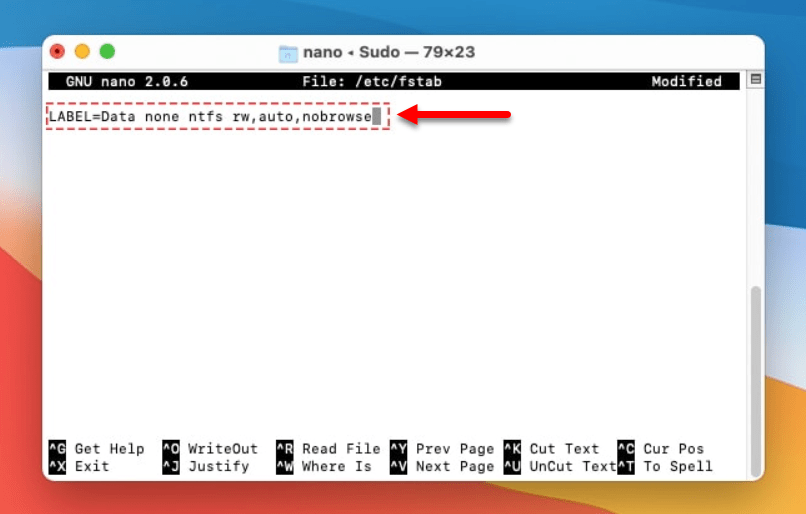
- Press and hold the control key with the letter “O” key to save the new files, Then press and hold the “Enter” key with both Control plus “X” key to close the GNU or terminal window.
- And now remove the USB flash drive and re-attach back to your PC.
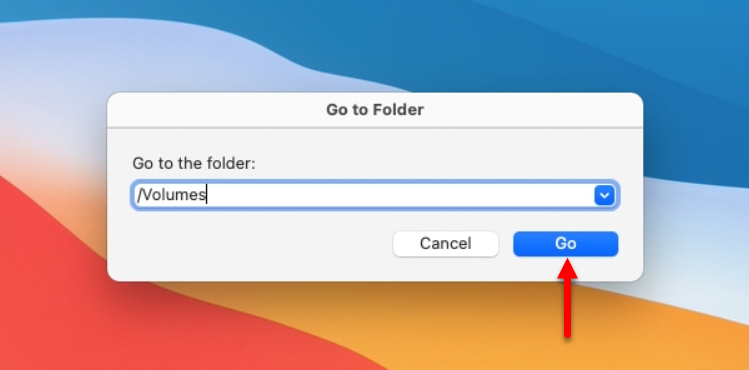
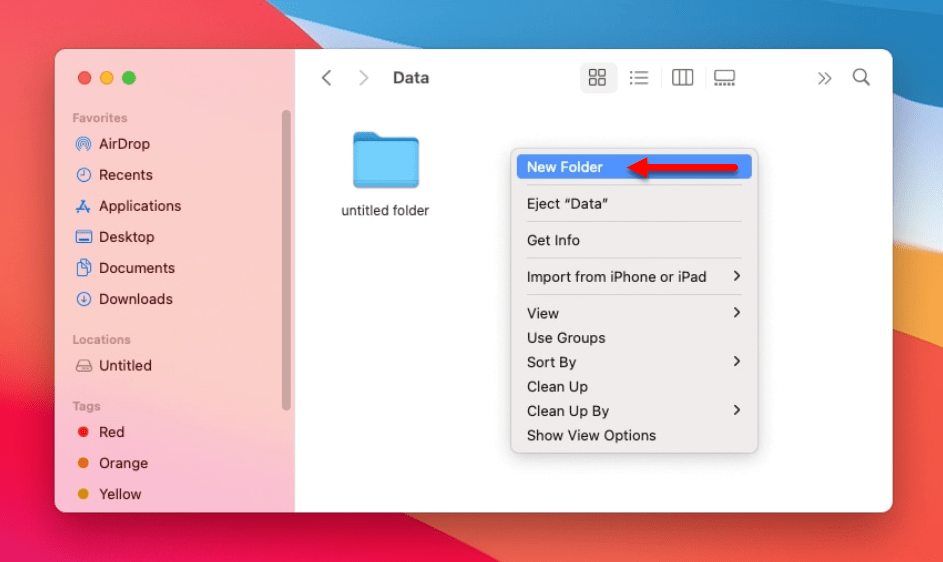
- Now you will be able to access NTFS format on macOS Big Sur. To access the file of NTFS format head over to the “GO” tab and folder tab. Type there “/Volumes” in the search box.
Those instructions about the terminal method that allow you to access or enable the NTFS format on the new operating system macOS Big Sur. Again you made the above changes with small pieces of codes, but if you want to undo those changes. Simply remove the codes using the terminal, but it depends on your luck that will work for you or not.
Read and Write NTFS using Third-Part Software
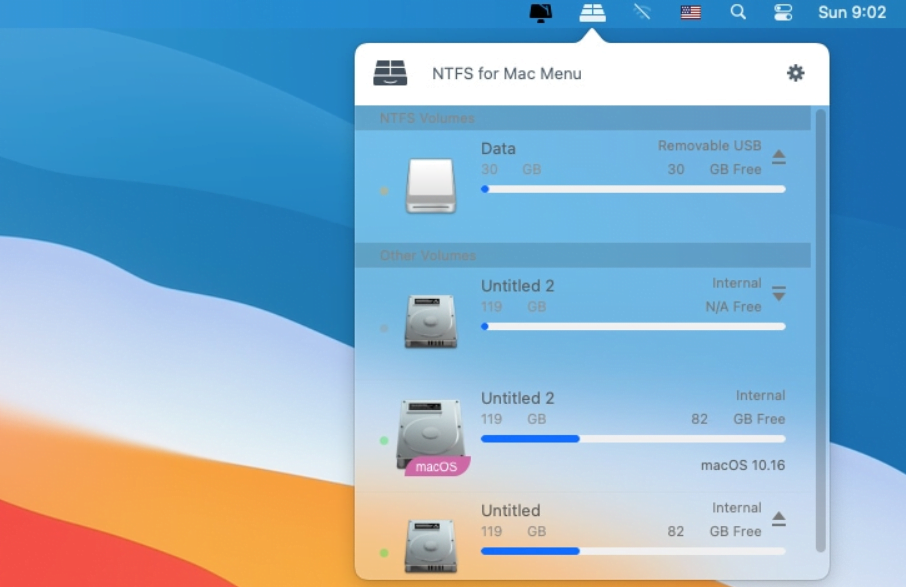
There are a bunch of software that offers you the opportunity to read and write NTFS format on the macOS operating system. But the paragon software is the best for read and write methods on macOS. Using the third-party software offers you to take benefits of NTFS drives on Mac PC. This application has the feature to read and write the HDD, SDD, USB Drive using Windows 10 formatting process.
Microsoft NTFS for Mac by iBoysoft can mount NTFS drive in read-write mode and enables NTFS file system read-write compatibility on your Mac.
The paragon Application allow the user to read and write NTFS format on Mac, or easily using this Application you can edit, remove, or delete the files from NTFS format. The paragon software has one of the fastest process guide among the third-party Applications for NTFS format.
I preferred the easiest method using the terminal prompt, and of course, the Paragon software guideline for NTFS format is pretty easy. But it can happen to face any problem or should damage the drive. It’s better to use the terminal prompt for enabling read and write NTFS on Mac on macOS Big Sur.
However, we are working or level best to provide useful how-to articles. And as you know macOS Big Sur is the latest operating system, and have done all the process of installing macOS Big Sur on VMware and VirtualBox. If you want to check it out then click on the below-down links.