Since macOS Big Sur is one of the most advanced operating systems this year from Apple company. Apple introduced macOS Big Sur at the WWDC “Worldwide Developer Conference” with a bunch of handy features. Finally, kicked out it’s final one month ago, now you can know the macOS Big Sur final version with the update code of 11.0.1 on the App Store. On the other side, with the finalization of macOS Big Sur at the market alongside introduced the M1 Processor.
The Apple M1 is the first ARM-based system on a chip (SoC) designed by Apple Inc. as a central processing unit (CPU) for its line of Macintosh computers. It is deployed in the MacBook Air (M1, 2020), Mac mini (M1, 2020), and the MacBook Pro (13-inch, M1, 2020). It is the first personal computer chip built using a 5 nm process. Apple claims that it has the world’s fastest CPU core “in low power silicon” and the world’s best CPU performance per watt.
However, is that if you are a MacBook user then have the interest to test out Windows 10 on your computer. Then don’t worry though this guide I will show you to make it happen. As Windows 10 is a tuff operating system that has over a billion pre-installed users. Mostly, Microsoft is updating the operating system after each month, when they are getting feedback from any issue on the operating system. So, let’s test out the latest update of Windows 10 which is popular with the 2H2 version.
What is Parallels Desktop?
Parallels Desktop for Mac is software providing hardware virtualization for Macintosh computers with Intel processors. It is developed by Parallels, in 2018 a subsidiary of Corel.
The best features highlighted in Parallels desktop 16?
- DirectX 11 and OpenGL 3: Up to 20 percent faster DirectX 11 and improved OpenGL 3 graphics in Windows and Linux.
- Increased battery life: Stay productive on the go with up to 10 percent longer battery life when Windows runs in Travel Mode.
- Automatically reclaim disk space: Virtual machines (VMs) can be set to automatically return unused disk space when shutting down.
- New multi-touch gestures for Windows apps: Use smooth zoom and rotate Trackpad multi-touch gestures in Windows apps.
- Enhanced printing: Print on both sides and use more paper sizes, from A0 to envelope.
- See video demonstrations of new Parallels Desktop 16 features on macOS Big Sur: Select here to watch the new features highlights video.
There are a variety of virtualization applications like VMware Fusion, VirtualBox, but for the completion of our experience with this article, we use Parallels desktop. Parallels desktop works the same as VMware Fusion or VirtualBox if you ever use any of them.
On the other hand, if you are using Windows 10 operating system, then easily using VMware Workstation or VirtualBox you can install macOS operating systems, Linux, or even Android operating system on it through a virtual machine. If you don’t know how to do it then check the below links.
- How to Install macOS 11 Big Sur on VMware on Windows PC
- How to Install macOS 11 Big Sur on VirtualBox on Windows PC
Install Windows 10 on macOS Big Sur Via Parallels Desktop
Before installation, you have to download the required files below down.
Usually, Parallels desktop is not a free application for using its full feature you need to pay money. But it can work only for 15 days which is not suitable for you. Using its full version you have to pay $79 dollar.
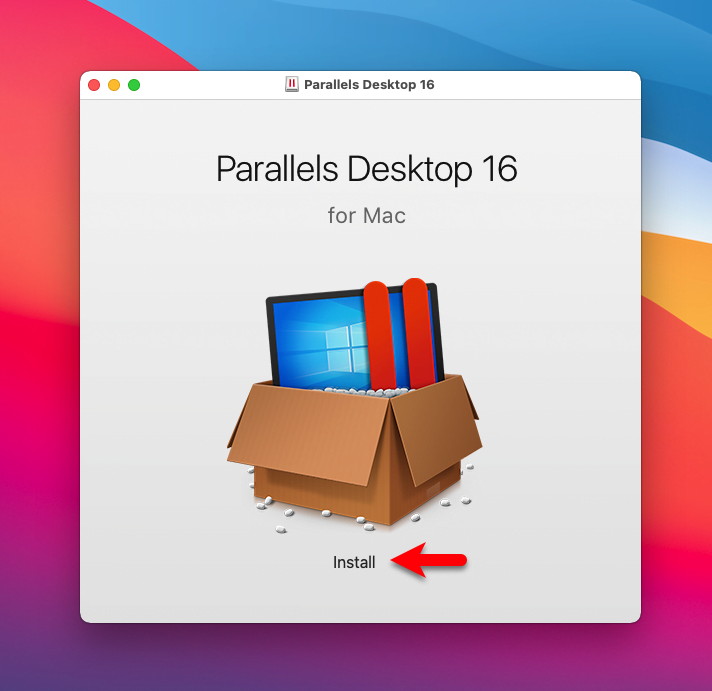
While you have downloaded the Parallels desktop, the file will be compressed. So, for decompressing double-click on the to extract its setup. Once the setup extracted double-click to launch the installation, on the installation wizard click on Install.
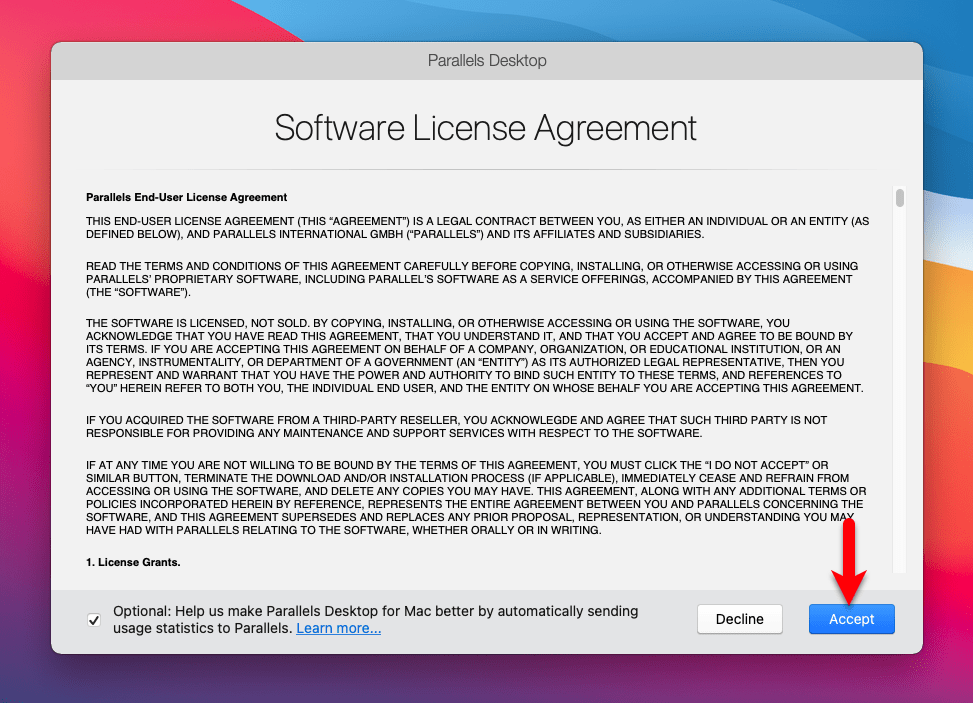
Now read the license agreement of Parallels desktop and click Accept.
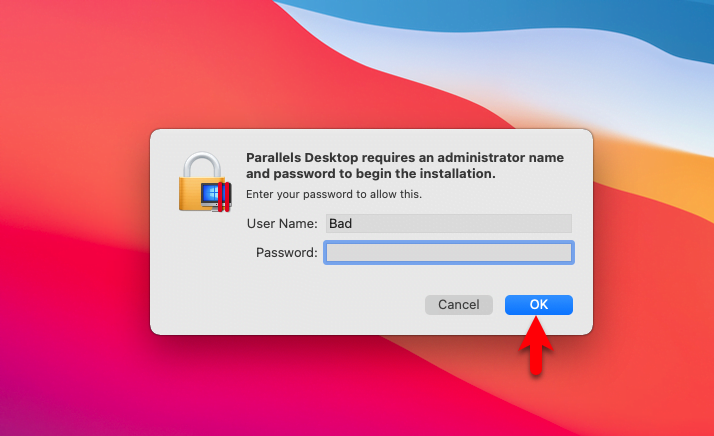
To begin the installation you need to enter your username password and click OK.
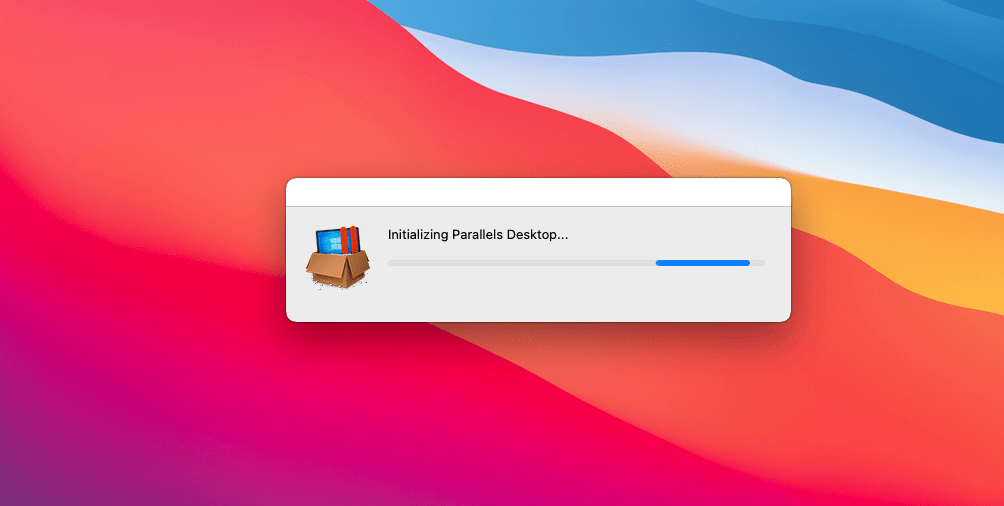
Wait until it should initialize the Parallels desktop.
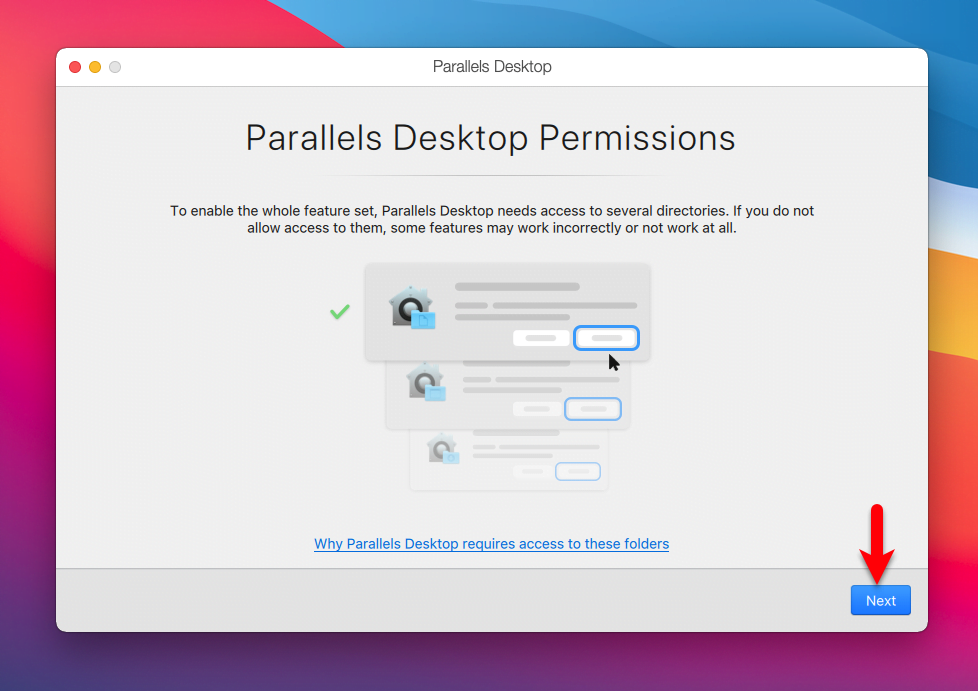
To enable the whole feature set, Parallels desktop needs access to several directories. If you do not allow access to them, some features may work incorrectly or not work at all.
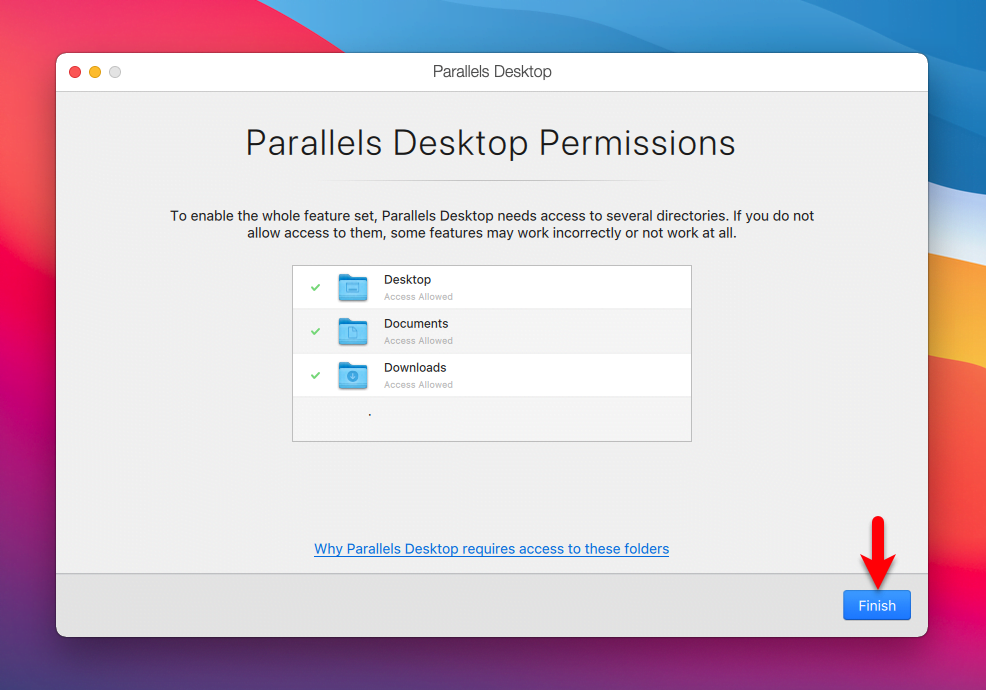
And now click Finish to finalize the installation.
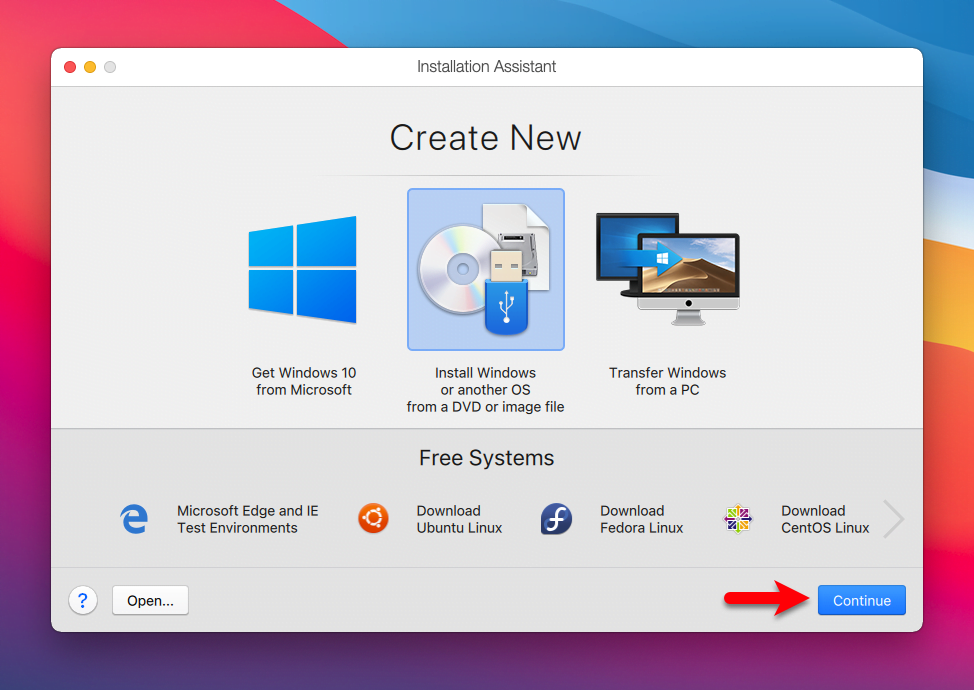
Once the installation finished automatically the Parallels desktop will open, on the main window click on “Install Windows”.
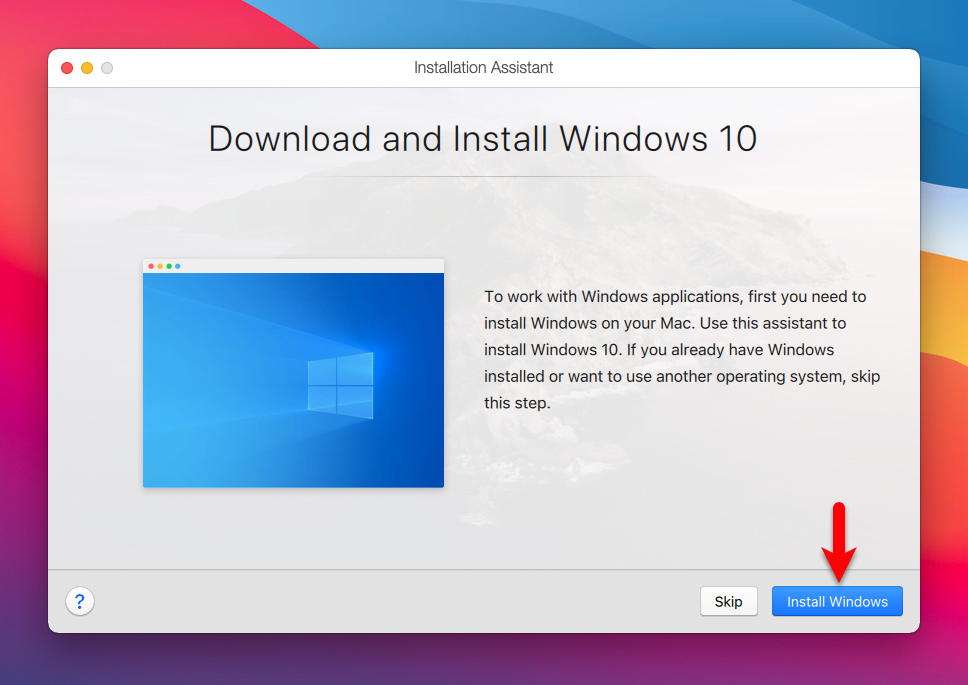
In this wizard, you have three different options, whether you Get Windows 10 from Microsoft through the internet, or you will install Windows or another from a DVD image file, or you will transfer Windows from a PC. As we have already the image file of Windows 10 so we will select the second option, once you have selected the option click continue.
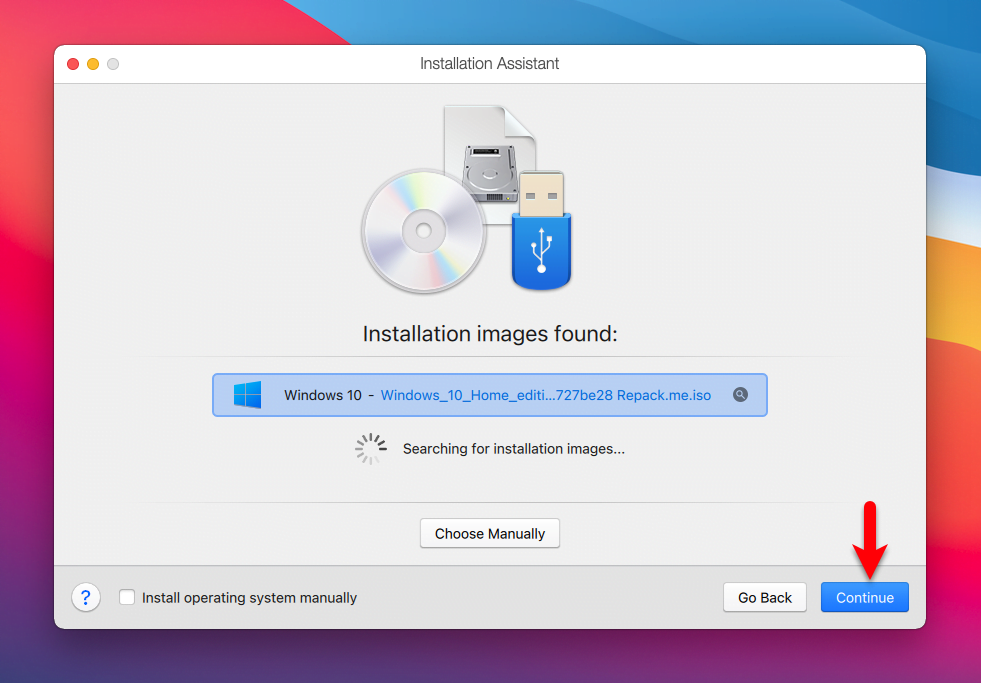
Now automatically it will search for Windows 10 image files on your computer, once the image detected click continue.
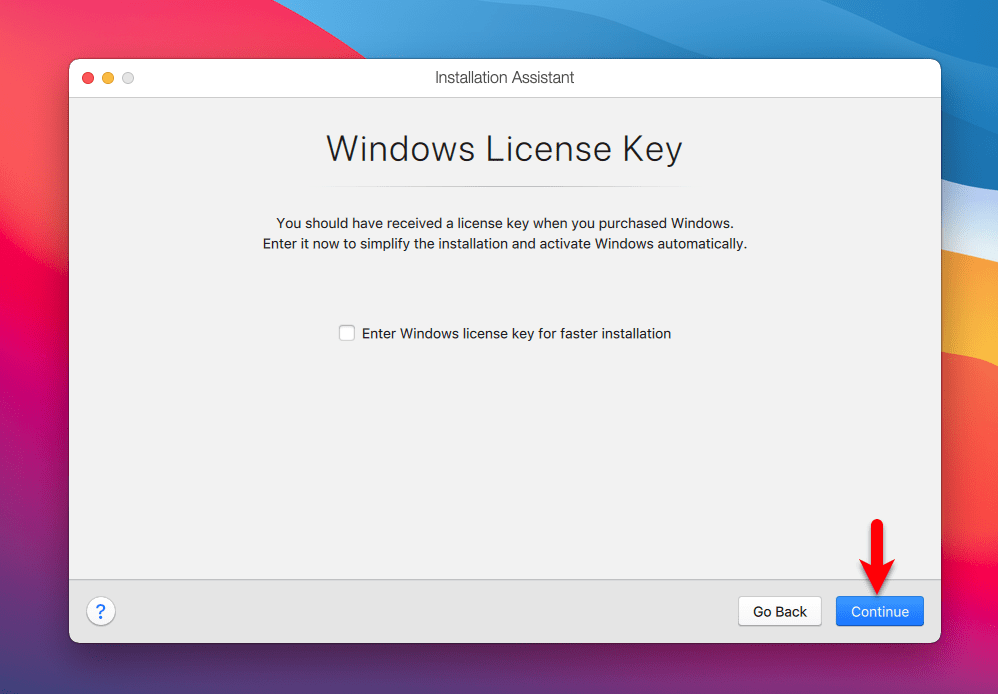
If you have Windows 10 license key enter it if not then continue without the license key.
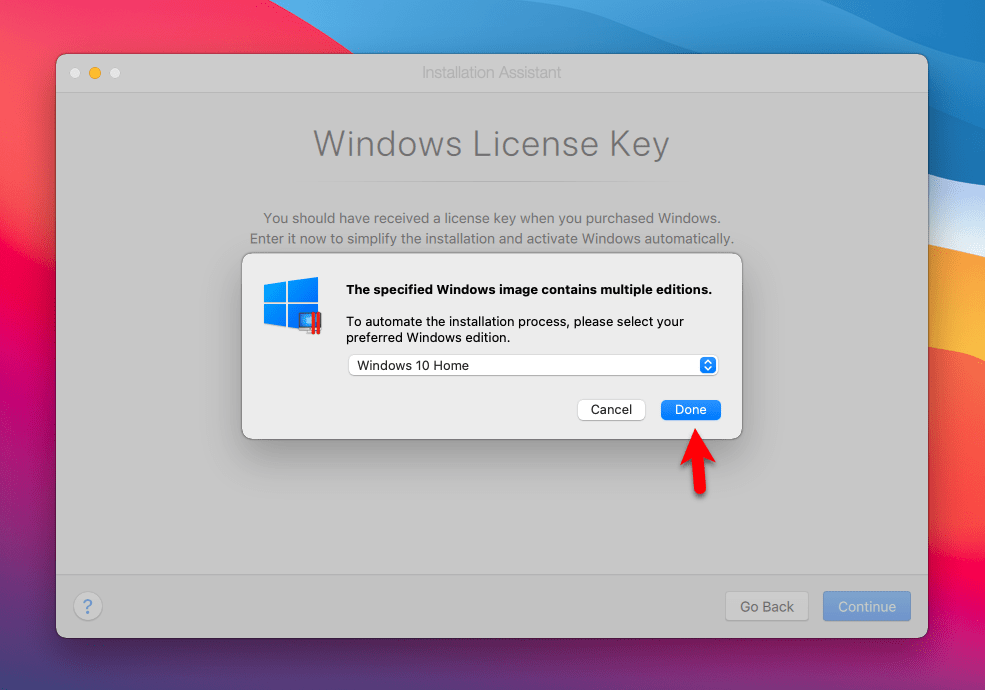
The specified Windows image edition contains multiple editions, so select the Windows version and click Done.
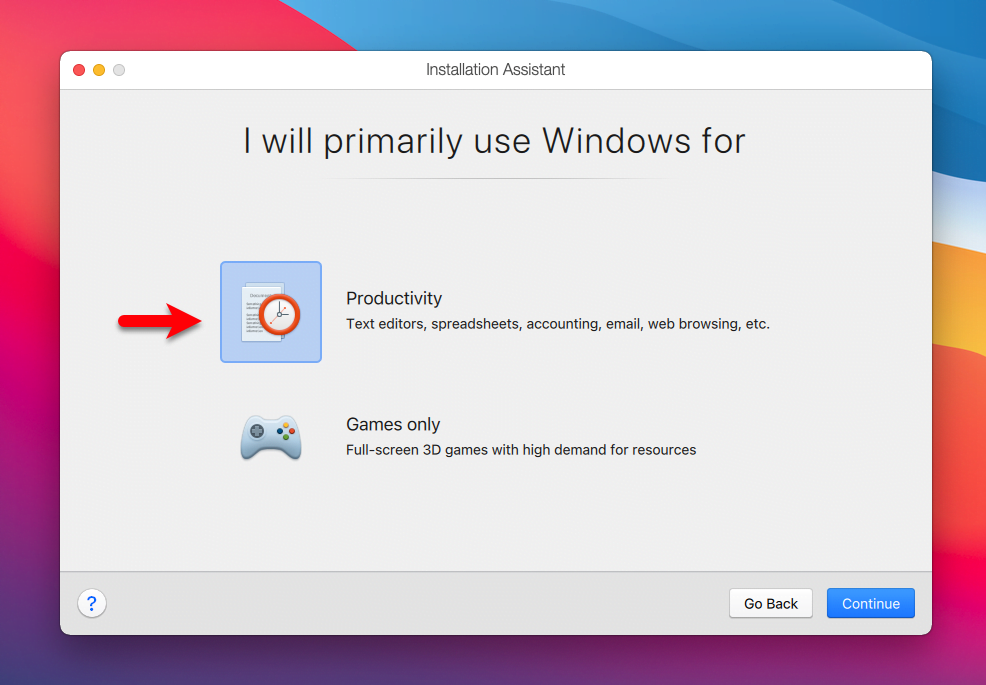
Select productivity version and click continue.
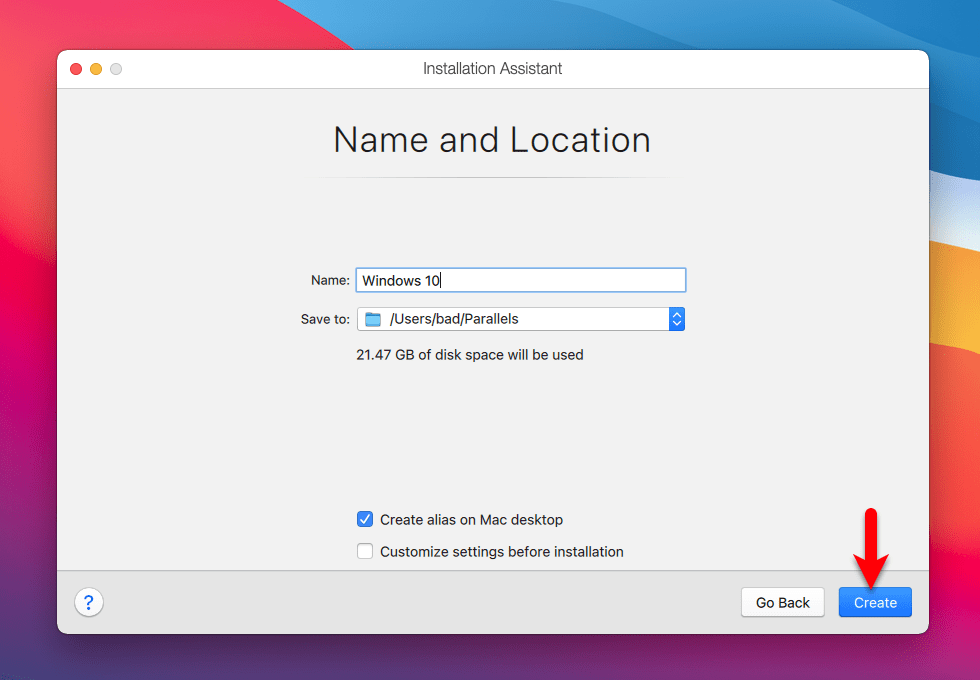
Select the name and location where you place the Windows and Create.
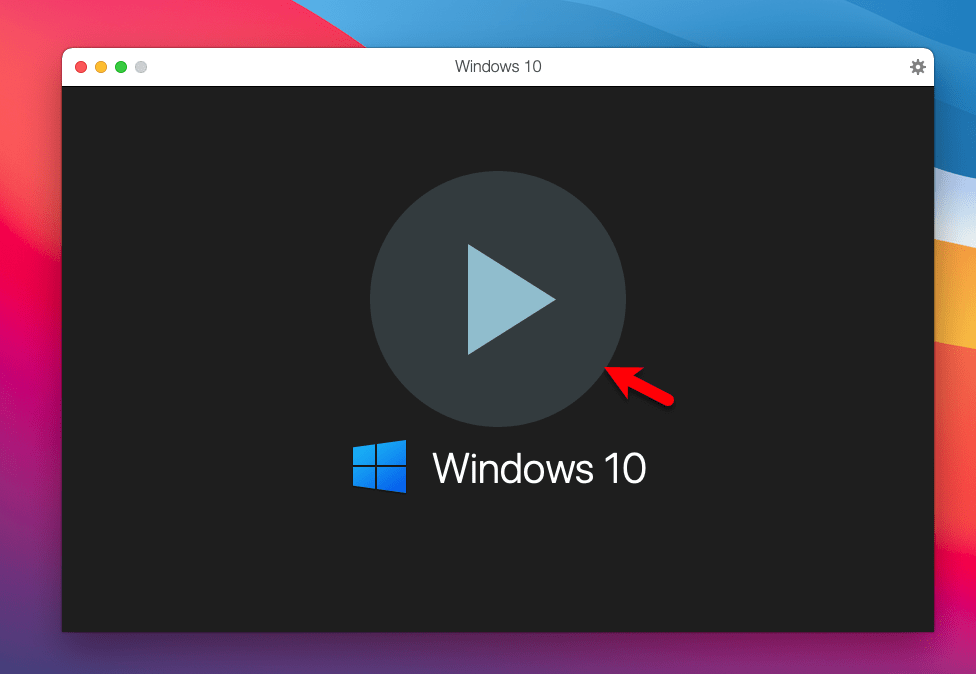
While the Parallels machine creates click on the Play button.
To keep continue the installation of Windows 10 on Parallels Desktop you need to sign in with a Parallels account. If you are new to Parallels you have to create an account, by entering your Email address, Name, Password, and confirm password.
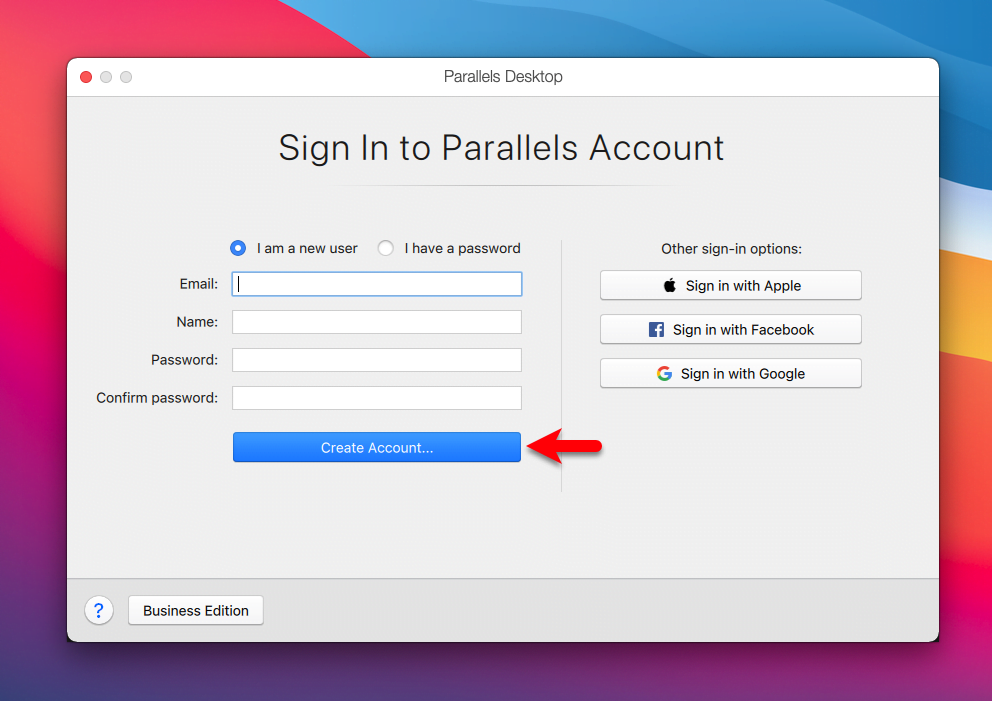
Once you have created a Parallels Desktop account sign in and continue the installation. Without an account, you won’t be able to install Windows 10 operating system on Parallels desktop. So, it was all about installing Windows 10 on Parallels desktop further if you faced any kind of problem feel free to share via comment section.
