
Do you want to increase your Google AdSense revenue on your Blogger or Website? if yes then follow the below down description. As you know that Google is providing the best service of serving Ads on websites, bloggers, and YouTube platforms. But after a huge update of its algorithm, those who are serving Google AdSense Ads on their website are dropped too much. This issue is having a solution that you can increase your Google AdSense revenue on your Blogger, and WordPress website by placing simple ads on the page and post of your website.
Previously Google was serving Ads on the platforms equally after having bundles of changes on its algorithm now you will be required to write an article by researching the best topic title on the Google Ad-word Planner with having the highest CPC. As searching too much on the internet finally find out the enough better solution on how to increase Google AdSense revenue.
When you are having revenue from Google AdSense then why not perform this task to have enough revenue on the different topic and title without having a high CPC. While placing the display Ads of Google AdSense ads on your website, with having no value on the left-handed or right-handed side, then that will be useless. But if you place that with a sticky and floating portion on your website page with having enough revenue that costs nothing.
We have figured it out the after the May update of Google on its algorithm most of the website has dropped their revenue from Google AdSense. But this is the only solution that you can increase your revenue that attracts the viewers after displaying the Ads on the bottom of your website page.
Placing the floating ads on the bottom side of your website is having two different methods. And both of them are having plug-ins that help you to place a floating ad on the bottom of the page. But the second method requires you to edit some small place of codes.
Add Popup & Sticky Floating Bottom Ads Website to Increase Revenue
#Method 1
The first method doesn’t need any kind of editing code, simply create a display Ad on Google AdSense and paste it into the plugins. But the next method requires editing some codes with Google AdSense Ads code.
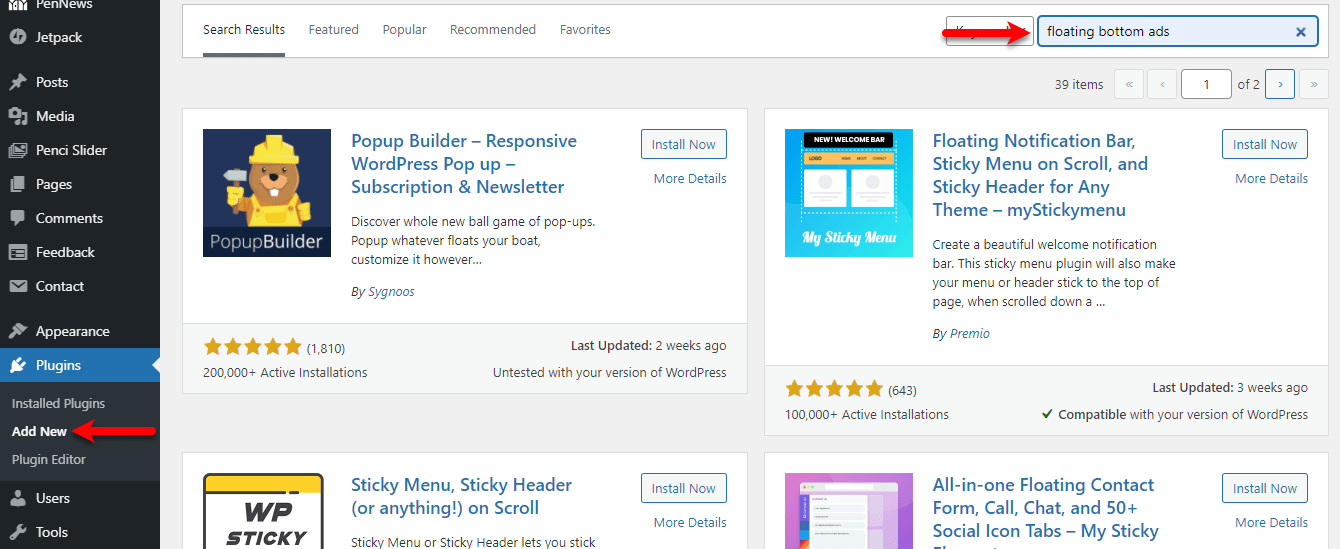
Step1. Login into your website dashboard click on the Plugins option, and click on Add New option. Once you clicked on Add New another window will open, on the top of the search bar type “Floating Bottom Ads” and press enter.
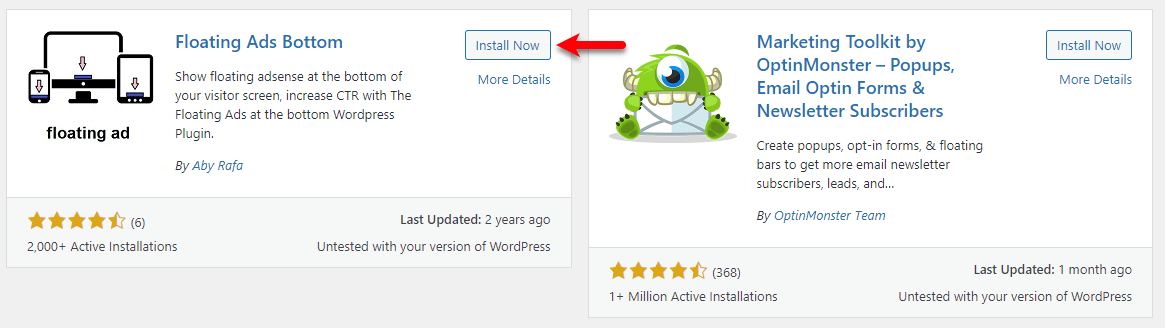
Step2. Scroll down and find out the Floating Bottom Ads plugin then press on Install Now.
Step3. Once the plugin successfully installed click on Activate.

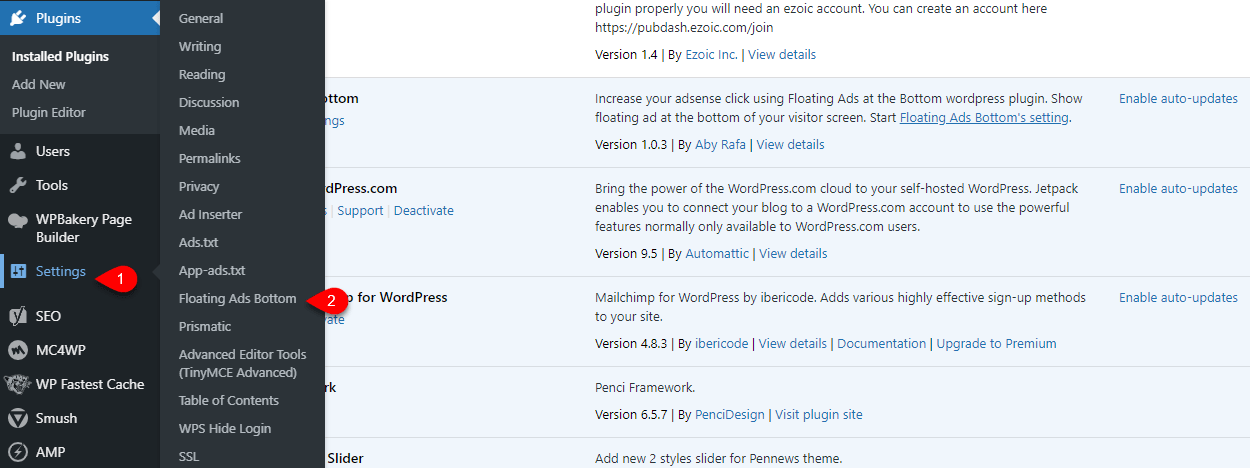
Step4. While the plugin activated from the left-handed bar click on the Settings option and select Floating Bottom Ads.
Step5. Now navigate to your Google AdSense account, create a display ad.
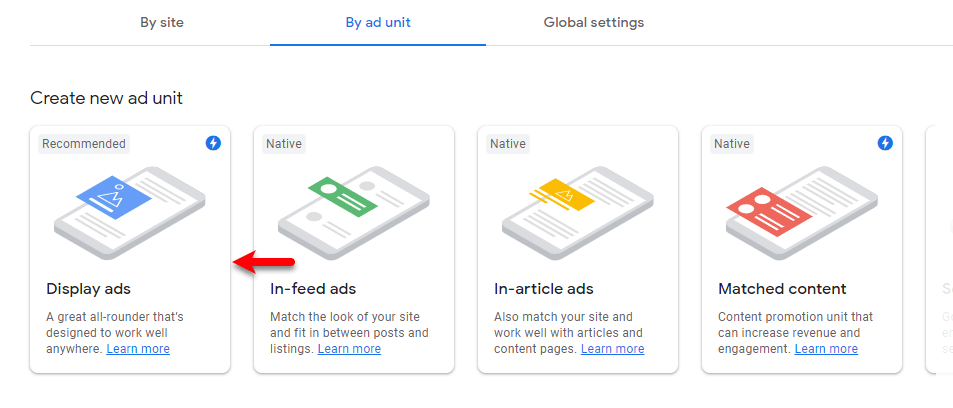
Step6. Select a name for the Ad, and create a fixed size ad, when that’s done click on create.
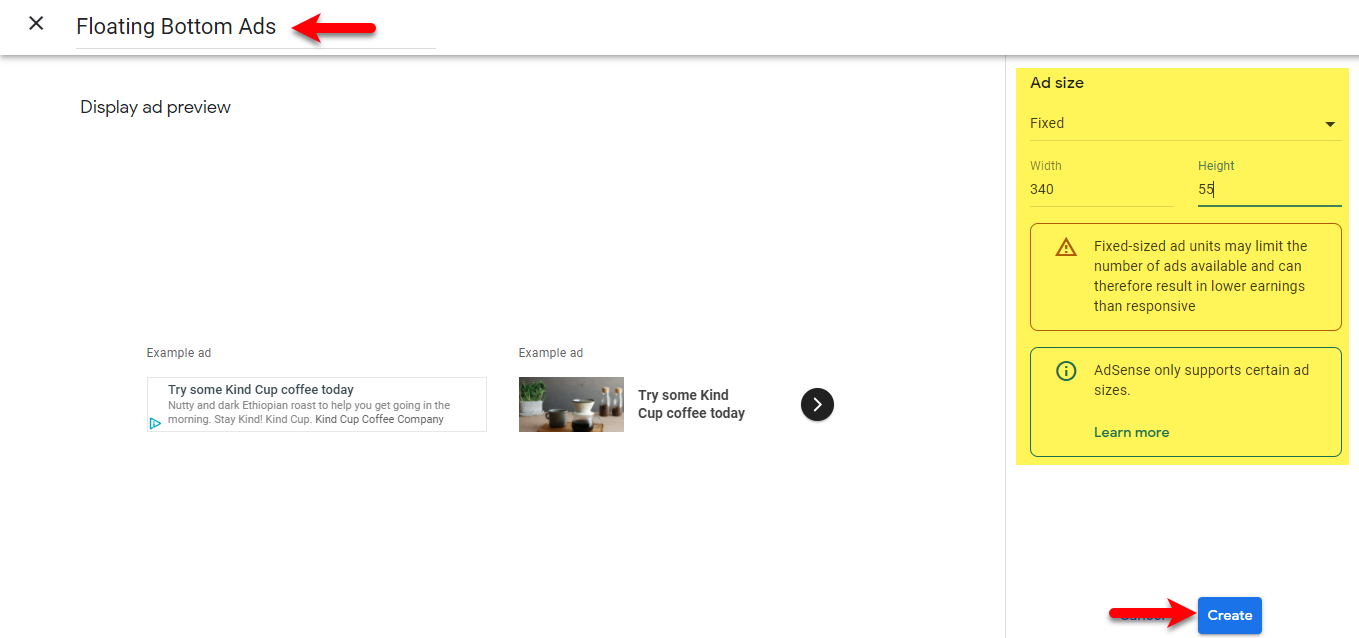
Step7. Select the code and copy it.

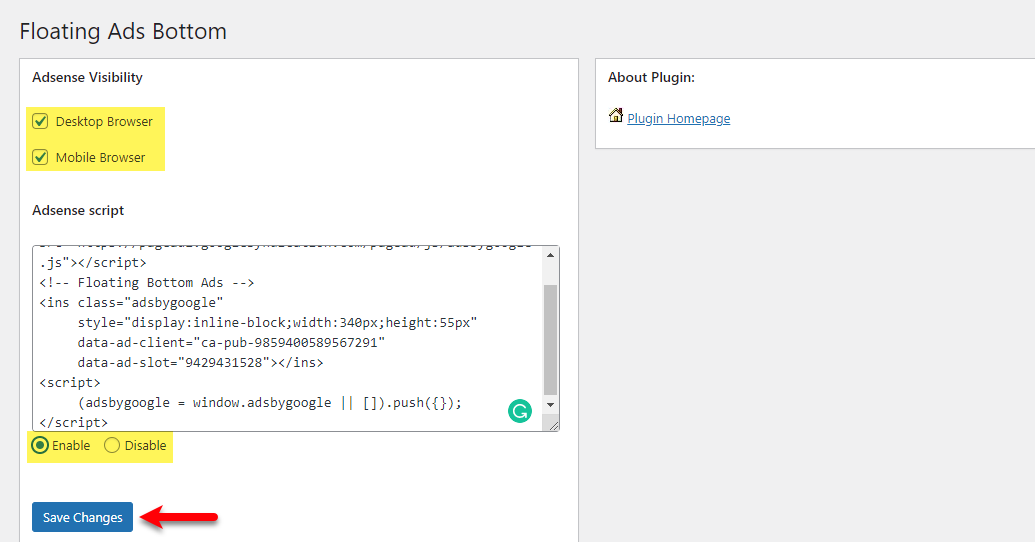
Step8. Now navigate to Floating Bottom Ads plugin, then enable the AdSense Visibility, paste the Ad code under the AdSense Script then Enable the option and click click Save changes.
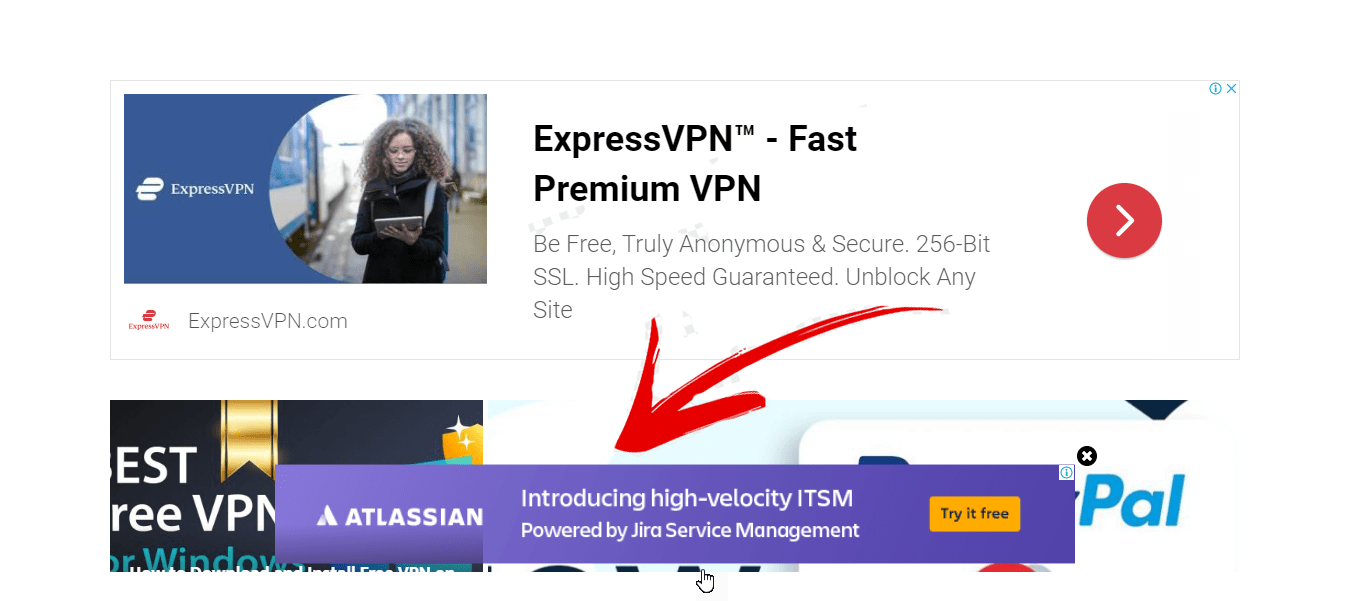
Step9. Once the settings successfully done open your website in the new window and refresh the page to show the Floating bottom Ads.
#Method 2
This method is also working pretty fine to place a floating bottom ad on your website or your blog. Therefore, you need a few basic changes on the Google AdSense code and to write the extra command. But this is the very best option for placing Floating Bottom Ads on your website whether that should be side-Bar, Footer, or Header.
Step1. For installing the plugin navigate to your website dashboard from the left-handed bar click on Plugins and click on Add New option. On the search bar type (Quick AdSense) and press enter.
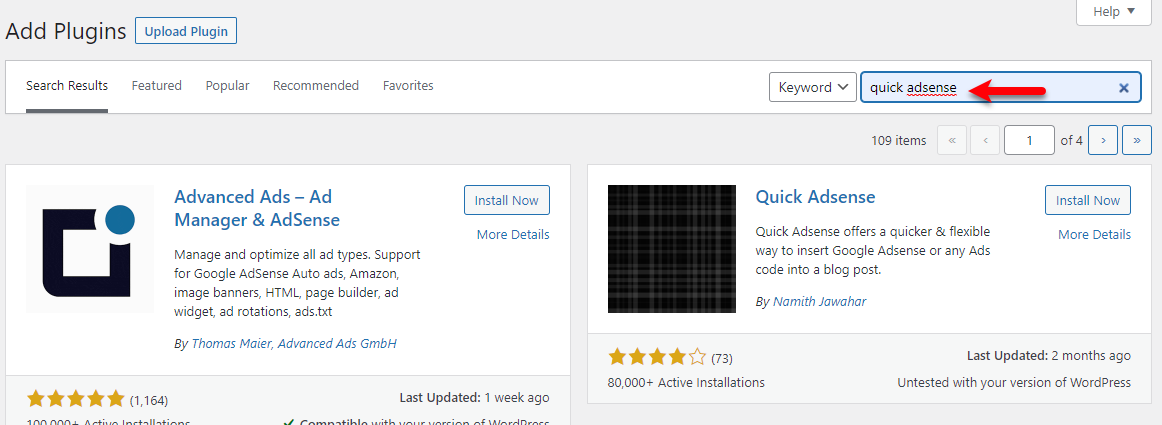
Step2. Install the Quick AdSense plugin, once the plugin installed click on Activate.
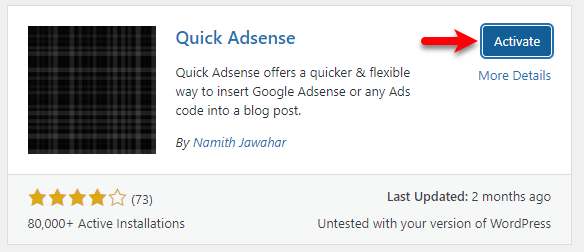
Step3. Once the plugin successfully installed from the left-handed bar click on Quick AdSense to enter its main window.

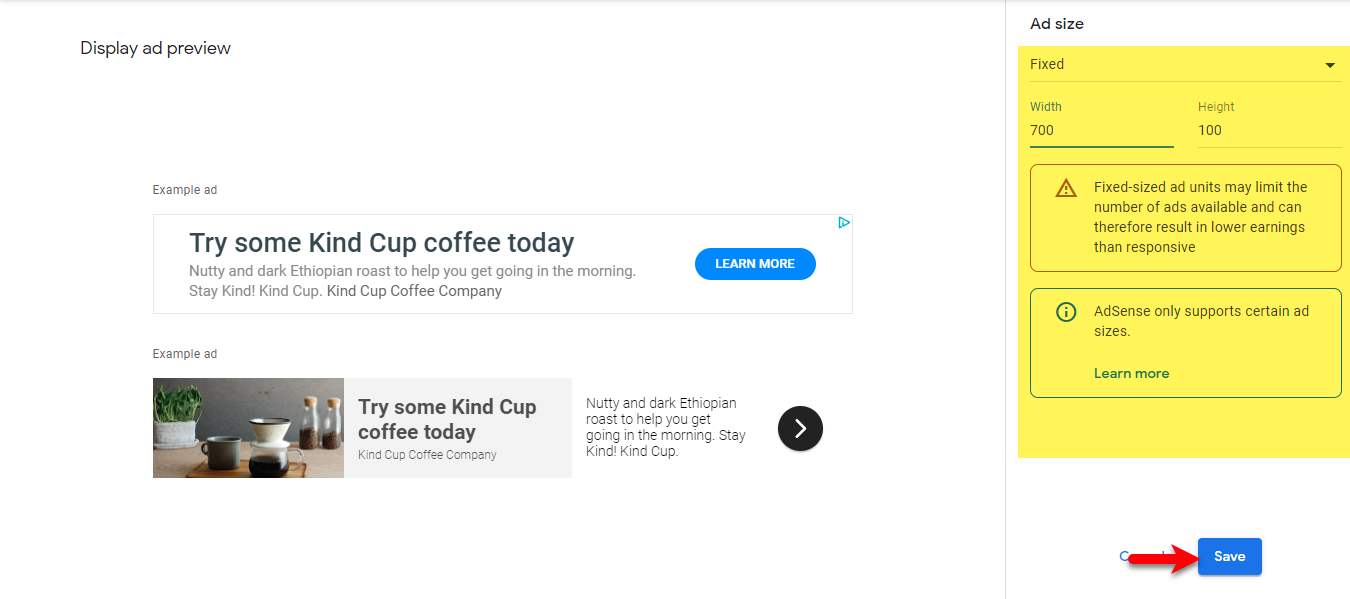
Step4. Now navigate to your Google AdSense account click on Display Ad choose a name for the Ad. Create the Ad with the following size (700×100), once that’s done click on create.
Step5. Now copy the below commands into the notepad window and paste the Google AdSense code like the below-down screenshot.
<!-- AD - RW - Footer ad - ads Desktop / mobile - (UDate: 2019) Start-->
<style>
.Desktop-Sticky {
    position:fixed;
    bottom:20px;
 z-index:9999;
 text-align:center;
}
</style>
<center>
<div class="Desktop-Sticky" style="width:100%;height:90px;">
Goole AdSense Code
 </div>
</center>

<!-- AD - RW - Footer ad - Desktop / mobile - (UDate: 2019) End-->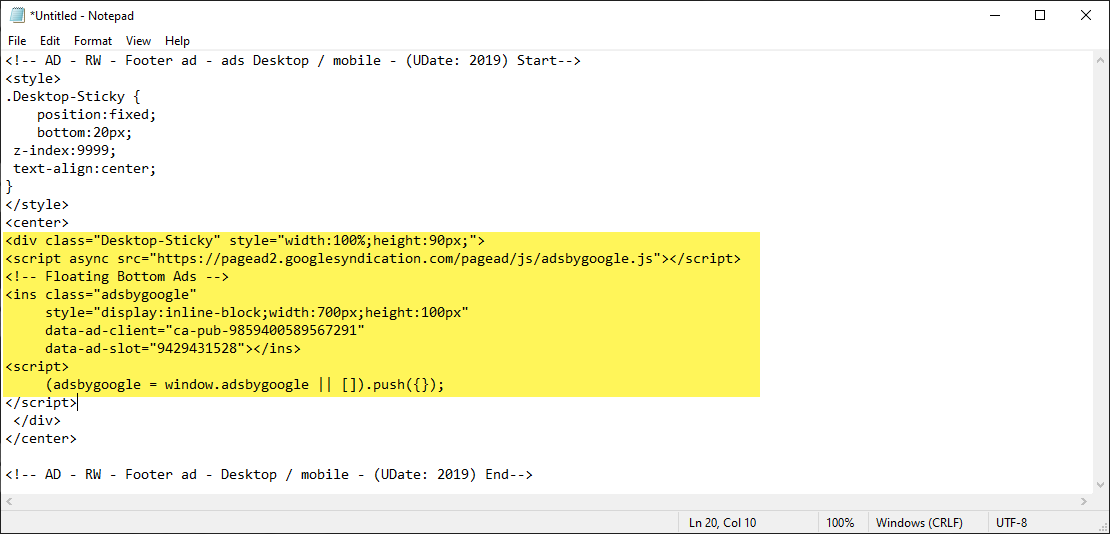
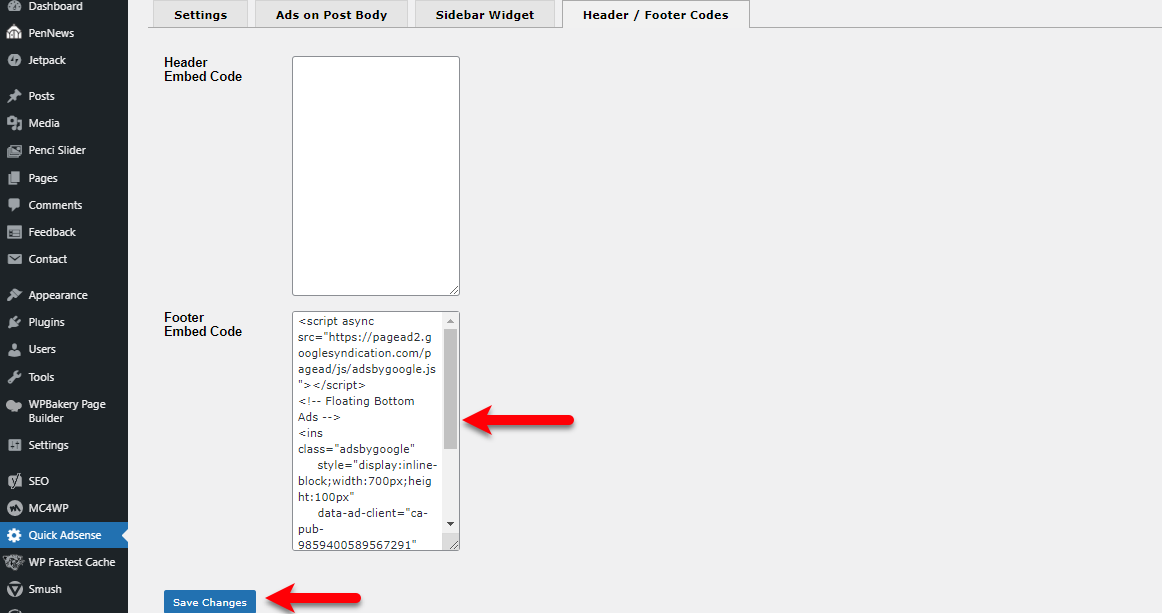
Step6. Now open up the Quick AdSense plugin window, from the top bar click on the (Header/Footer Codes) option. Then select the Footer Embed code and paste the code there, then click Save Changes.
Step7. And at last, open up your website into a new window and refresh the page to show the Floating bottom ad.

Conclusion
That’s all about how to Add Popup & Sticky Floating Bottom Ads Website to Increase Revenue. Google AdSense will provide you high revenue by placing the floating bottom ads on your website. However, if you faced any kind of problem feel free to share with us via the comment section.