Through this guide, you will learn how to extend the C drive on Windows 10 without any software. This is frustrating for Windows users when they are installing a bunch of application software and other files on C drive. After installing too much software or storing any kind of documents that cover the C drive, then you may face the C drive is running out of space. In this case, there are many ways to extend or increase the disk size of the C drive on Windows 10 PC. For example, there is third-party software that helps you out to extend C drive space for installing more software or storing other documents.
However, you have the complete idea that using a third-party application can be harmful to your computer. In some cases, you might lose your necessary files documents. And in some cases, you have the better ways or method for increasing the C drive space on Windows PC without using any third-party software.
So, this is one of the best and easiest method of increasing C drive space on Windows 10. However, through this guide, you will learn the complete and best method on how to Extend C drive on Windows 10 without any software. There is an internal option on Windows operating system called “Disk Management” that helps you out to increase C drive space. More than that it has no limit option you can use it on Windows 8.1/8/7/Vista/XP and other Windows that you may know that.
I think the best of and no risk of having all our files back is using any external drive. Again this method is recommended by Windows, but sometimes it may also cause an error that can be risky to lose your precious files. So, I recommend you before performing this action have a backup of your all precious files on any external drive.
- How to Create UEFI Bootable USB Flash Drive to Install Windows 10
- How to Move Installed Apps and Programs on Windows 10 to Another Drive
Extend C Drive on Windows 10 Without any Software
#Shrink Volume for other files
Extending means that you are taking the space of your other drive and adding back to the C drive in order to increase the size of the C drive for lots of capacity. For this purpose, you need to shrink the volume for having a copy of your important files to the shrunk volume.
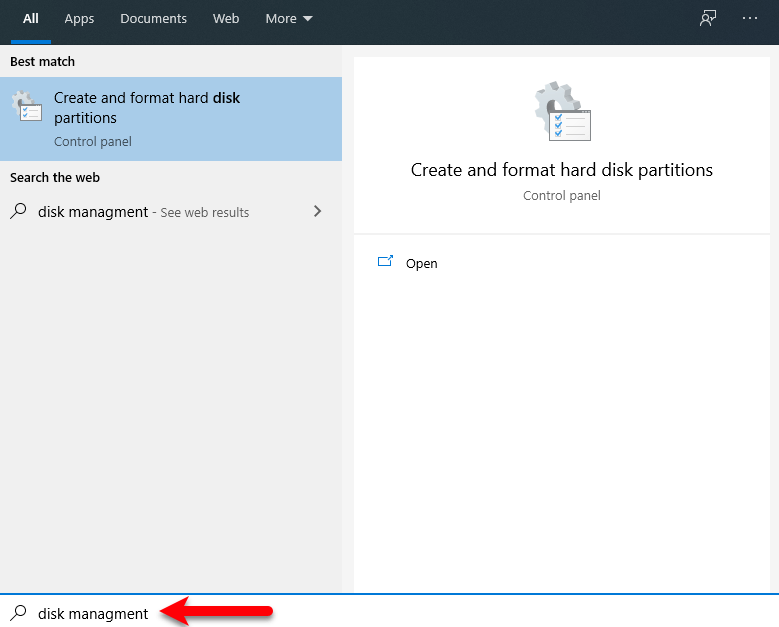
To shrink the volume navigate to Windows 10 start menu type there “Disk Management”, the disk management may not appear as its official name sometimes it may. But most of the time it will appear with the following name “Create and format hard disk partitions”, don’t be confused when this option appeared hit enter to open.
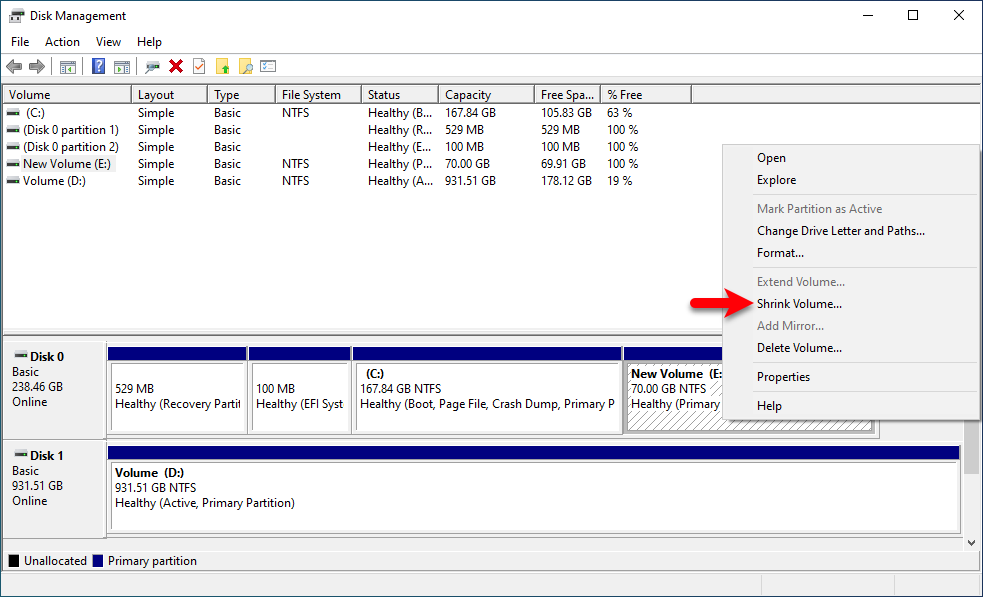
When the disk management opened from the down below select the drive that you want to shrink it. Then right-click on that and click on the “Shrink” option.
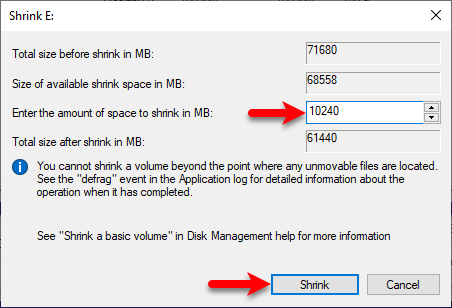
Now enter the amount of the space to shrink in the MB, in this case, I want to shrink “10 GB” for my files. So, enter the amount which you want then click on the Shrink option.
#Create Drive
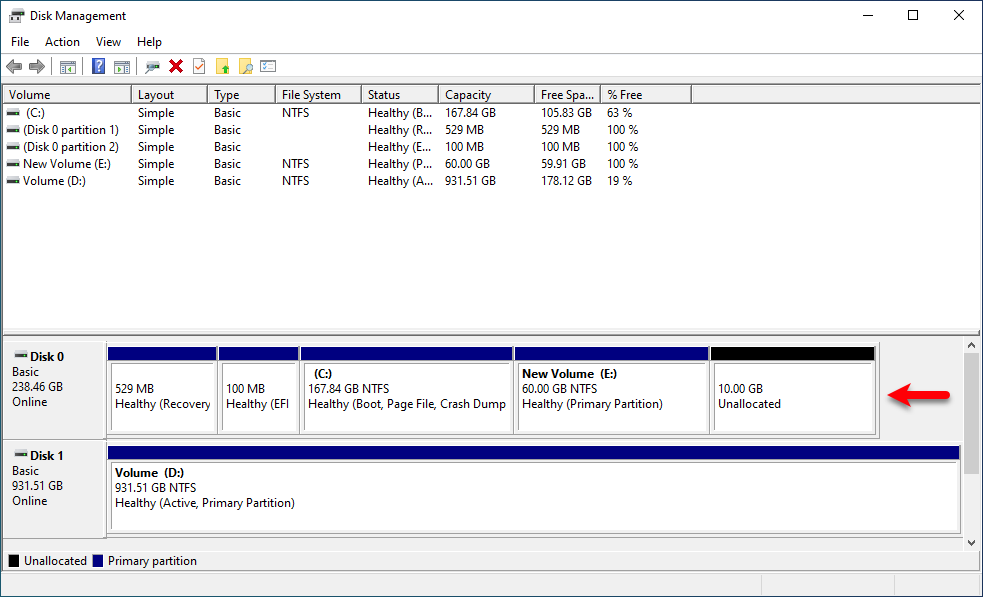
When the drive successfully shrunk it will appear as “Unallocated” drive in the list. So, still, the drive is not created therefore you need to format it as a basic drive in order to copy your files.
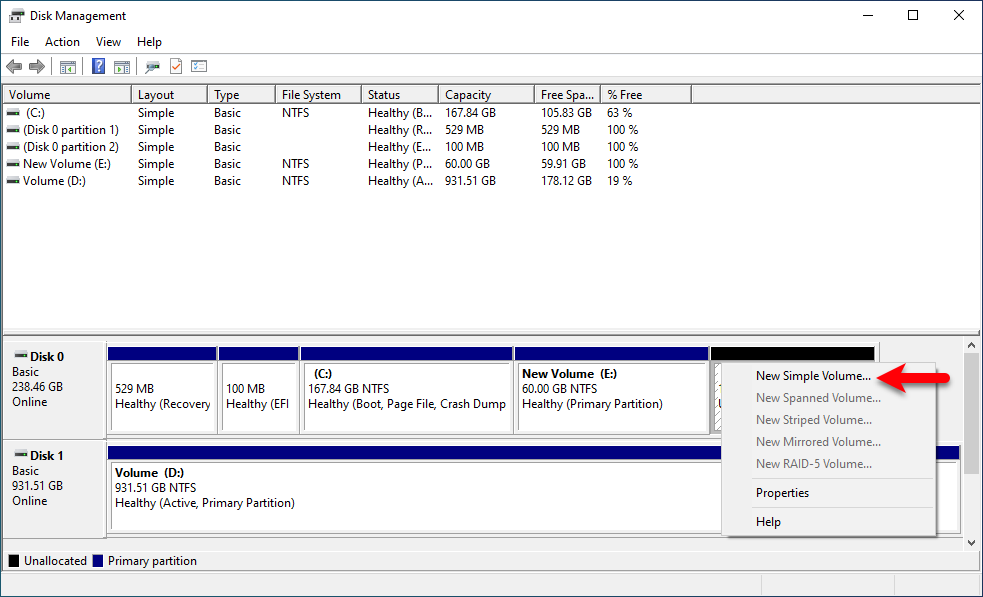
To make the unallocated drive as a basic drive, right-click on that and click on New Simple Volume.
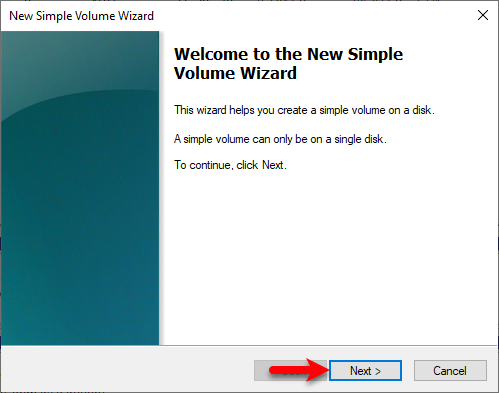
When its welcome wizard opened click on the next option.
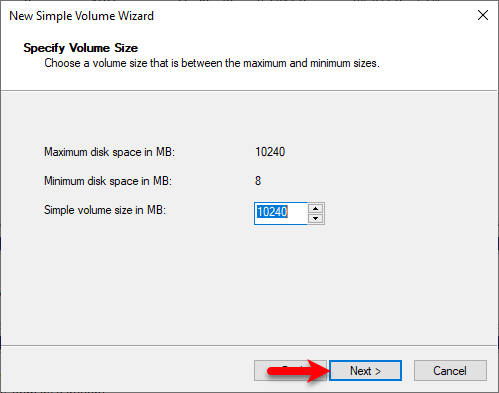
In the Specify volume space size click next.
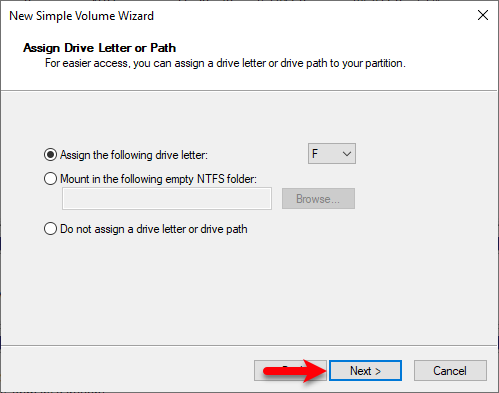
Assign drive letter and path then click next.
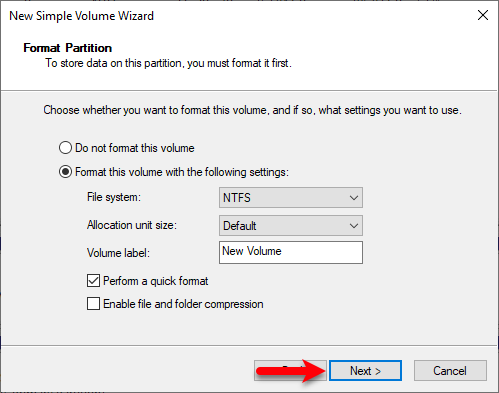
Format the partition with the following settings.
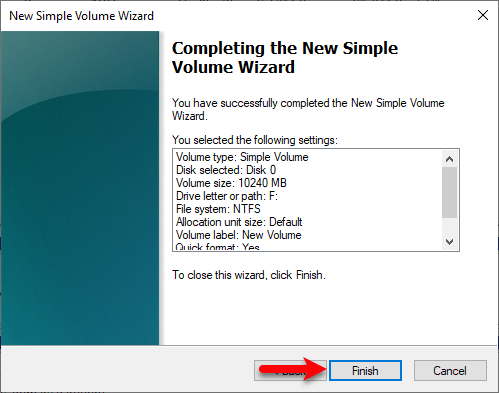
When everything is done click on Finish.
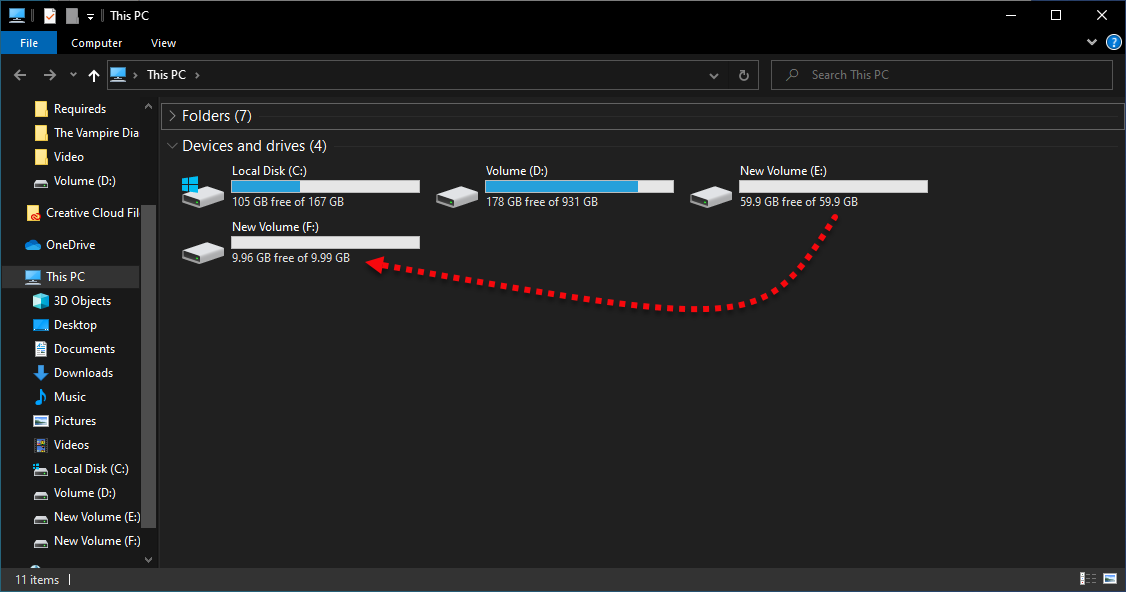
Now navigate to this PC and check that whether the drive is created or not.
#Delete the Drive & Extend C Drive
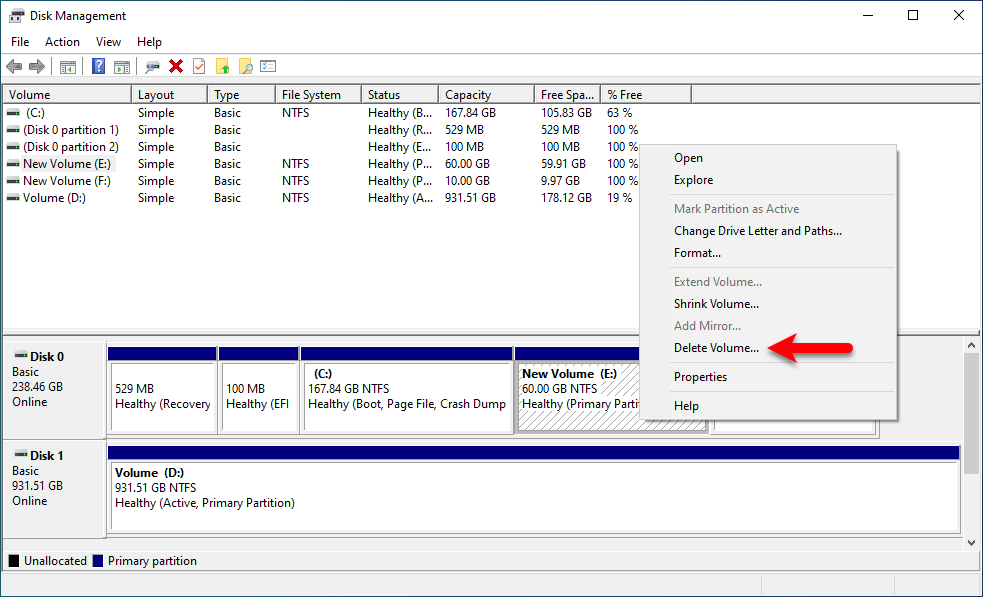
When the other drive successfully created move your files from the 1st drive to the created drive. After the file copied you need to delete the drive which you want to add extend the C drive with its remaining part. For deleting the drive navigate to the Disk management window right-click on the drive and click “Delete Volume”.
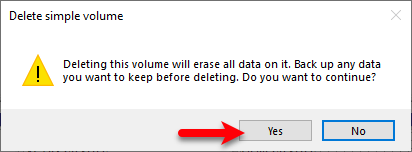
Now for being sure read the instruction and press “Yes”.
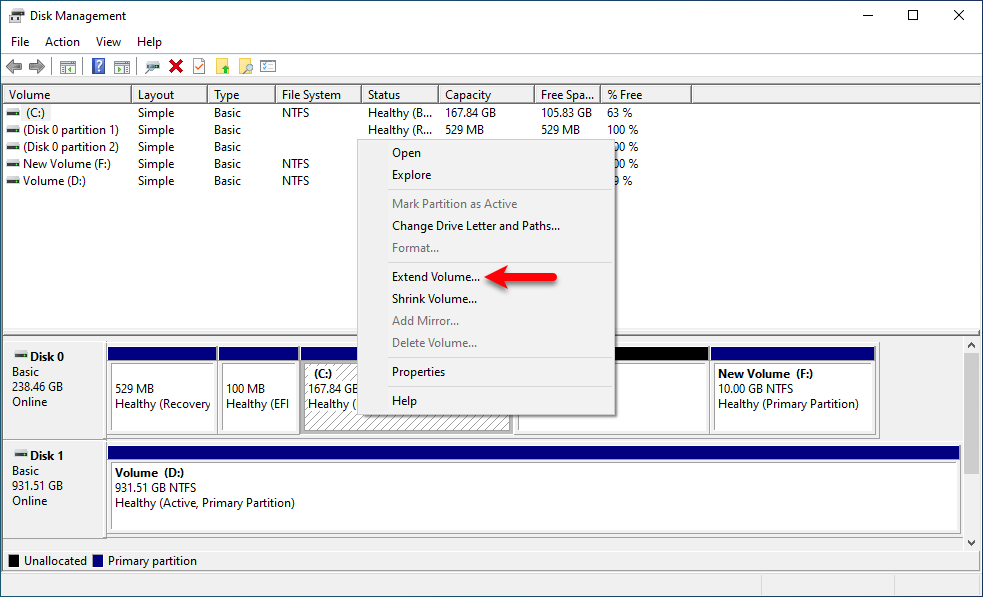
When the drive successfully deleted, now it’s time to Extend the C Drive. For extending right-click on C drive and click select “Extend Volume”.
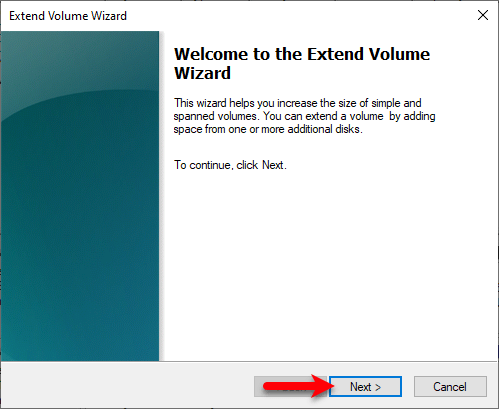
When the welcome wizard opened click next.
Now again click next and leave its settings as a default.
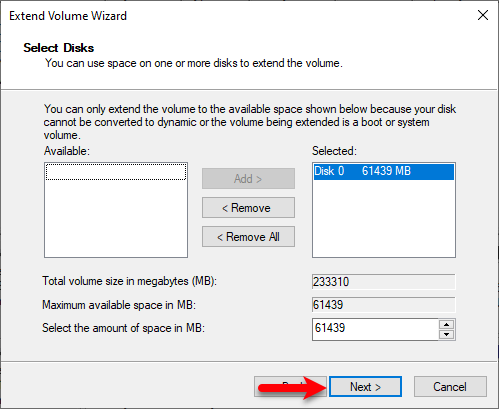
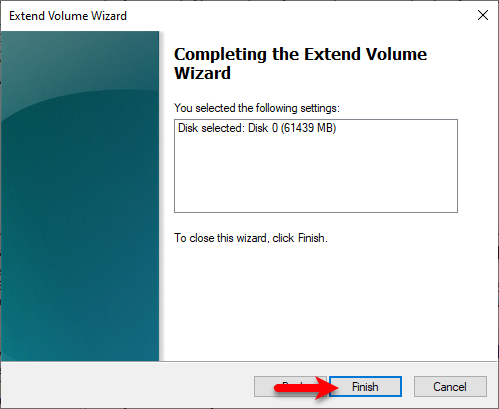
Now the C drive is ready to extend so click Finish to complete the process.
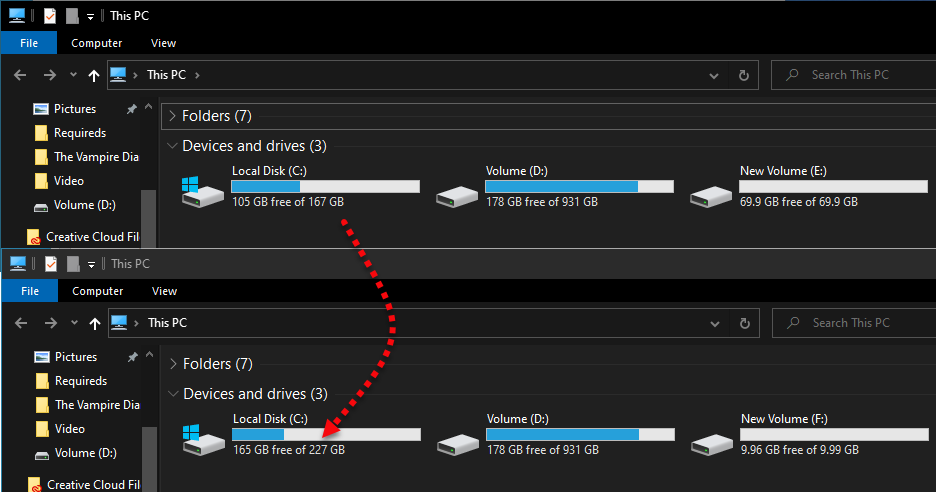
And here finally the C Drive is being extended and now the capacity of the C drive is being increased now you can install more applications on C Drive. On the other hand, for being sure that its size is increased open up this PC, and check it out. As you can see at the first my Windows C Drive size was “167 GB” after extending its size now it’s “227 GB”.
Final Point
That was all about how to extend the C drive on Windows 10 without any software. Furthermore, if you are suggesting to us any best method then please let me know in the below comment section. On the other hand, if you faced any kind of problem again feel free to share with us.