In this article, I will guide how to install VMware Workstation on Windows 11 PC. Before getting to the installation process let’s have some information that what is VMware Workstation? VMware Workstation is a hosted hypervisor that runs on 64-Bit Windows and Linux operating systems. It enables the users to run and set up Virtual machines on a single virtual machine and use them simultaneously along with the actual machine. Each virtual machine executes its own operating system. Including versions of Windows, Linux, BSD, and MS-DOS.
VMware Workstation/Player is developed and sold by VMware Inc, VMware is available in two different categories. The VMware Workstation Player is for non-commercial use only, and it’s free to use on any Windows or Linux operating system.
VMware Workstation Pro 16 is the latest version of VMware which you can get from its official website. For the first 15 days, it’s free of cost to use. But if you want to use it permanently you have to pay money for it or purchase it. But there are no worries you can use VMware Workstation for free without any cost, which I am going to guide in the below down descriptions.
- Download VMware Workstation Pro 16 – (Pre-Activated)
Install VMware Workstation Pro on Windows 11 PC – Pre Activated
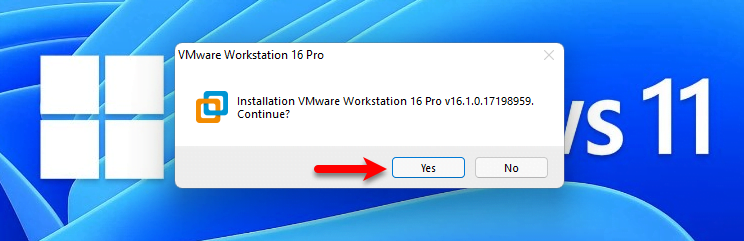
Download the VMware Workstation from the above link, which is completely pre-activated and there is no need to purchase it. Simply, download the tool and install it on your Windows PC. When the VMware Workstation is downloaded. You might see the file is compressed so using the WinRAR or 7Zip you will be able to extract the file. Once the file is extracted simply double-click and launch the installation, on the main window click on Yes.
Click No to select the English language.

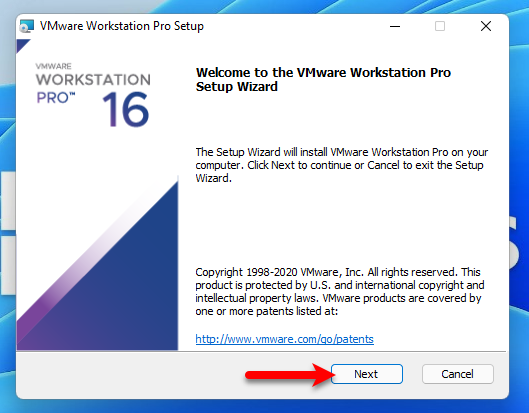
When the VMware Workstation installation wizard opened click Next.
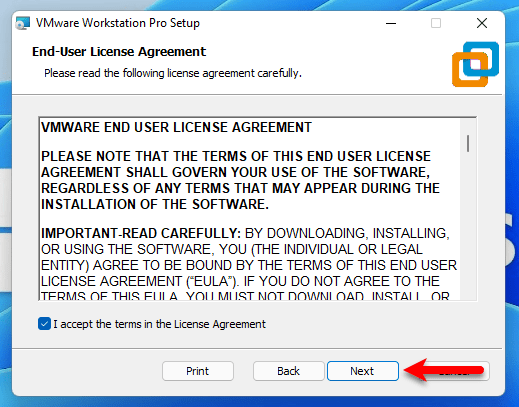
Accept the terms and conditions of the VMware Workstation and click Next.
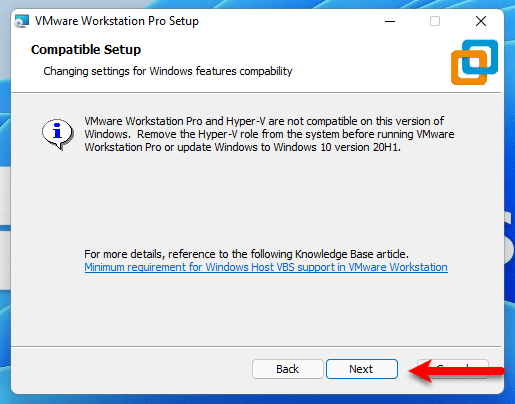
On the compatible setup, window click Next.
Click on Add VMware Workstation console tools into system PATH and click Next.

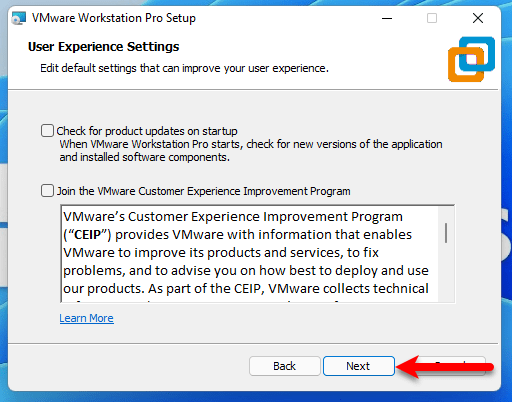
In this step simply click Next.
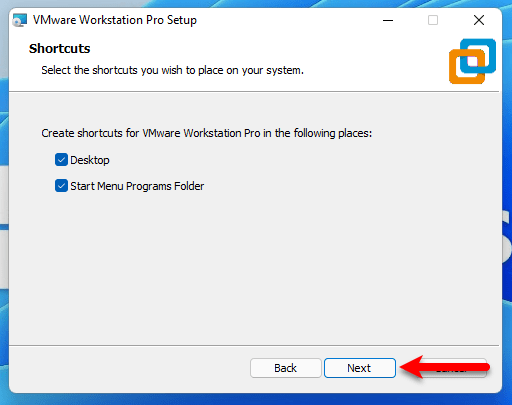
Create Shortcuts for VMware Workstation Pro in the following places.
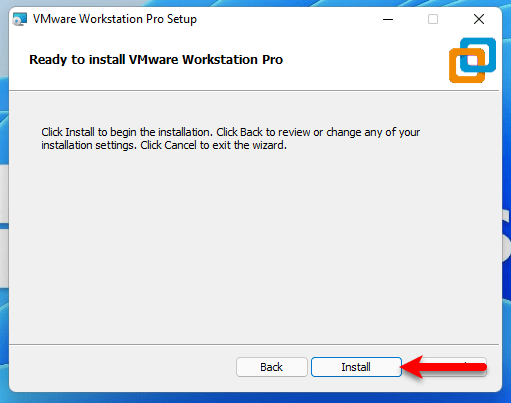
Now VMware Workstation is ready to install on Windows PC, click on Install button.
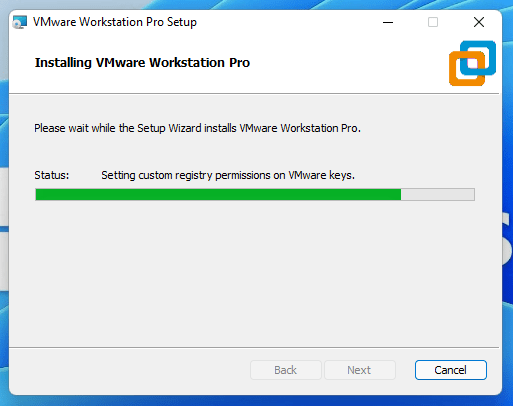
Wait for it until it should install on Windows PC.
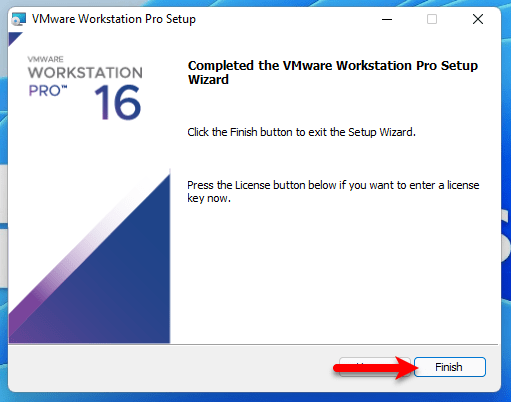
When the installation successfully completed click on Finish.
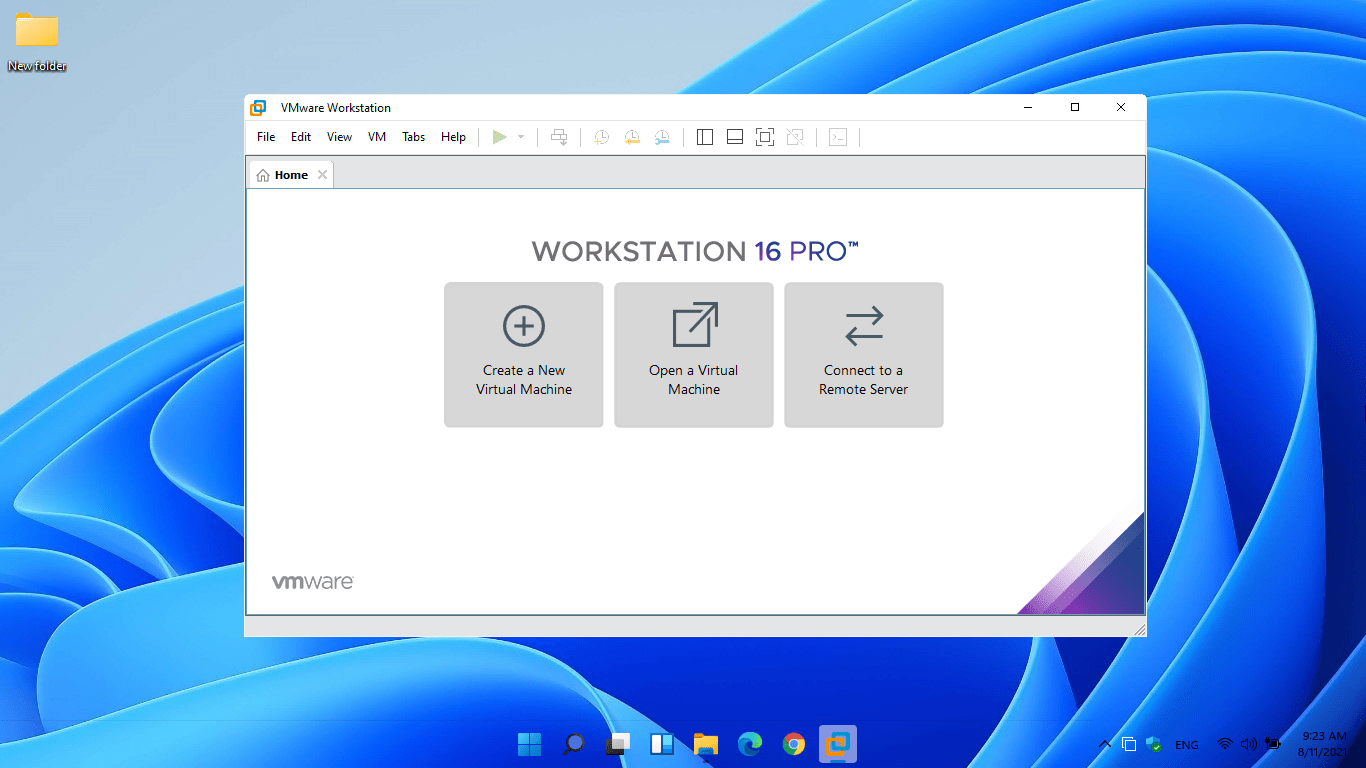
When the VMware Workstation installation is completed, go to the Windows start menu, search for VMware Workstation and click enter to open it.
Final Point
If you faced any kind of problem feels free to share with us via the comment section.