macOS Ventura was newly launched in the market of macOS operating system with full of new features and amazing changes to the interface look. When it comes to macOS Ventura, the macOS Ventura is usually called and is well known as macOS Ventura version 13. And its name has been taken from the famous place located in California like the previous macOS Monterey. However, those who want to install macOS Ventura on the famous Virtualization platform such as VMware Workstation, and VirtualBox. Then without any issue, they can install it on their computer.
If you don’t know how to install macOS Ventura version 13 on VirtualBox or VMware then you can check the below downlinks. Because we have converted each and everything into one article, which makes your task pretty much easy to do it.
However, through this article, I will cover how to install VMware Tools on macOS Ventura on VMware. What are VMware Tools basically? VMware Tools are usually used to enable some extra functionality and features on any macOS operating system on the VMware platform. Such as after the installation of VMware Tools on VMware you will be able to see the full-screen mode, drag and drop functionality, and other settings.
How to Install VMware Tools on macOS Ventura on VMware?
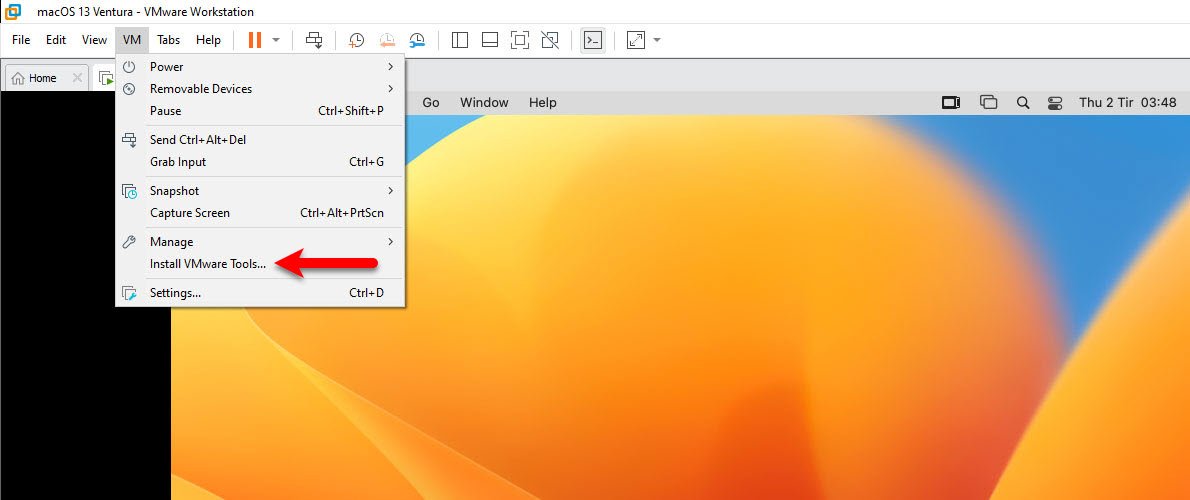
There are two ways of installing the VMware Tools on macOS Ventura on VMware. The first one is if you can install the VMware Tools online. And the second option is you will download the VMware Tools manually, insert them into macOS Ventura then continue the installation. So, to begin the installation simply power on the virtual machine of macOS Ventura on VMware. Once the macOS Ventura appeared on the top menu bar click on VM>Then click Install VMware Tools.
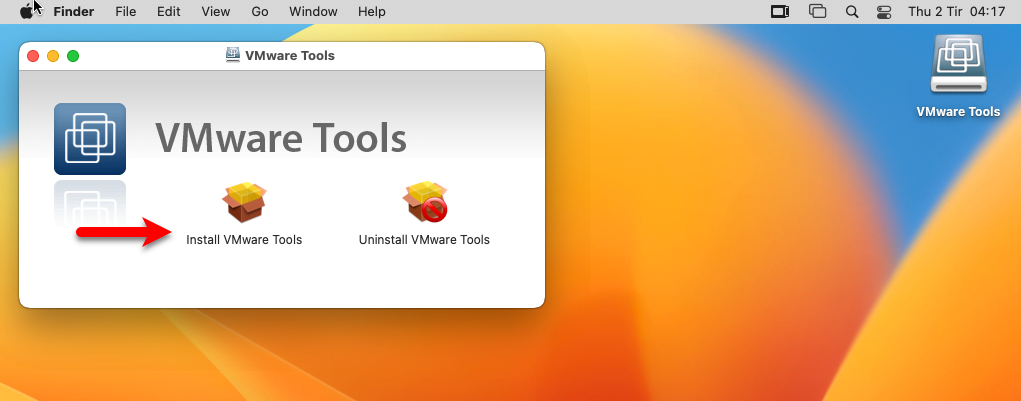
After that, the VMware Tools will appear on the desktop and get ready to install. Simply to continue the installation click on Install VMware Tools.
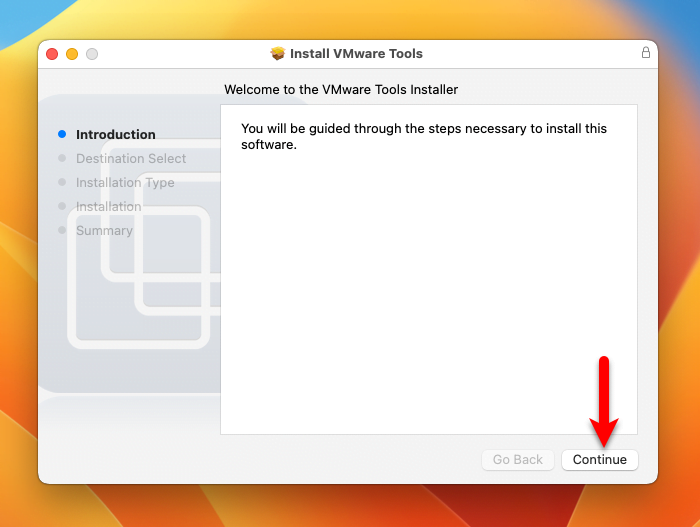
On the welcome wizard of VMware Tools, simply click on the continue option.
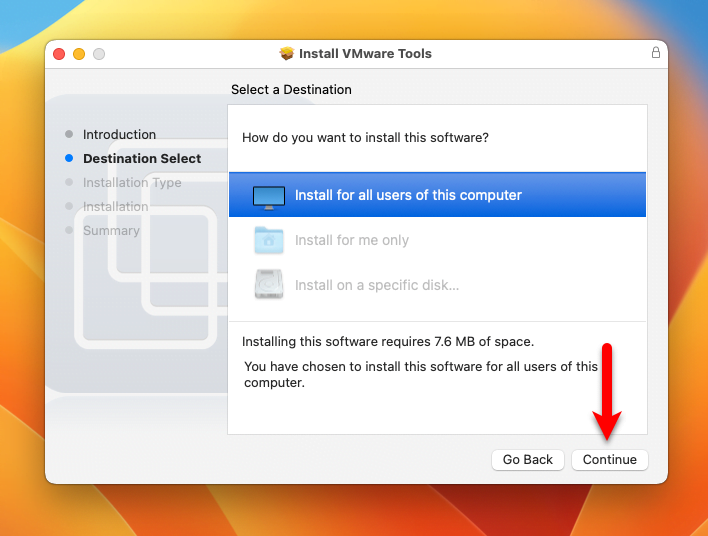
Select the destination on which PC you want to install the VMware Tools and click on Continue.
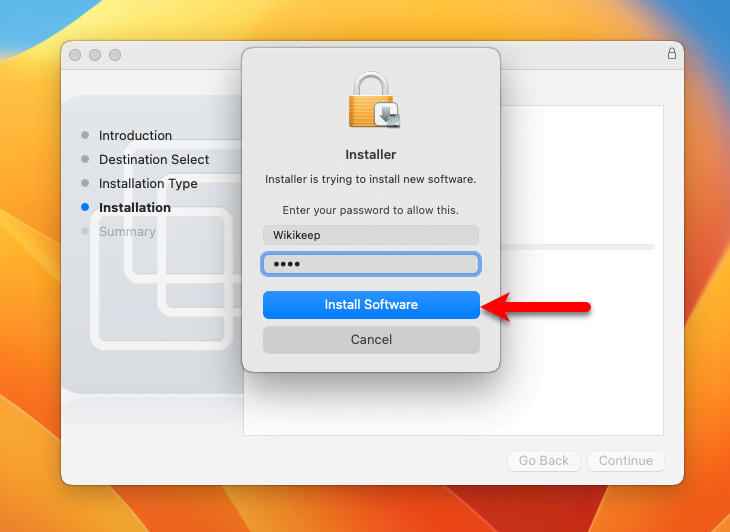
On the installation window, simply click on the Install button, another window will pop up simply enter the username password and click on Install Software.
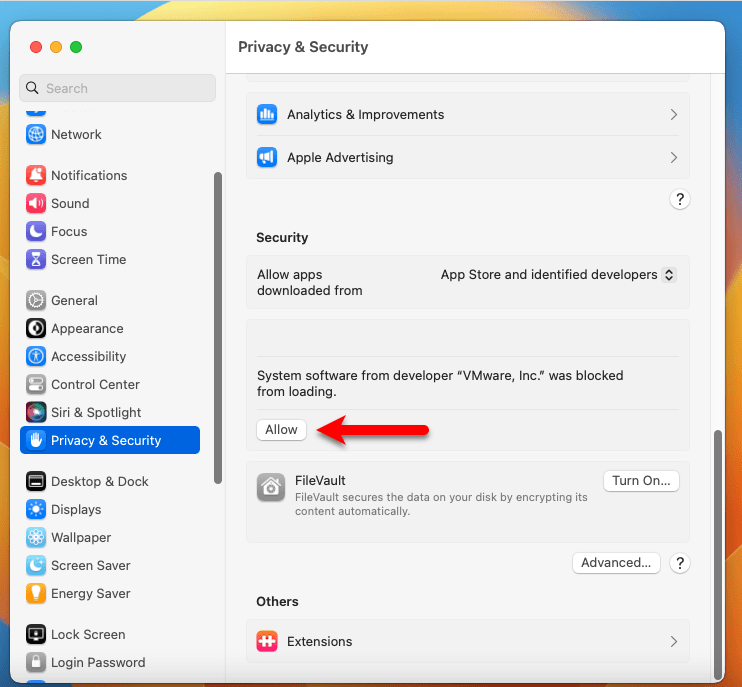
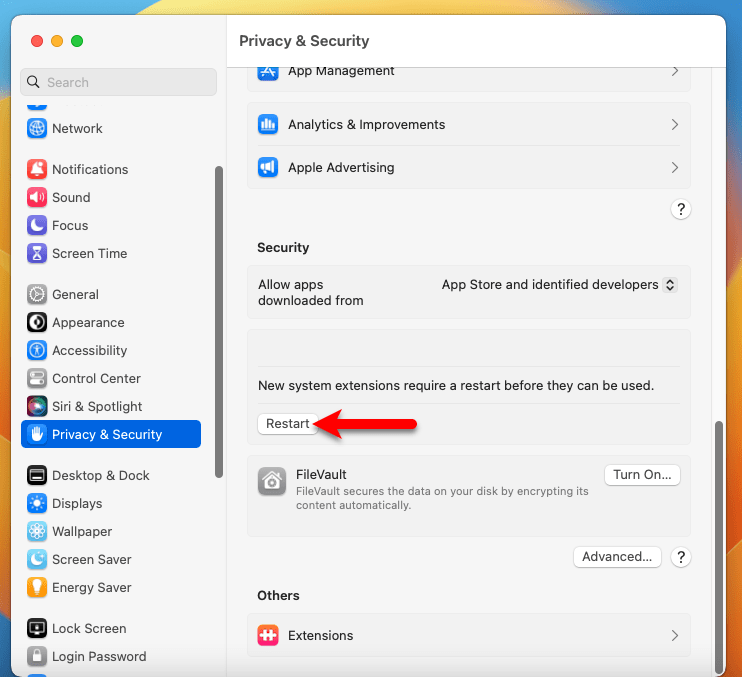
During the installation, a notification will pop up that “System Extension Blocked”, or “A program tried to load new system extensions signed by VMware Inc. If you want to enable these extensions, open Security & Privacy System Preferences. So to enable the VMware Inc preferences on macOS Ventura you have to allow the VMware Tools services from the Security & Privacy window.

Once the Security & Privacy window is opened click on Allow option.
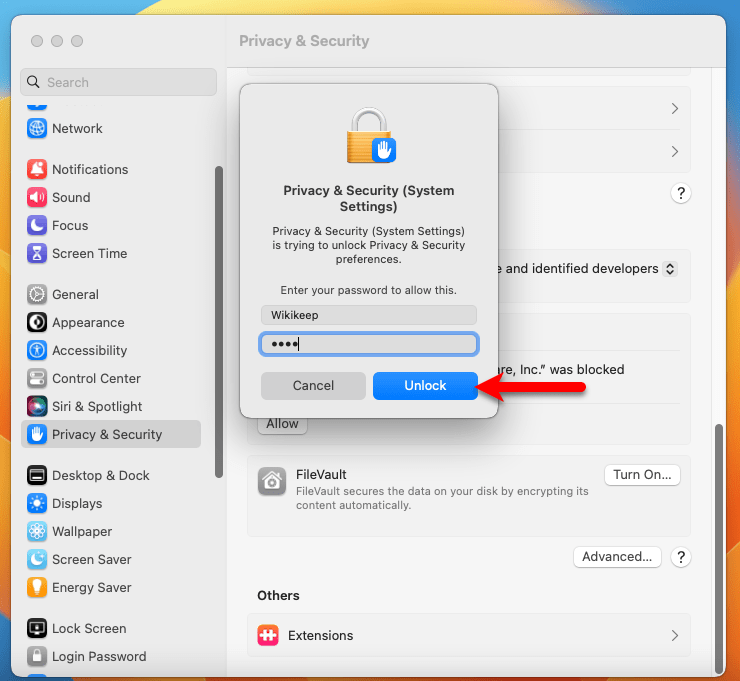
Now you have to enter your username password and click on Unlock option.
After that, the VMware Tools services unlocked on macOS Ventura on VMware simply restart the Virtual Machine.
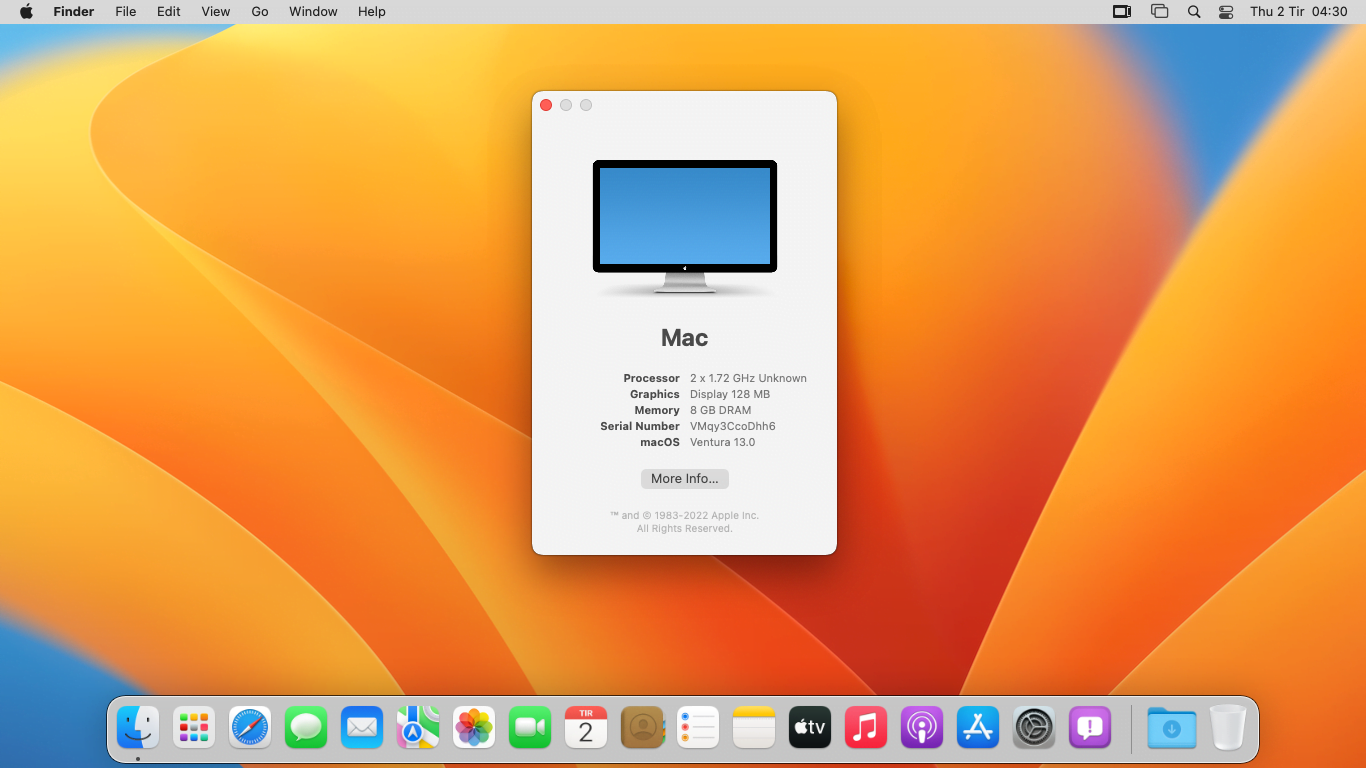
Once your virtual machine is successfully restarted you will see the macOS Ventura 13 full-screen mode. Also, other functionalities of macOS Ventura 13 on VMware on Windows PC.
Conclusion
And finally, macOS Ventura version 13 full-screen mode enabled inside VMware Workstation on Windows PC. If the first method didn’t work for you then you have to follow the second method. You need to download the VMware Tools manually from the VMware website. Simply insert the VMware Tools on macOS Ventura and continue the installation with the same process.