You might hear about macOS Big Sur which was released the previous year with all its features and the final version of its update. So, similarly, there’s a PearOS ThiccSur, which is a Linux Distro that is built under the Ubuntu LTS. So, if we should take a look for PearOS ThiccSur the internal build of its operating system is similar to macOS Big Sur. Therefore, in the previous article, I have written about PearOS Monterey. Indeed there are three kinds of PearOS operating systems that called PearOS Monterey, ThiccSur, Catalina. Starting from Catalina they have built the operating system of PearOS.
However, in this article, I will show you step by step how to install PearOS ThiccSur on VMware Workstation on Windows PC. Installing PearOS ThiccSur on VMware won’t be a huge task, but experimenting with its features and all its interface will be an interesting task. As VMware Workstation/Player is a free platform that allows you to test several kinds of operating systems on it.
Several days ago we have successfully tested PearOS Monterey on VMware & VirtualBox, here is the link below down.
- How to Install PearOS Monterey on VirtualBox on Windows PC
- How to Install PearOS Monterey on VMware on Windows PC
Install PearOS ThiccSur on VMware on Windows PC
For installing PearOS ThiccSur firstly you have to download the required files, such as VMware Workstation Pro latest version and PearOS ThiccSur ISO image file. So, you can get all of them from the below down-links.
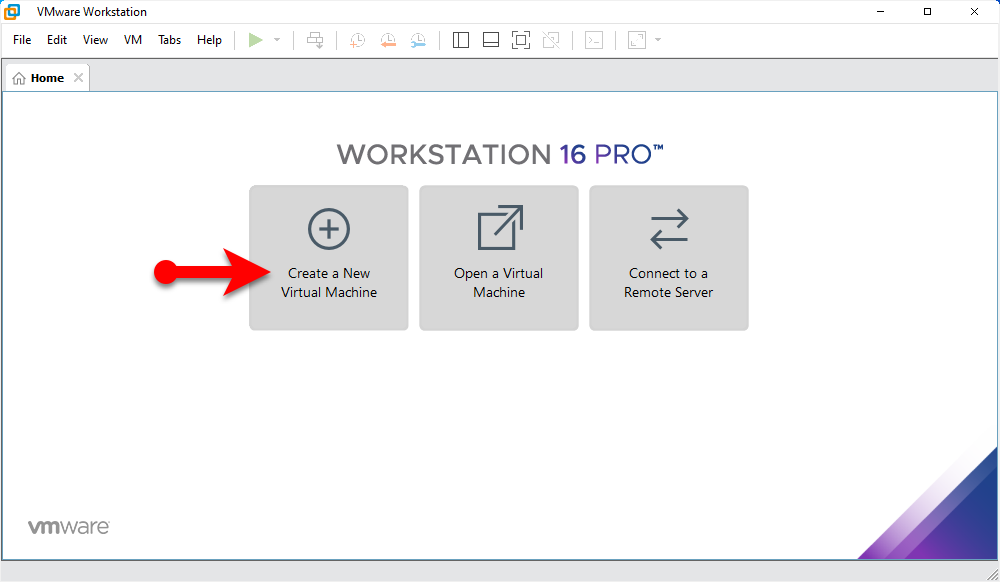
Step 1. Once you have downloaded the VMware Workstation from the above link simply, extract the file using WinRAR or 7Zip. Then run the installation, while the installation is completed launch it, and on the main screen click on create a new virtual machine.
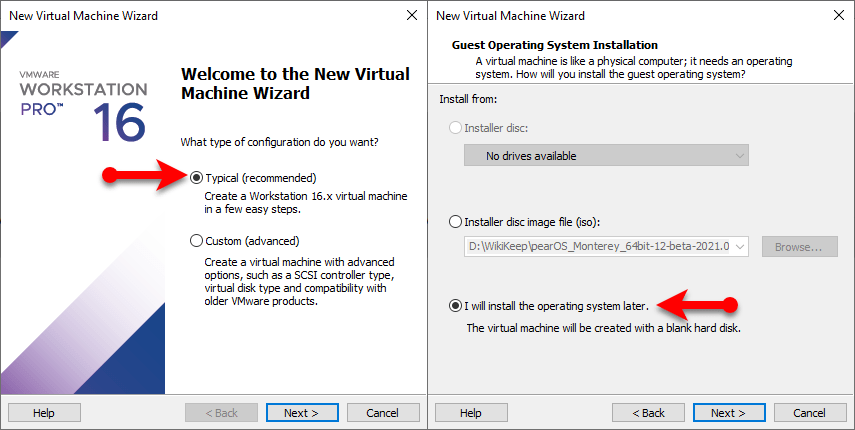
Step 2. On the next step, select “Type (Recommended)” then click next, select the option “I will install the operating system later” and click next.
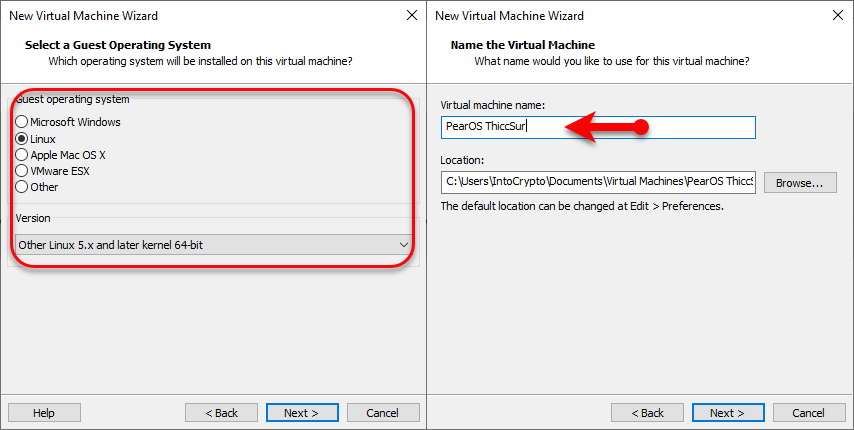
Step 3. Select the guest operating system “Linux” then select the version “Other Linux 5.x and later kernel 64-Bit” and click next. Select a name for the virtual machine and click next.
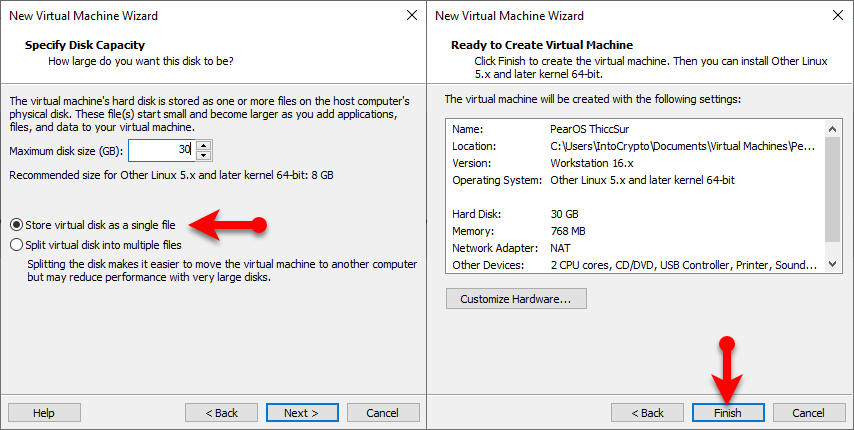
Step 4. Select the maximum disk size for PearOS ThiccSur, then select the option “Store Virtual disk as a single file” and click next. Once you reached the final step simply click Finish to create the virtual machine.
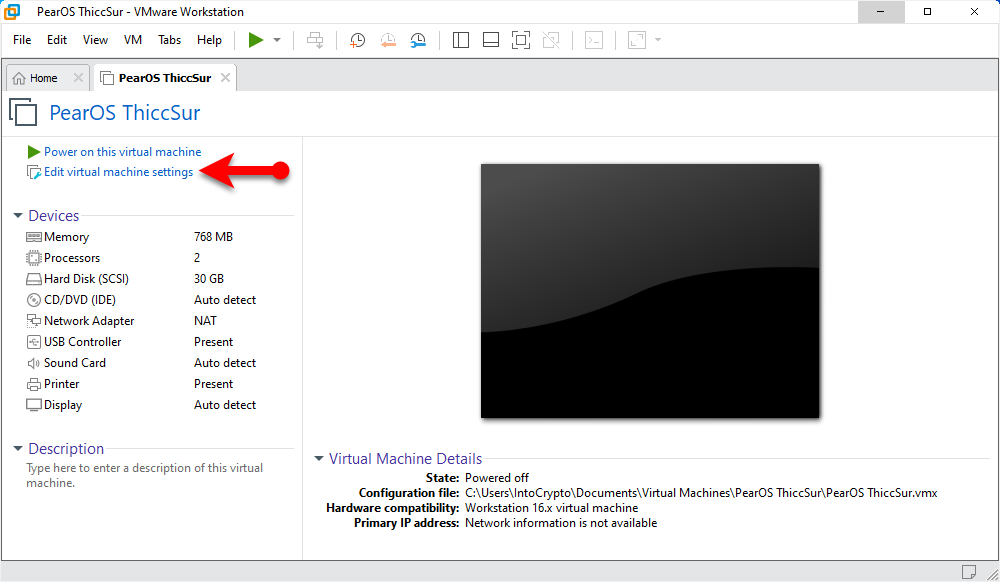
Edit Virtual Machine Settings for Better Performance
For having the better performance you need to edit some basic settings for the virtual machines. Simply, select the created virtual machine of PearOS ThiccSur and click on “Edit virtual machine settings”.
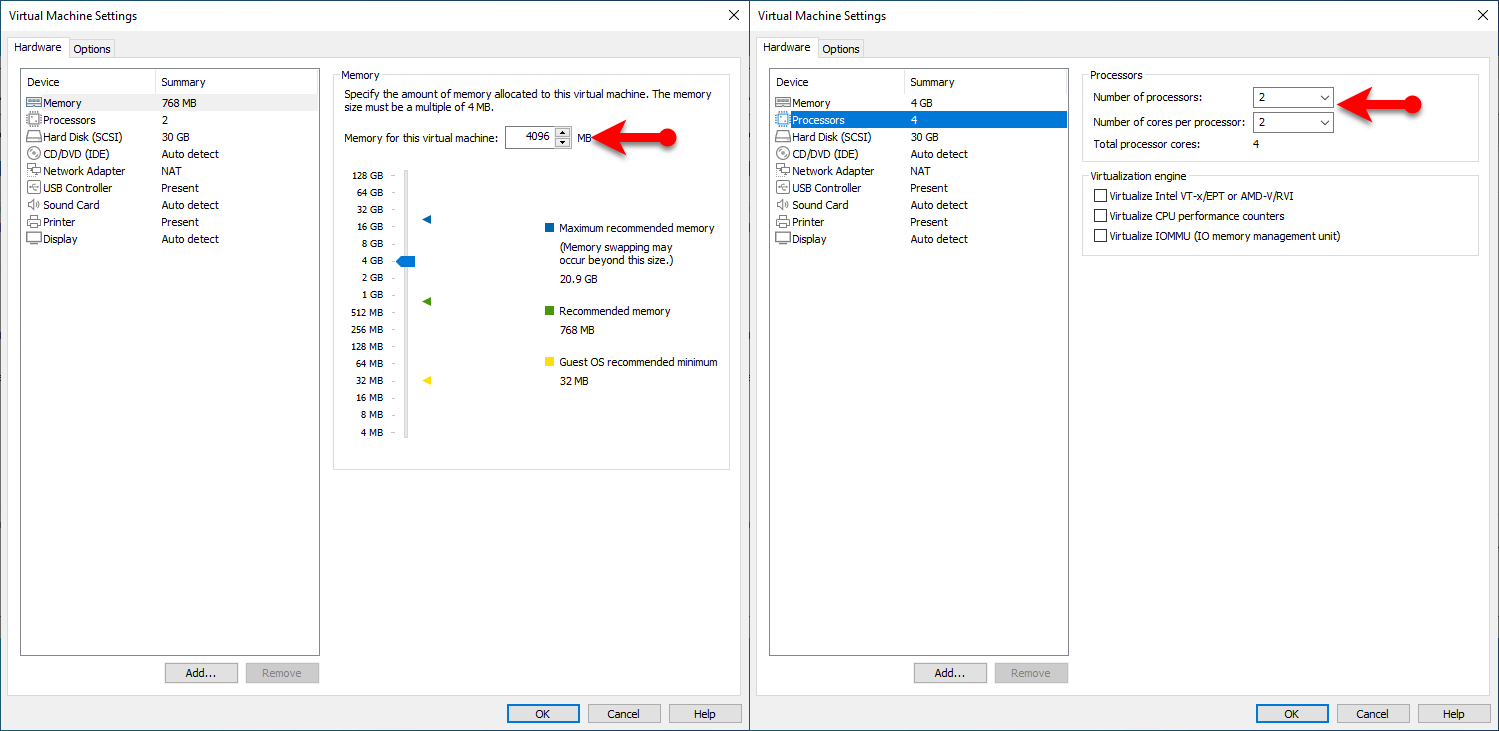
When the virtual machine settings opened, from the left-handed window side select the “Memory” tab, and increase the virtual machine memory size. Select the “Processor” tab and increase the number of processors.
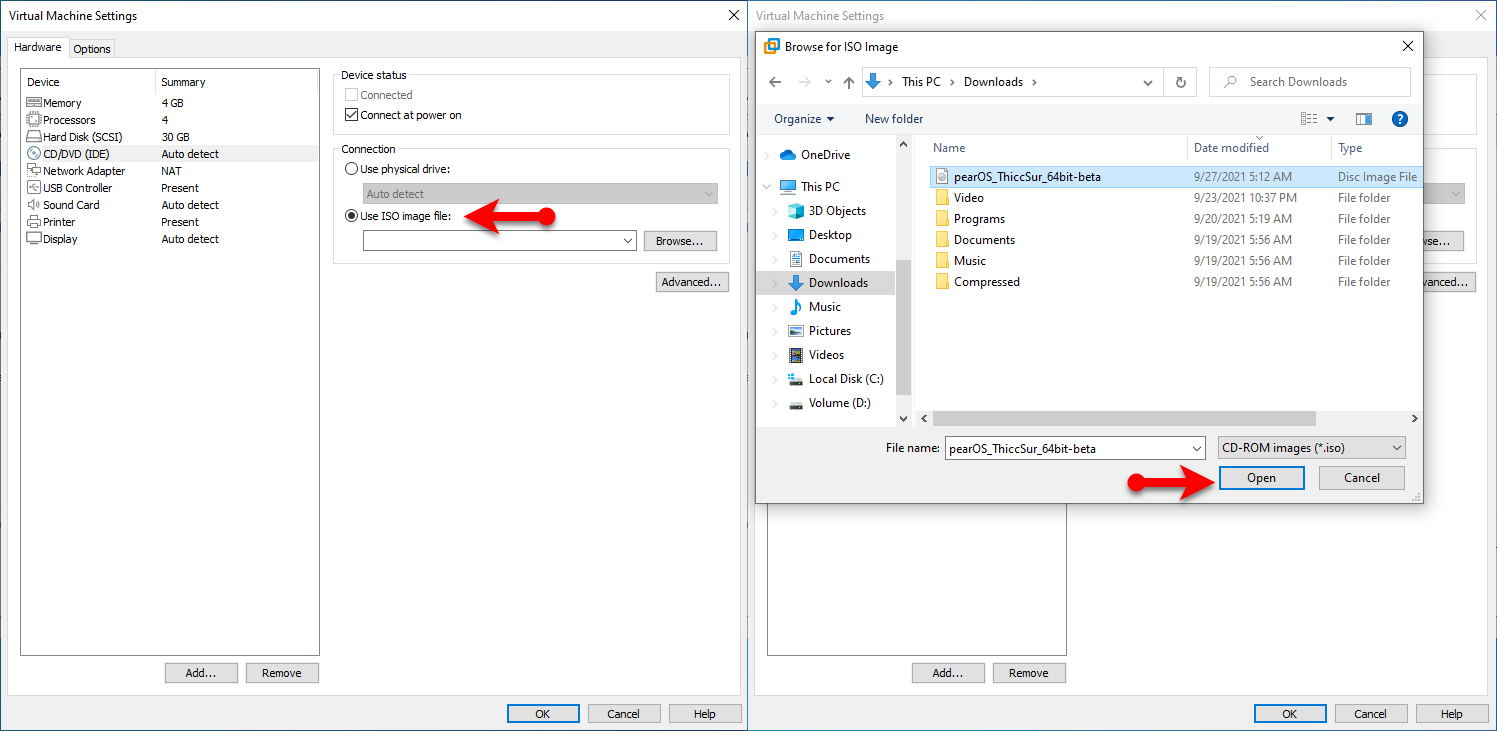
Select the CD/DVD (IDE) tab, then click on “Use an ISO image file”, then select the PearOS ThiccSur ISO image file and click on Open.
Install PearOS ThiccSur on VMware
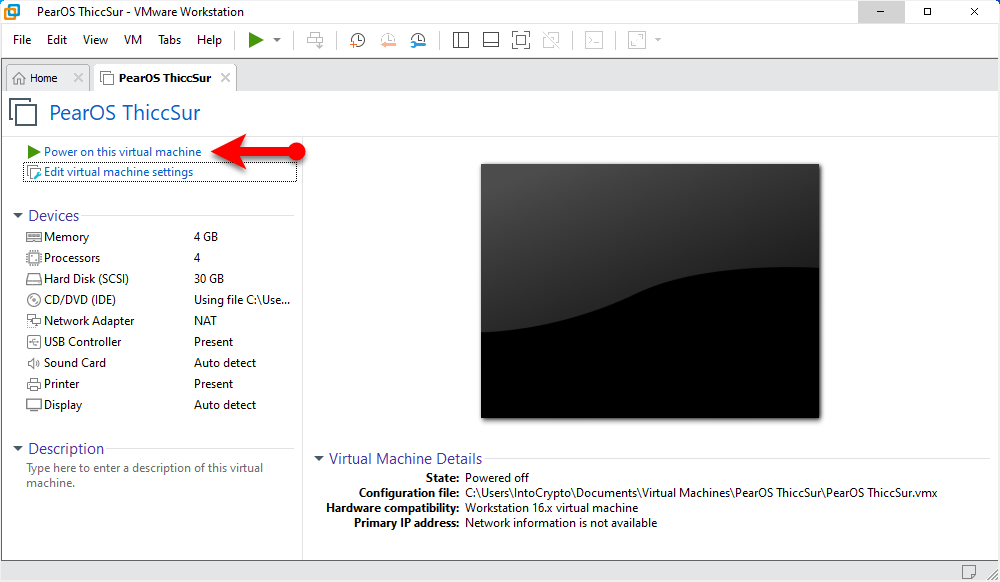
Now you are at the step to install PearOS ThiccSur on VMware on Windows PC. Because each and everything is successfully performed clearly. So, now select the created virtual machine of PearOS ThiccSur and click on Power on this virtual machine.
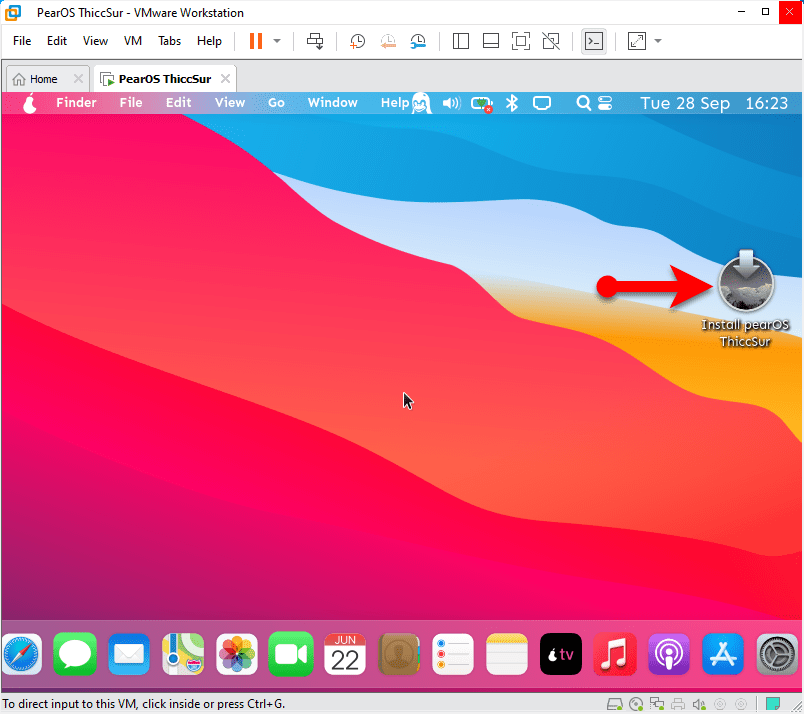
Once the PearOS ThiccSur booted, on the main window double-click on the “Install PearOS ThiccSur” logo to launch the installation.
- When the installation wizard opened on the welcome window simply click next.
- Select your location and click next.
- Choose your keyboard layout and click Next.
- On the partitions, you have to create a partition in order to install PearOS ThiccSur. Therefore, for creating the partition select the “Erase Disk” option and click next.
- Now enter your username and create a password and click next.
- Wait until the installation should be completed, the installation may take some time. So, wait until it should be done.
- When the installation is completed you need to restart the virtual machine, so click on the Done option to restart the virtual machine.
[metaslider id=6329]
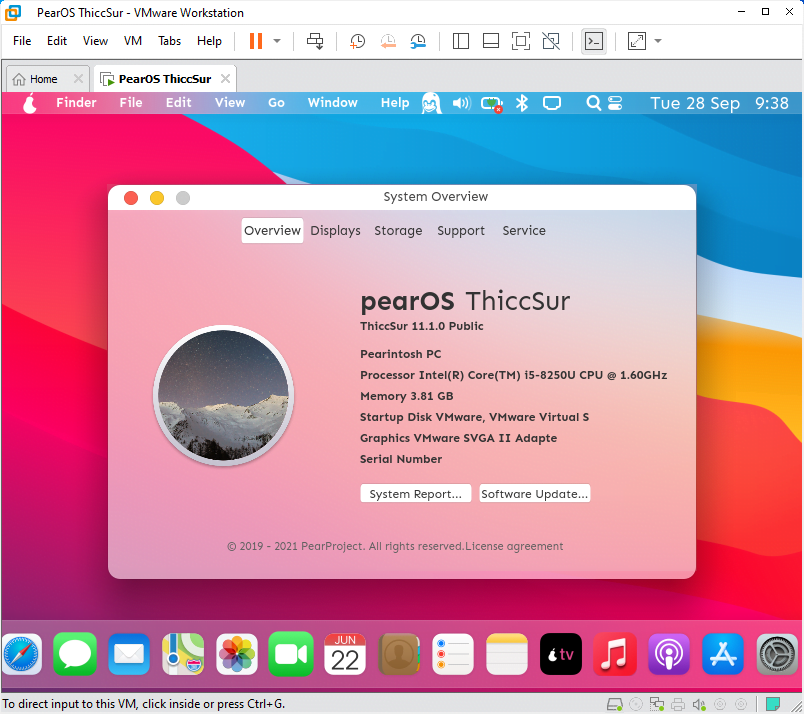
And now the PearOS ThiccSur successfully installed on VMware on Windows PC. For checking the version of PearOS ThiccSur simply click on the Pear logo on the top left-handed screen and click About this PearOS.
Conclusion
That was about how to install PearOS ThiccSur on VMware on Windows PC. PearOS ThiccSur installation is similar to the installation of macOS Big Sur on Windows PC. Also, similar to the installation of the Windows operating system on VMware on Windows PC. However, if you faced any kind of problem feels free to share with us via the comment section.