Linux Mint is a community-driven Linux-distribution based on Ubuntu-based on Debian. The Linux Mint is bundled with a variety of open-source applications. It’s better to install and run the Linux Mint on Virtual machines on your physical operating system. Indeed the virtual machines are the best source to test different OS on it. Instead of downloading its original file and boot to your actual PC, replace the process with virtual machines.
The Virtual machines provide you the best and easiest ways of installing Linux Mint on your actual PC. On the other hand, you can install the Linux Mint nor the operating system on a Virtual machine without any problem. Don’t forget that while running the virtual machines with an operating system on your physical PC, then it may cover the Graphic, RAM, Processor, CPU, and more.
There are bundles of virtual machines such as VMware Workstation, VirtualBox, Hyper-V, Parallels. We have already tested the Linux Mint on VirtualBox on Windows. But I think the best platform is VMware Workstation/Player which provides you the best source to install Linux Mint on it.
So, through this guide, you will learn how to install Linux Mint on VMware on Windows. For installing Linux Mint on your Windows PC you need to have the following PC with the following specifications.
- 64-Bit Windows OS
- 40GB Disk space
- 8GB of RAM
- SSD is best for better performance
Install Linux Mint on VMware on Windows
Download and Install the Required files:
For installing Linux Mint on VMware Workstation you have to download the Linx Mint (Cinnamon) version. I didn’t try the other versions of Linux Mint but the Cinnamon version is the best for virtual machines.
When you have downloaded the VMware Workstation setup file, extract its setup using the WinRAR and 7Zip. The installation method is easy with a few clicks you can install it on your Windows.
#Create A New Virtual Machine for Linux Mint
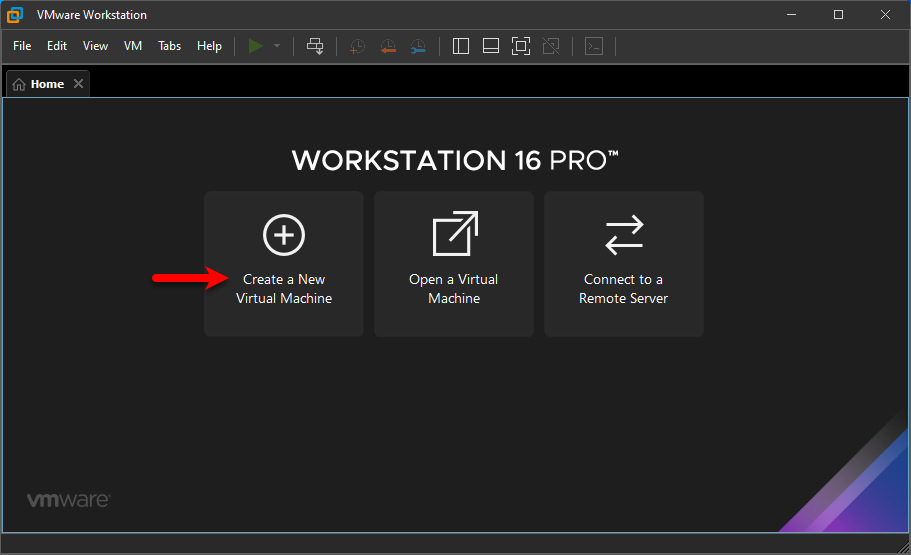
Once the VMware Workstation successfully installed on your Windows 10 PC, open it for creating a new virtual machine. When the VMware opened on the wizard screen click on (Create A New Virtual Machine).
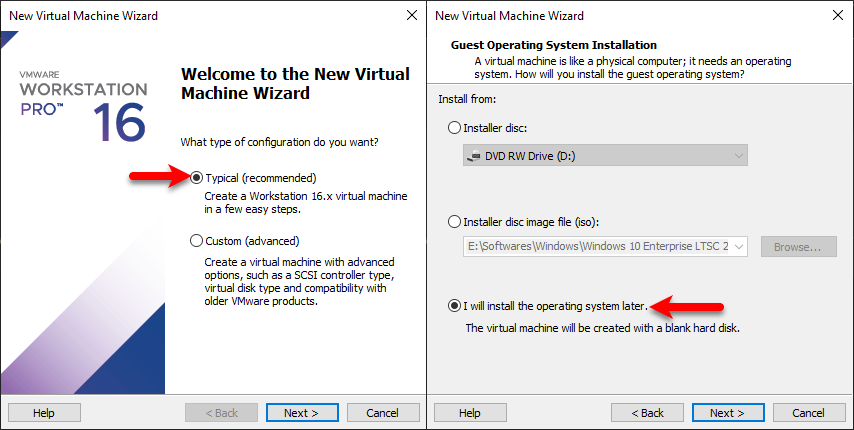
On the next screen select the option Typical (recommended) and click next, select the option (I Will install the operating system later), and click next.
Under the guest operating system select (Linux) then under the version select (Ubuntu) and click next, create a virtual machine name and specify its location and click next.

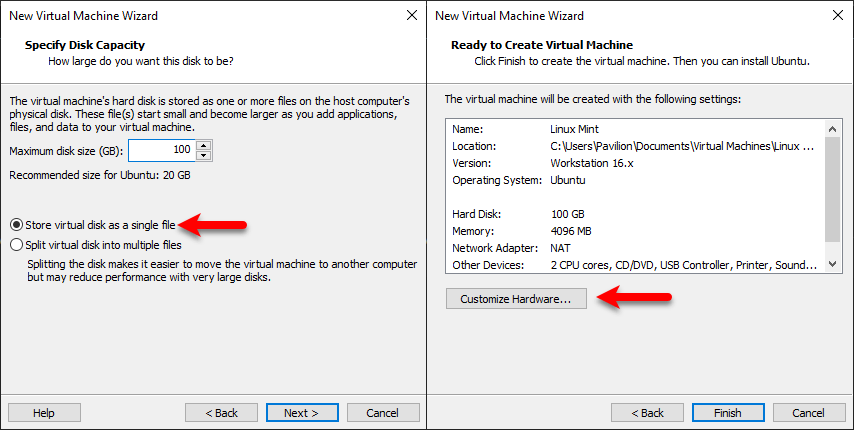
Select the maximum disk size, and click on (Store virtual disk as a single file) then click next, Once you are at the last step click on (Customize Hardware).
When the Hardware window opened from the left-handed bar select the Memory tab, and increase the memory size for the virtual machine. Below down the memory tab click on the Processor tab, and increase the number of processors and core processors.

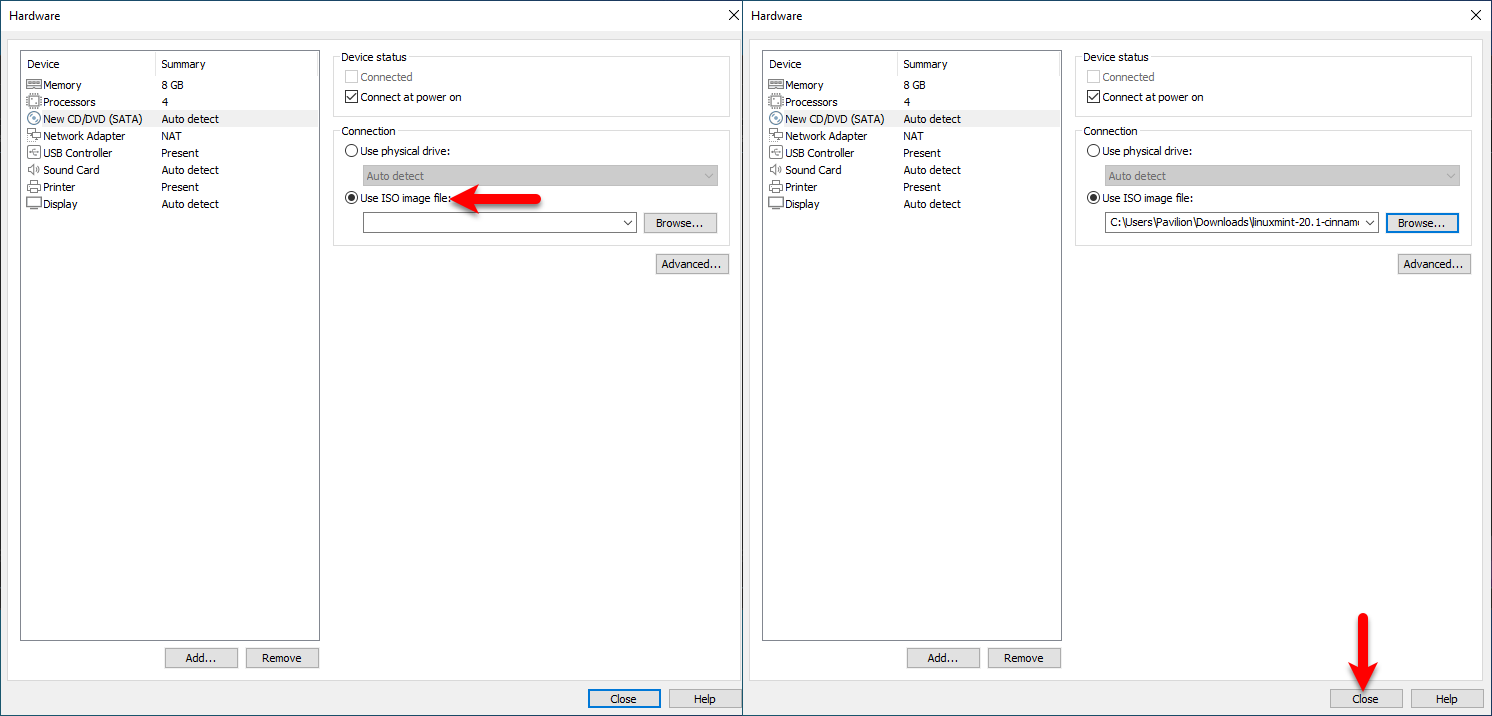
Click on CD/DVD (SATA) tab, then select (Use an ISO image file), when the other window opened select the Linux Mint ISO file and click Open. While the Linux Mint ISO file added to the virtual machine click close and click OK.
#Install Linux Mint on VMware
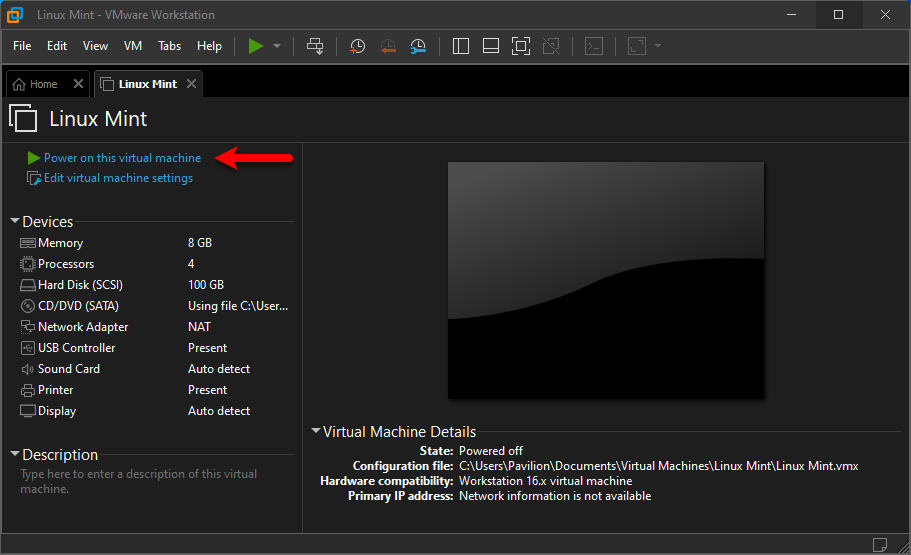
When everything is done so let’s head over to the installation process, to install Linux Mint on VMware click Power on this virtual machine to start the installation.
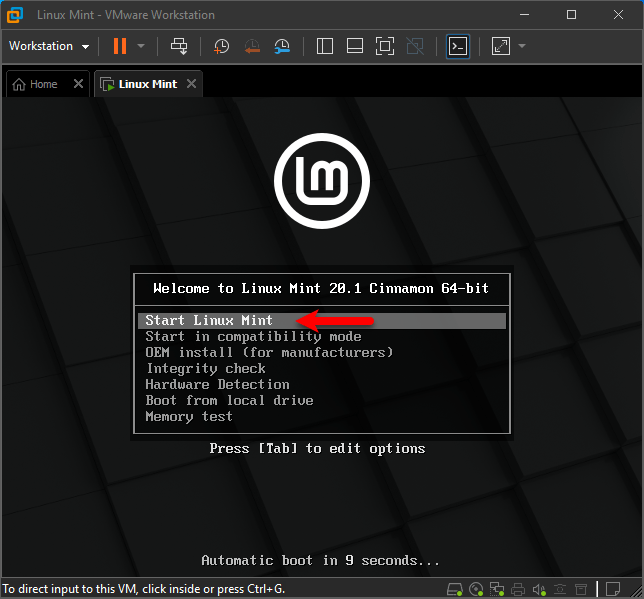
Once the installation successfully launched on the first screen select the (Start Linux Mint) option and press the enter key to boot.
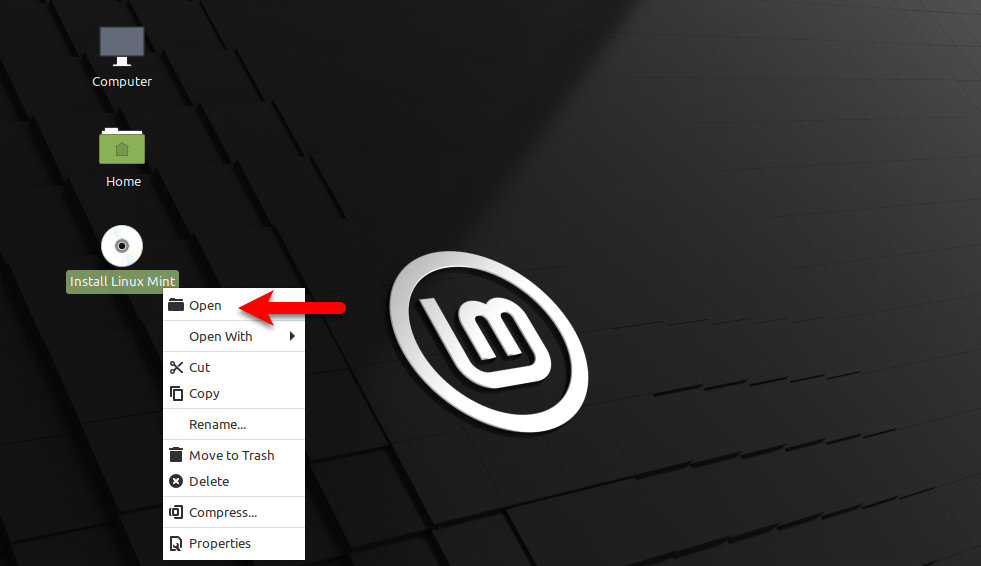
After getting to the Linux Mint screen you might see there the Install Linux Mint image icon. So, right-click on that and click Open to launch the installation.
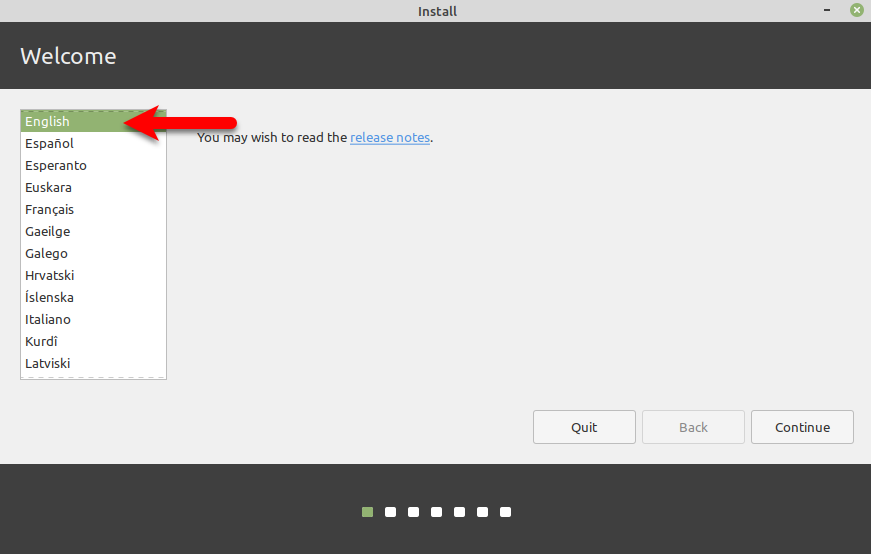
After the installation wizard launched on the welcome screen select your language and click continue.
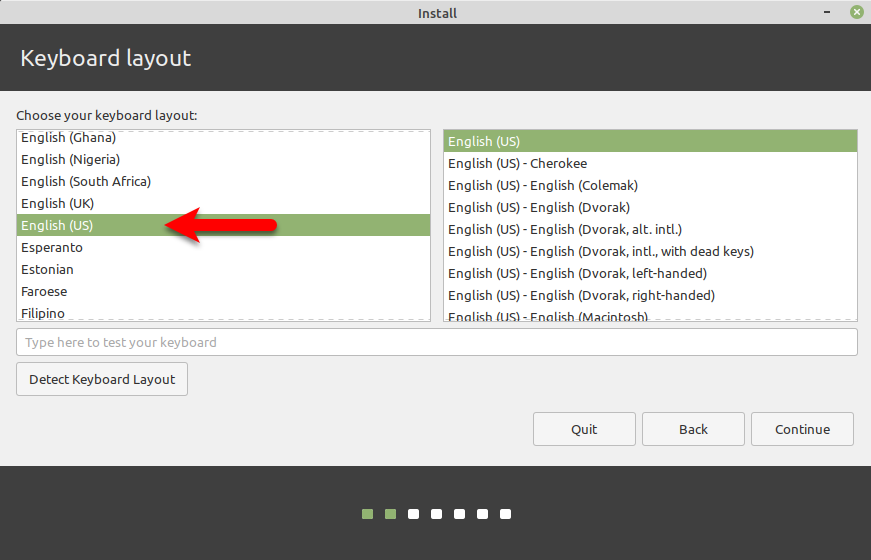
Select your keyboard layout and click continue.
On the multimedia codes window simply click continue.

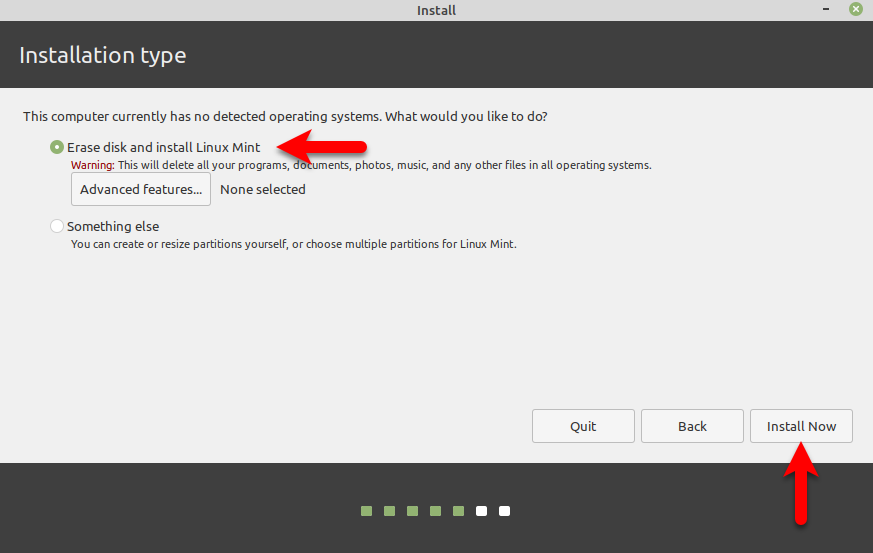
In the installation type window select the (Erase disk and install Linux Mint) option and click install now.
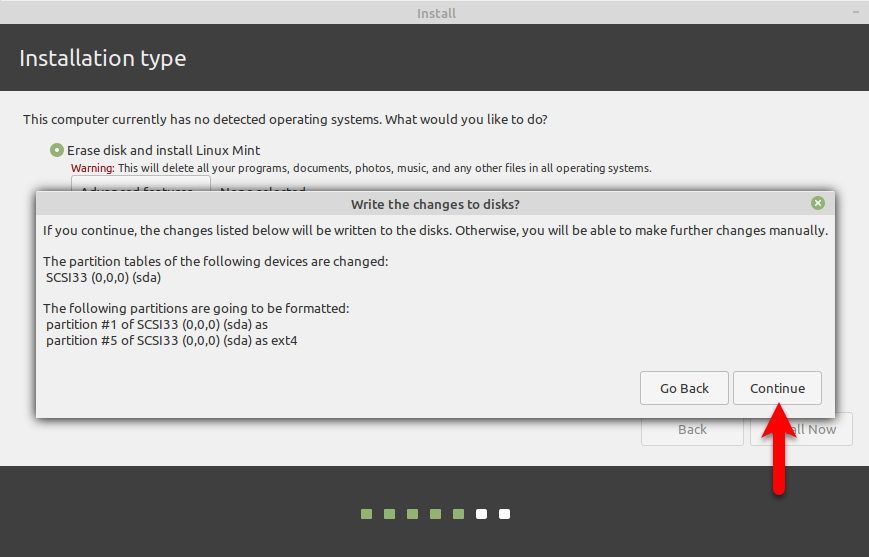
Now click continue to start erasing the disk, it may take some time to erase the disk.
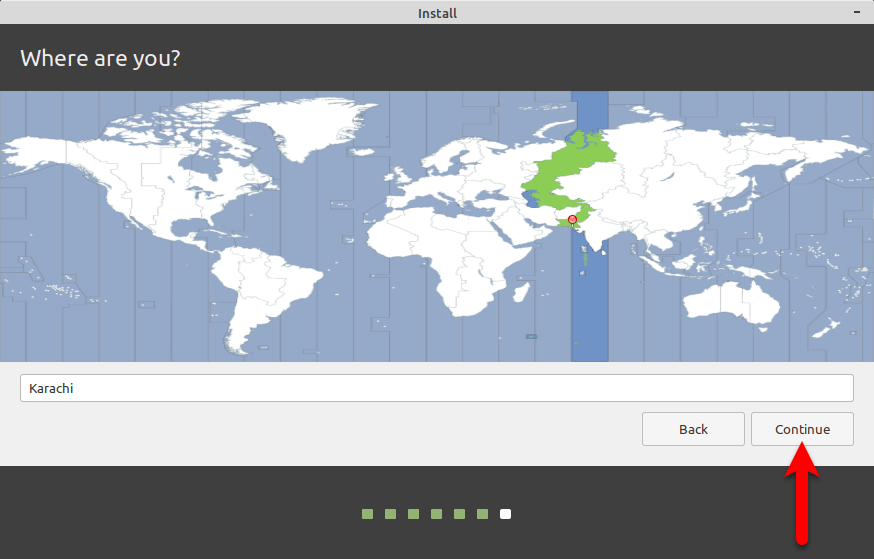
Select your location and click continue.
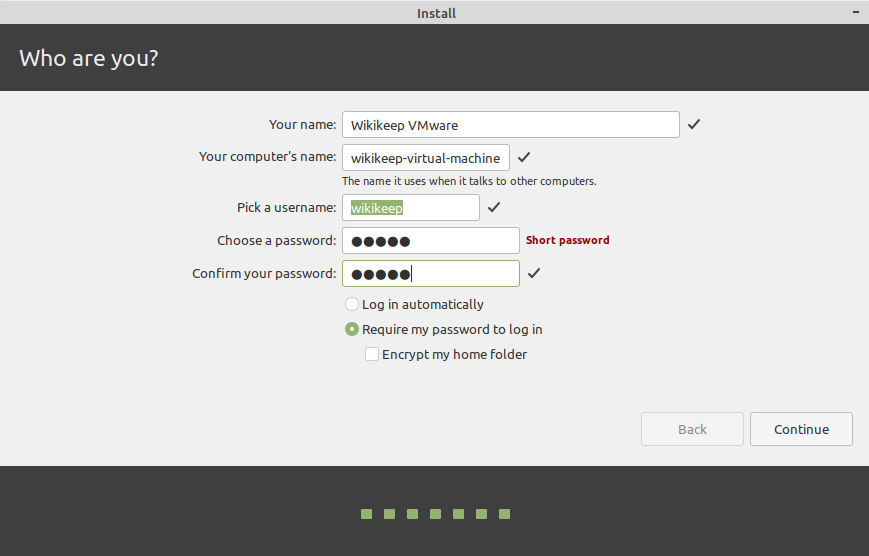
Now create a computer account by entering your name, your’s computer name, username, password, and confirm password then click continue.
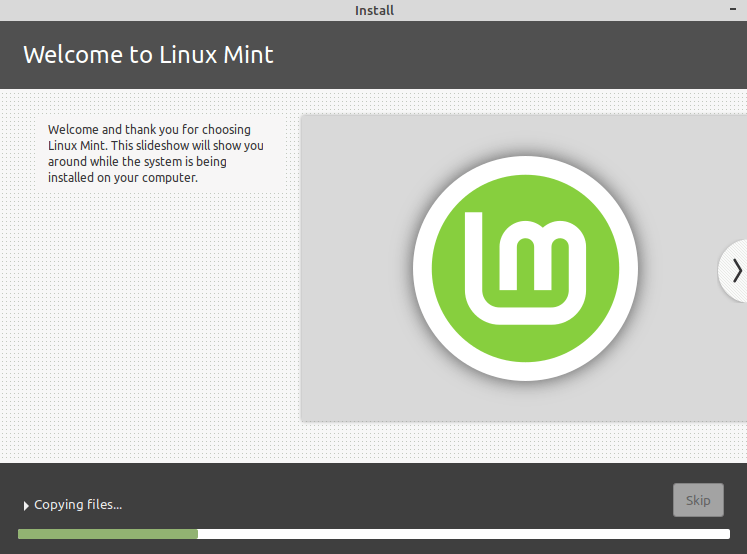
After clicking continue it will start installation, so the installation process may take some time.
Once the installation successfully completed the below-down screen will pop-up so click on the Restart option to restart your virtual machine.
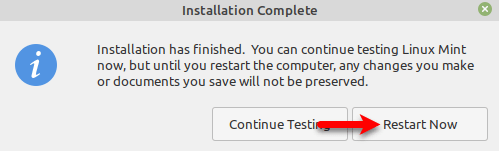
And finally, Linux Mint successfully installed on VMware Workstation on Windows PC.
If you faced any kind of problem feel free to share with us via the comment section.