Windows 11 receives maintenance & Security updates every month or every week automatically. Sometimes the updates are important to fix bugs, lagging, and other security issues on an operating system, or other performance. Also, sometimes the companies update the operating system because of the new features. On the other side, it keeps the machines updated to the latest version. Overall Windows 11 becomes one of the most popular operating systems also we can say that Windows 11 replaced the Windows 10 operating system.
However, through this article step by step, I will show you how to disable Windows 11 Automatic Update Permanently. As the automatic update is one of the most important tasks inside any operating system, the first task is that it keeps your operating system up to date, the second task is that make your computer fresh after updating to the latest version, make your PC perform well, gives your PC a new interface look.
There are several methods to turn off or disable the Windows 11 updates, like on the main setting window you can disable or postpone the update for 1 week or up to 1 month. To disable the Windows 11 update permanently you have to follow the below down steps to keep your Windows 11 update off.
How to Disable Windows 11 Automatic Update Permanently?
Step #1
On Windows 11 you can easily postpone the update for the next month or weeks easily. It will take the decision that when your computer gets refreshed. So, it’s pretty much easy to follow the steps to get the update of Windows 11 to disable permanently.
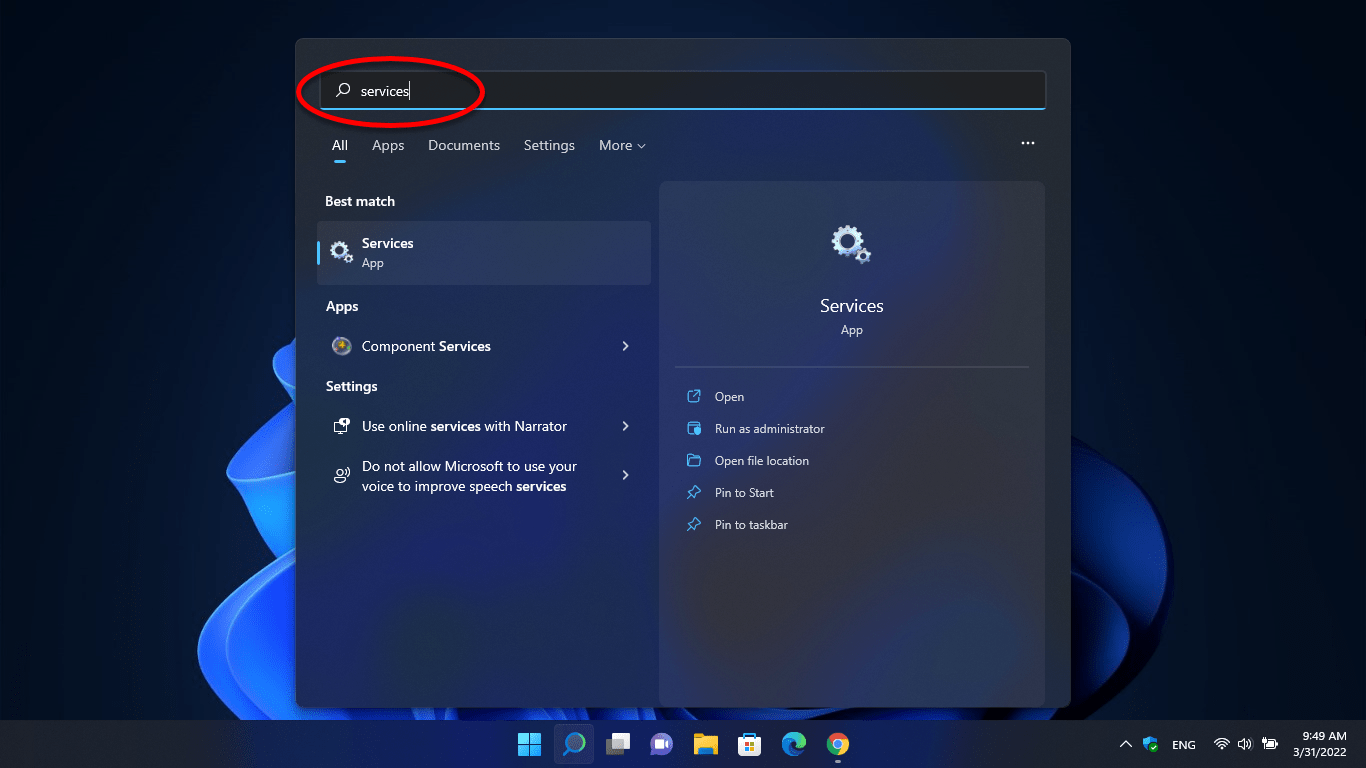
Step 1. The first step is to navigate to Windows 11 start menu and type there “Services” once it appeared press enter to open the Services window.
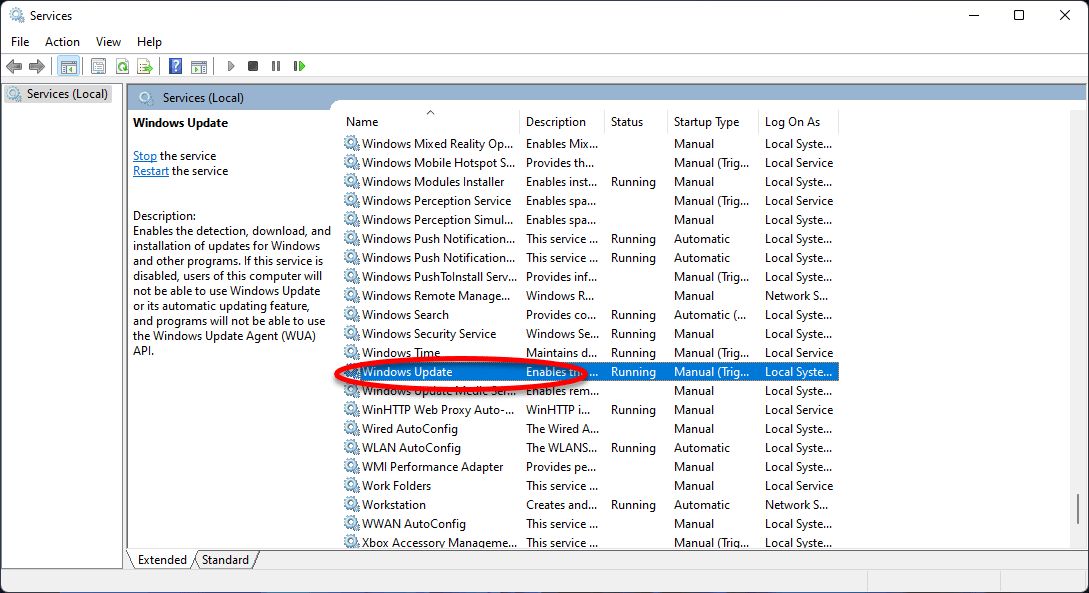
Step 2. When the services window is opened from the settings window find out the 11 “Windows Update” option, then double click to open the properties window.
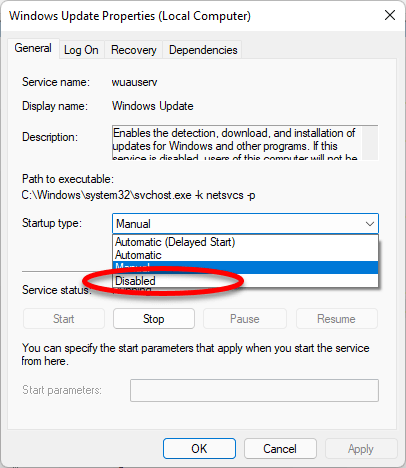
Step 3. On the Windows update properties window select the General tab> and select the startup type disabled and click Apply and OK.
Step #2
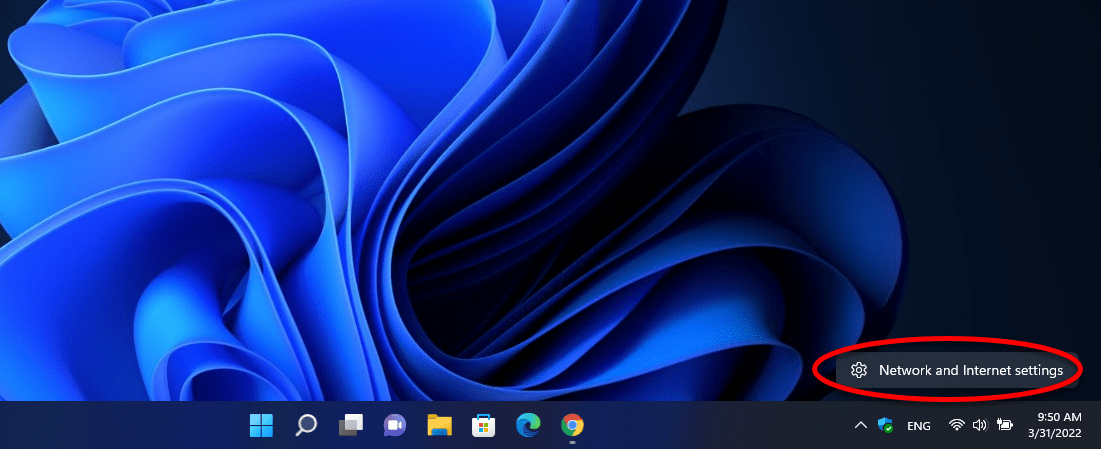
Step 1. Navigate to the Windows tray icon right-click there on the Internet connection icon, then click “Network and Internet Connections”.
Step 2. On the Network & Internet connections window click on the “Ethernet” option to expand.
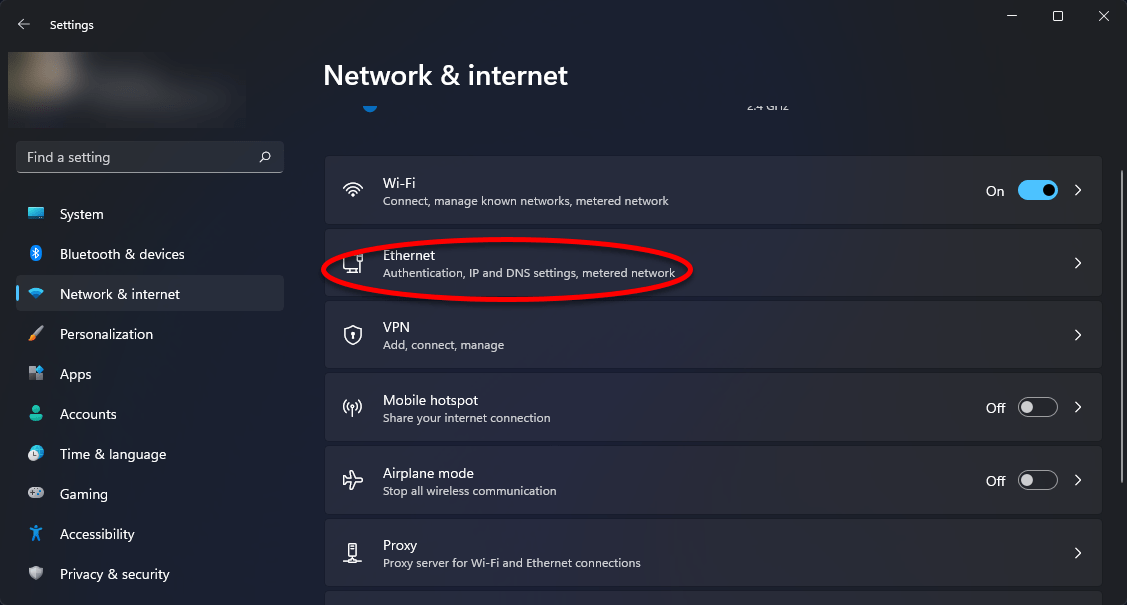
Step 3. Now turn on the metered connection.

Step #3
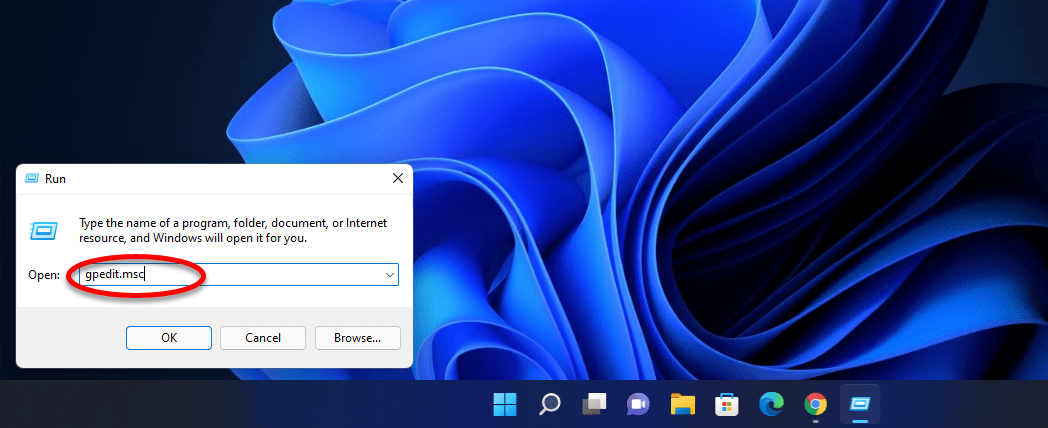
Step 1. Now press the Windows key + R to open the Run window, once the Run window is opened type there “Gpedit.msc” and press enter.
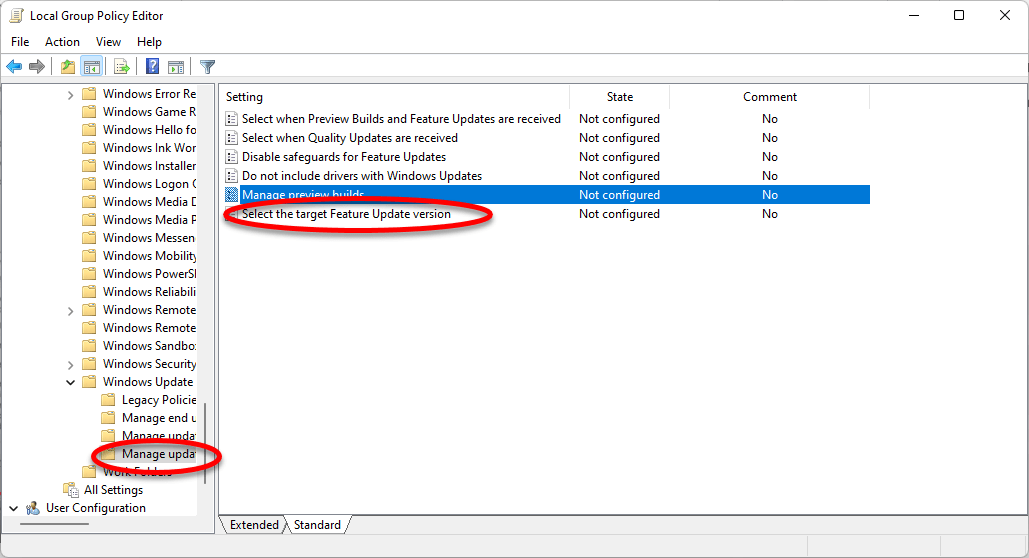
Step 2. Once the editor window is opened, expand the Administrative Components>Windows Components>Scroll down and search for Windows Updates>Manage Updates>On the right side select the Standard tab>Select the target feature update>then double click to edit.
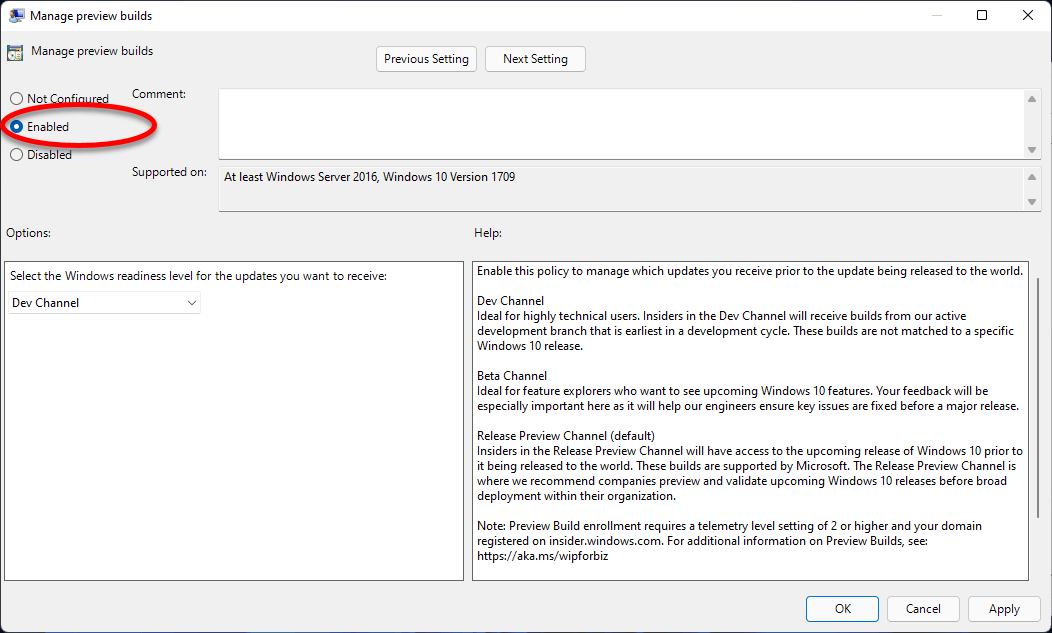
Step 3. When the next window is opened select the enabled option, then click Apply and OK.
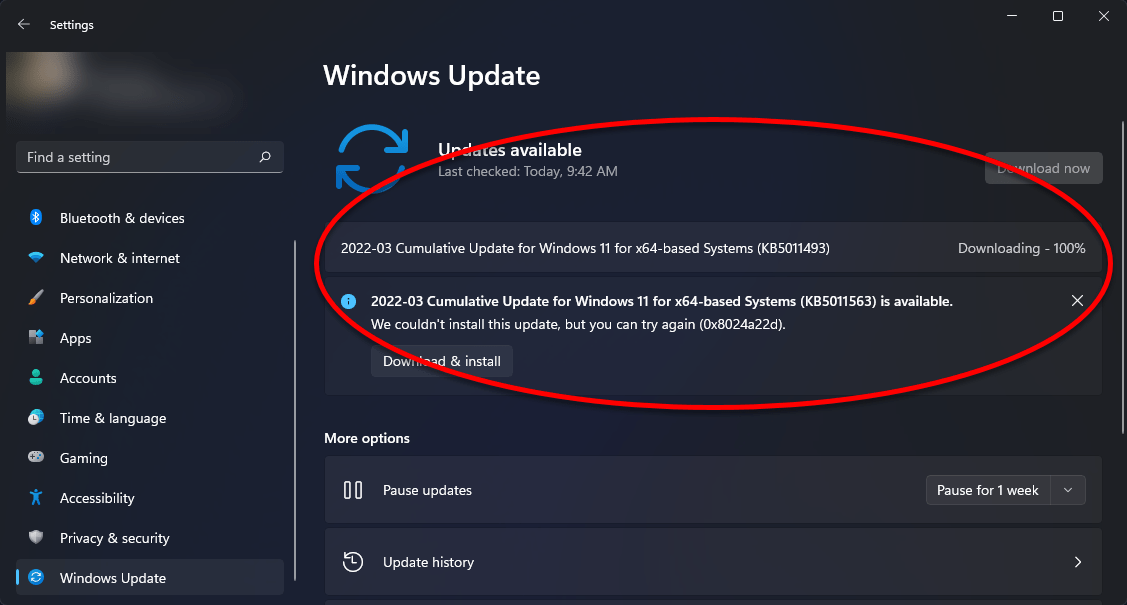
Step 4. Now navigate to the Windows start menu click on setting to open, when the settings window opened click on the Windows update option, and there you can see that the Windows update is disabled perfectly. And you won’t be able to update your Windows.
Conclusion
That was about how to disable Windows 11 automatic update permanently. I hope this method worked for you, if you faced any kind of problem feels free to share with us via the comment box section.