The virtual WWDC event keynote kicked off on June 6, 2022, and totally it was free for everyone. On the other side, the online event gave the developer information about the future versions of macOS, iPadOS, iOS, WatchOS, and tvOS. Even it was one of the best online sessions in the history of Apple for developers and the engineers of Apple. Apple Keynotes event took place on Monday, June 6, 2022, at 10:00 AM Pacific time. The Apple Keynote event went live directly from Apple park and replayed on Apple.com.
Every year Apple introduces the new macOS operating system, and with the same procedure this year Apple kicked out the latest operating system called macOS Ventura which is perfectly having a new look and interesting features. On the other side, macOS Ventura version 13, introduced the latest M2 MacBook Air, and the latest operating system of iOS, WatchOS 9, and tvOS 16, with all its features.
Mostly we are covering every year the macOS Ventura articles such as installing on PC-Hackintosh, Virtual Machines, creating Bootable USB Drive on Windows PC, creating ISO image file, and creating VMDK file of macOS operating system. With the same process if you want to install macOS Ventura version 13 on virtual machines, then firstly you have to create its ISO image file or VMDK file.
Also, If you don’t want to create the ISO image file of macOS Ventura then easily you can get or download it from the below downlink.
- How to Create macOS Ventura VMDK File for Virtual Machines
- Download macOS Ventura ISO Image For VMware & VirtualBox
How to Create macOS Ventura ISO File for VMware & VirtualBox?
To create a macOS Ventura ISO image file for VMware or VirtualBox firstly you have to download the macOS Ventura Installer file. Usually, the macOS Ventura installer App is available for developers who participated and are now a part of Apple developers. They only have the access to get the macOS Ventura installer file, also if you are not a part of the macOS Ventura developer then you can get the installer app from the below downlink, and install it on your other running macOS machine to get the macOS Ventura DMG, VMDK, or ISO image file.
- Download macOS Ventura Installer Pkg (11.3GB)
Install macOS Ventura Assistant Installer
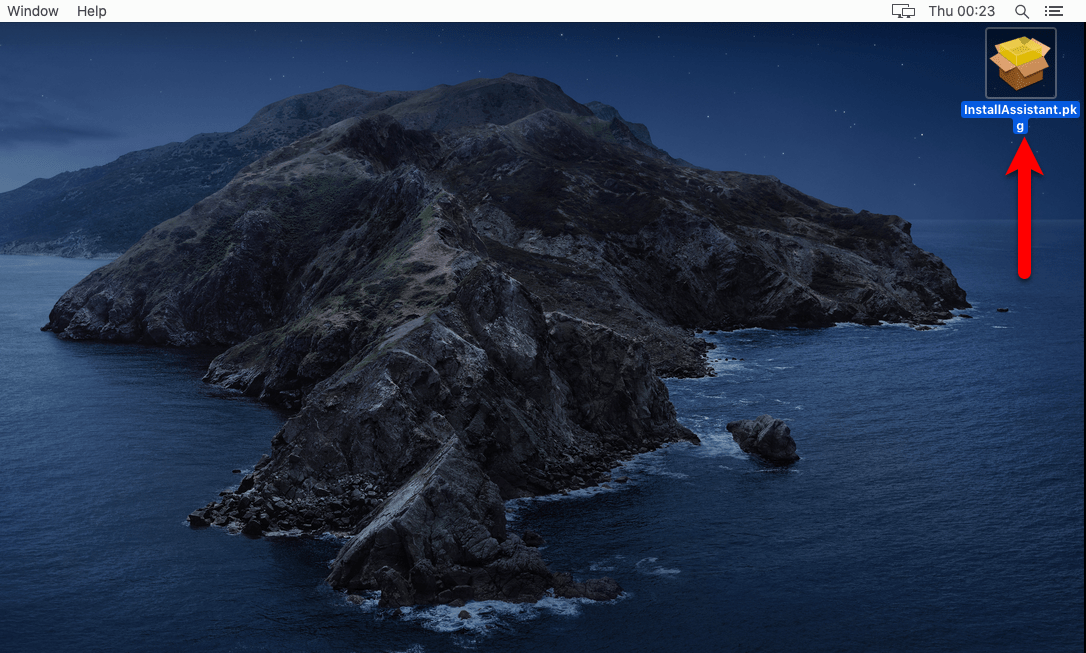
Once you have downloaded the macOS Ventura Assistant Installer file, simply double-click to open it, then continue the installation process similar to the below guide.
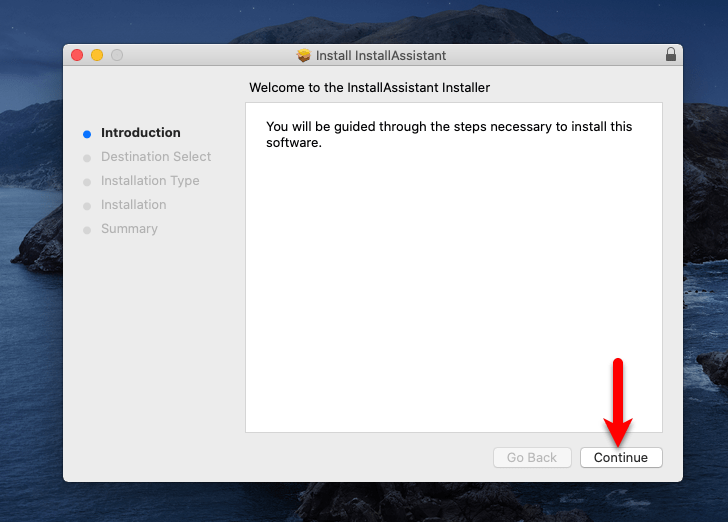
When the Assistant installer opened at the first window click on the Continue option.
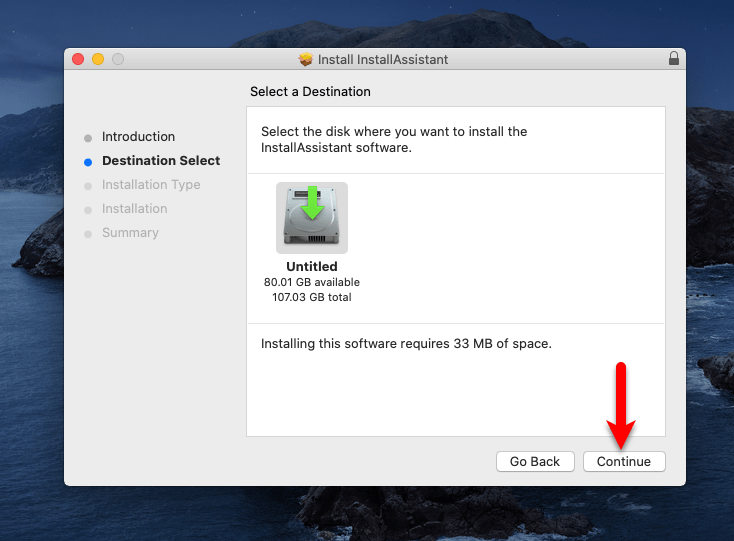
Now if your computer has multiple drives then you can specify the location where you want to place the Assistant installer, then click on the Continue option.
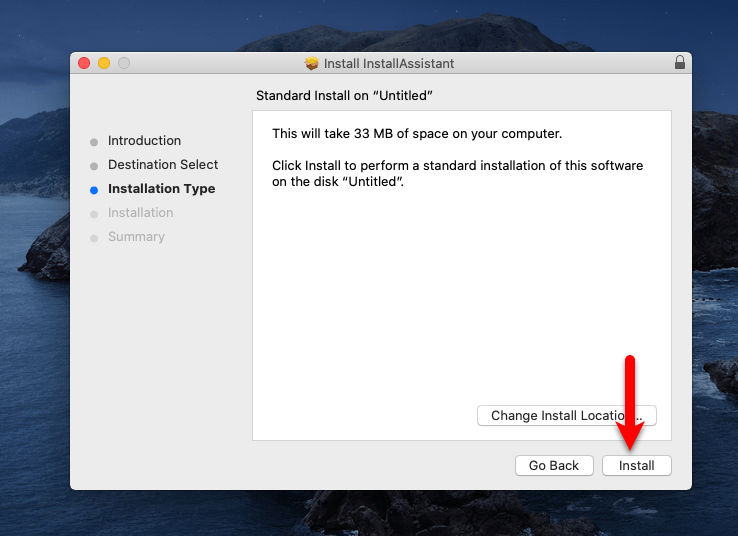
When you reached the installation type window simply click on the Install option.
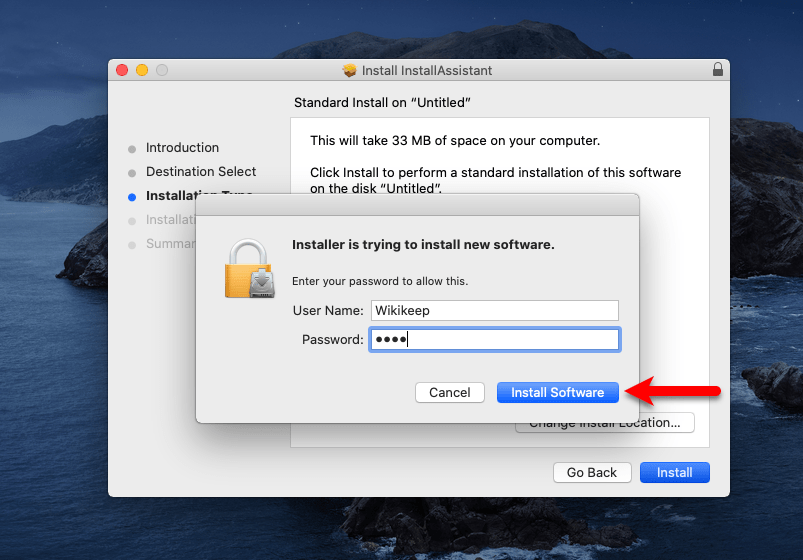
Enter the password of your username and click on Install Software.
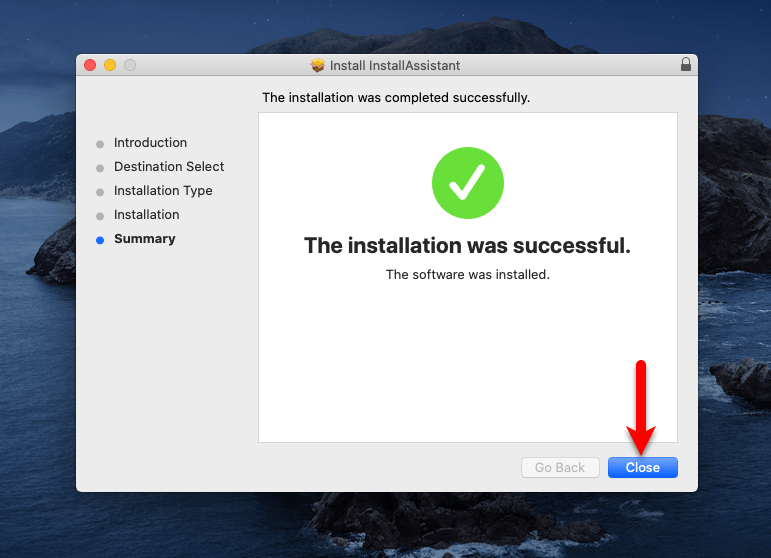
Now, wait for the installation until it should be completed, once the installation is completed click on the Close option to close the Assistant installer window.
Once the macOS Ventura Assistant installer is successfully installed navigate to Applications>Destination and check there if “Install macOS 13 Beta” is available there. If the file is not available there then you won’t be able to create the ISO file.
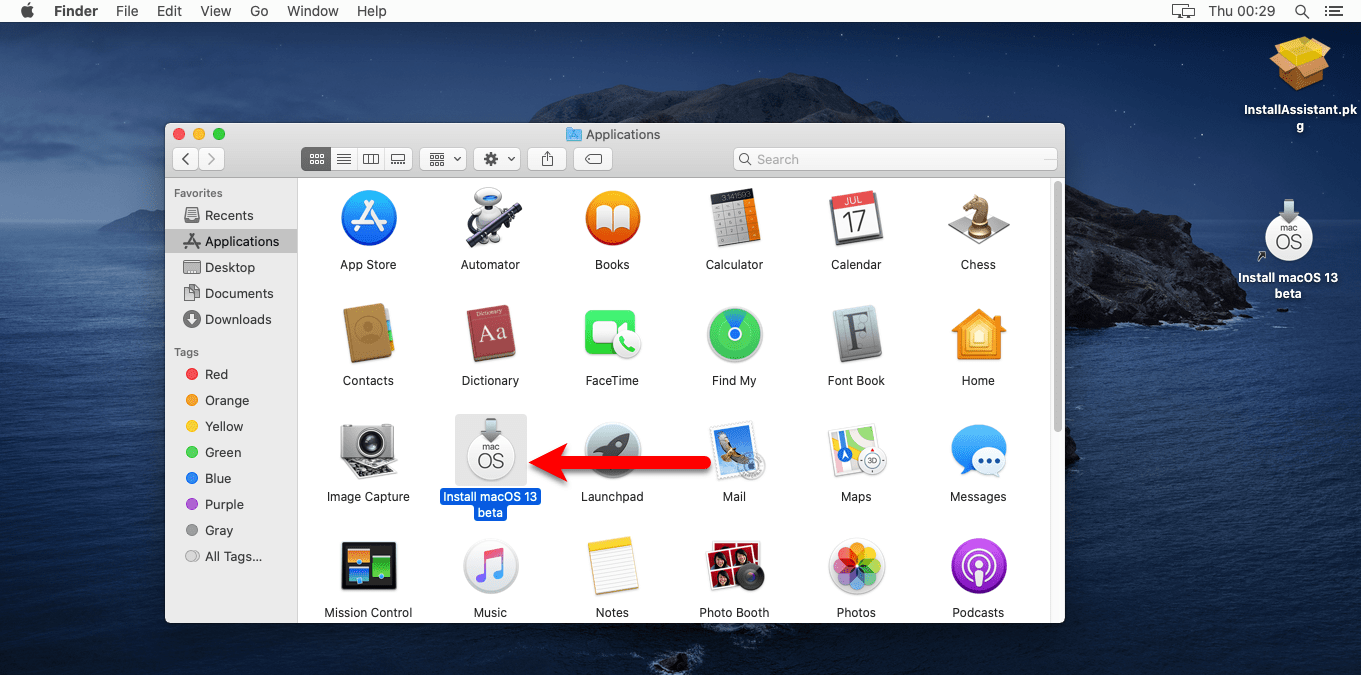
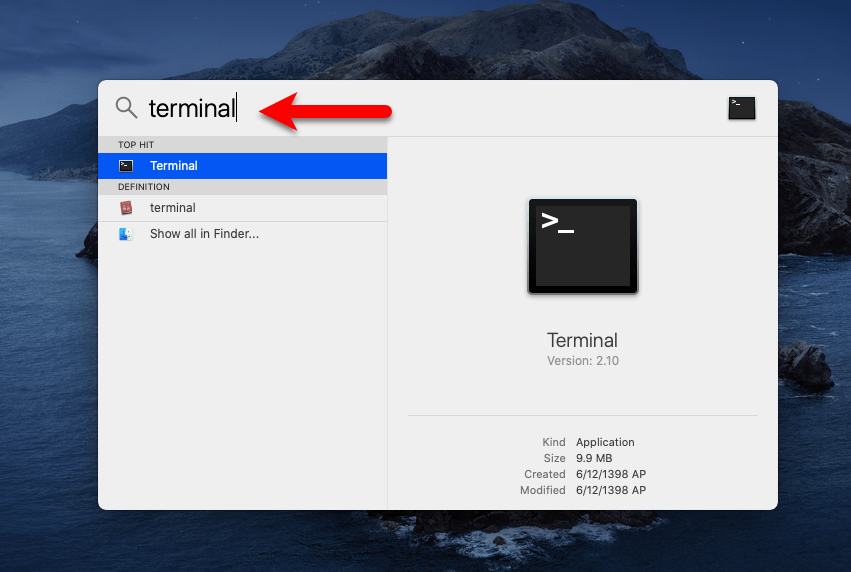
Once you get the macOS 13 Beta installer file in the Application window, simply navigate to Search spotlight and search for terminal and open it.
Create macOS Ventura DMG File
The actual size of the macOS Ventura ISO image file for VMware & VirtualBox is around 14GB, for the conversation of macOS Ventura DMG file to ISO image file at least you need 20GB of disk space. Day by day the macOS Ventura new update will release so it means the size is not stable, sometimes it can be more than 14GB for the ISO file. Because in every update the features and new things will come.
Step 1. Simply once the terminal window is opened copy the below commands and paste them into the terminal and press enter. On the next step you will be asked to enter the username password, simply enter the password and click enter.
sudo hdiutil create -o /tmp/Ventura -size 14000m -volname Ventura -layout SPUD -fs HFS+J
Step 2. After entering the password your dmg file will create, and in the next step, you have to mount the dmg file of macOS Ventura version 13. So for mounting the Ventura dmg apply the below commands.
sudo hdiutil attach /tmp/Ventura.dmg -noverify -mountpoint /Volumes/Ventura
Step 3. Once the dmg file is successfully mounted on the desktop. Now you have to convert the dmg file into an installer file by applying the next commands.
sudo /Applications/Install\ macOS\ 13\ beta.app/Contents/Resources/createinstallmedia --volume /Volumes/Ventura --nointeraction
Step 4. Keep open the terminal then type “Sudo”, then navigate to Applications Directory>Right Click on Install macOS 13 Beta>Click Show Package Contents>Go to Contents Folder>Resources>Find out the CreateInstalllMedia, then simply drag and drop that into the terminal. And wait for it until it should make the disk bootable.
Step 5. When step 4 successfully completed simply unmount the macOS Ventura from the desktop by right-clicking.
Step 6. Once the macOS Ventura is successfully unmounted from the desktop. You have to convert the macOS Venture.dmg to Venture.cdr, simply copy the below commands, and paste them into the terminal. The conversation will take some time to wait for it.
hdiutil convert /tmp/Ventura.dmg -format UDTO -o ~/Desktop/Ventura
Step 7. The final step of creating the macOS Ventura version 13 ISO Image file. You have to convert the Venture.cdr to Venture.iso. For this process apply the below commands to the terminal.
mv -v ~/Desktop/Ventura.cdr ~/Desktop/Ventura.iso
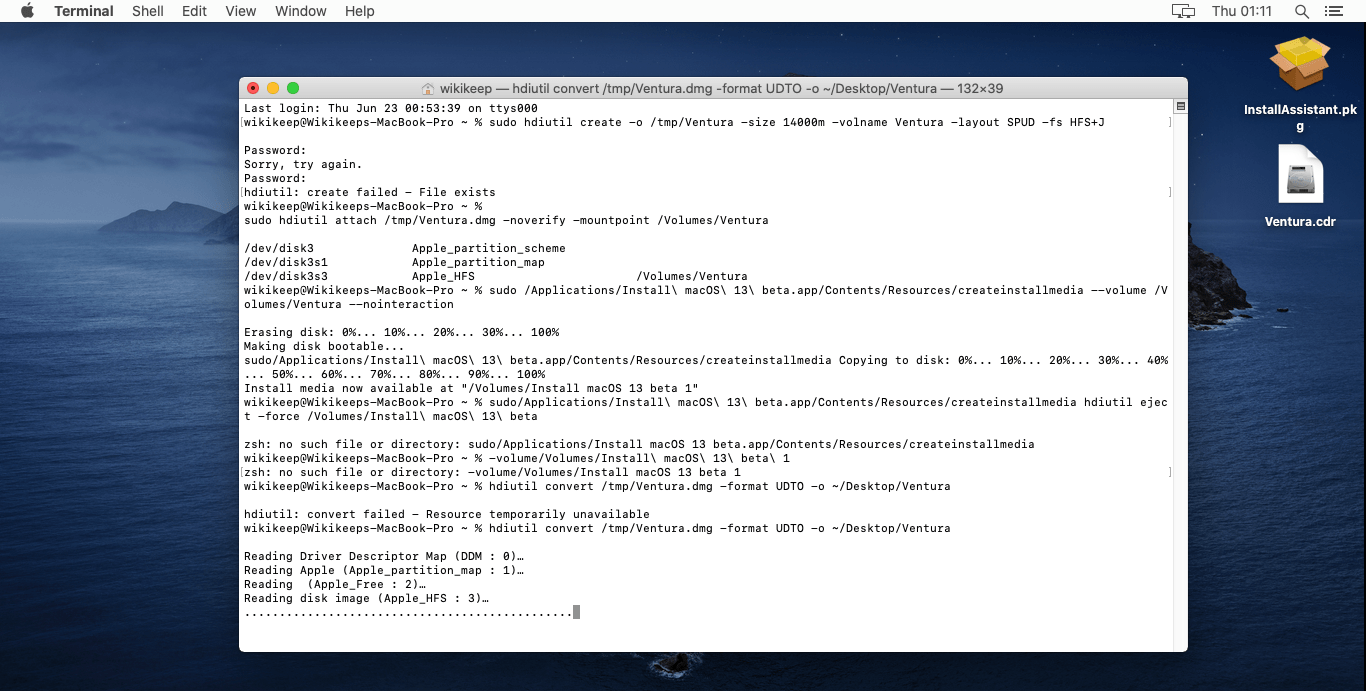
Terminal Look
And here is the final look of macOS Ventura Version 13 creating an ISO file with the picture. If you are facing any problem simply follow the guide according to the picture.
Last login: Thu Jun 23 00:53:39 on ttys000
wikikeep@Wikikeeps-MacBook-Pro ~ % sudo hdiutil create -o /tmp/Ventura -size 14000m -volname Ventura -layout SPUD -fs HFS+J

Password:
Sorry, try again.
Password:
hdiutil: create failed - File exists
wikikeep@Wikikeeps-MacBook-Pro ~ %
sudo hdiutil attach /tmp/Ventura.dmg -noverify -mountpoint /Volumes/Ventura

/dev/disk3          	Apple_partition_scheme
/dev/disk3s1        	Apple_partition_map
/dev/disk3s3        	Apple_HFS                      	/Volumes/Ventura
wikikeep@Wikikeeps-MacBook-Pro ~ % sudo /Applications/Install\ macOS\ 13\ beta.app/Contents/Resources/createinstallmedia --volume /Volumes/Ventura --nointeraction

Erasing disk: 0%... 10%... 20%... 30%... 100%
Making disk bootable...
sudo/Applications/Install\ macOS\ 13\ beta.app/Contents/Resources/createinstallmedia Copying to disk: 0%... 10%... 20%... 30%... 40%... 50%... 60%... 70%... 80%... 90%... 100%
Install media now available at "/Volumes/Install macOS 13 beta 1"
wikikeep@Wikikeeps-MacBook-Pro ~ % sudo/Applications/Install\ macOS\ 13\ beta.app/Contents/Resources/createinstallmedia hdiutil eject -force /Volumes/Install\ macOS\ 13\ beta

Reading Driver Descriptor Map (DDM : 0)…
Reading Apple (Apple_partition_map : 1)…
Reading  (Apple_Free : 2)…
Reading disk image (Apple_HFS : 3)…
..................................................................................................................
Elapsed Time:  3m 30.071s
Speed: 66.6Mbytes/sec
Savings: 0.0%
created: /Users/wikikeep/Desktop/Ventura.cdr
wikikeep@Wikikeeps-MacBook-Pro ~ % mv -v ~/Desktop/Ventura.cdr ~/Desktop/Ventura.iso

/Users/wikikeep/Desktop/Ventura.cdr -> /Users/wikikeep/Desktop/Ventura.iso
wikikeep@Wikikeeps-MacBook-Pro ~ %
Conclusion
It was about how to create macOS Ventura Version 13 ISO image file for VMware & VirtualBox. The process might confuse you, but again it’s much simple. On the other side, if you faced any kind of problem feels free to share with us via the comment box section.