If you don’t have a Mac computer, then using the following macOS operating system on Windows PC is pretty interesting the macOS like “macOS Sierra, macOS High Sierra, macOS Mojave 10.14, macOS Catalina 10.15, and finally we have macOS 11 Big Sur in our hand now. For completing your high experience using the macOS operating system, you can use your Windows PC in order to get attach to complete features. And I take important VMware Inc this Virtualization software enables the facilities for Windows users to test macOS operating systems in their Windows PC like other Softwares. VMware allows you install easily any macOS, Linux, or even Windows itself operating system.
The best portion using the VMware virtualization on Windows PC, that it allows you to enter any versions of the macOS operating system full screen. To enter macOS full-screen mode on VMware, you need a small tool called “VMware Tool”, or “Darwin Tool”. This tool enables the features for users on VMware Workstation/ VMware Player. And the best important point is that enable the full-screen mode with a 128MB graphic display.
Enter macOS Full Screen Mode on VMware
For entering the macOS full-screen mode on VMware, firstly you need to properly install the VMware Workstation then install your favorite macOS operating system. After that, the last thing that important for macOS operating system on VMware is to enable the full-screen mode. You can download the “VMware tool” from below down also. Usually, VMware Workstation itself provides you the VMware tool for an online installation through the internet.
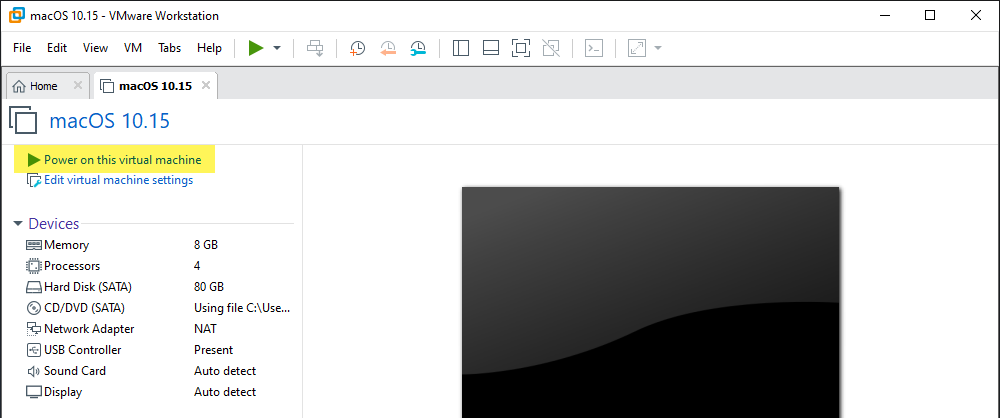
Step 1. The very first thing is you need to make ready any macOS operating system on VMware Workstation. The second thing is manually to download VMware Tool, it can happen that the online VMware tool won’t work on VMware Workstation. The next thin open the VMware Workstation selects the macOS Mojave, macOS Catalina, or macOS Big Sur created Virtual machine, then click “Power on this virtual machine”.
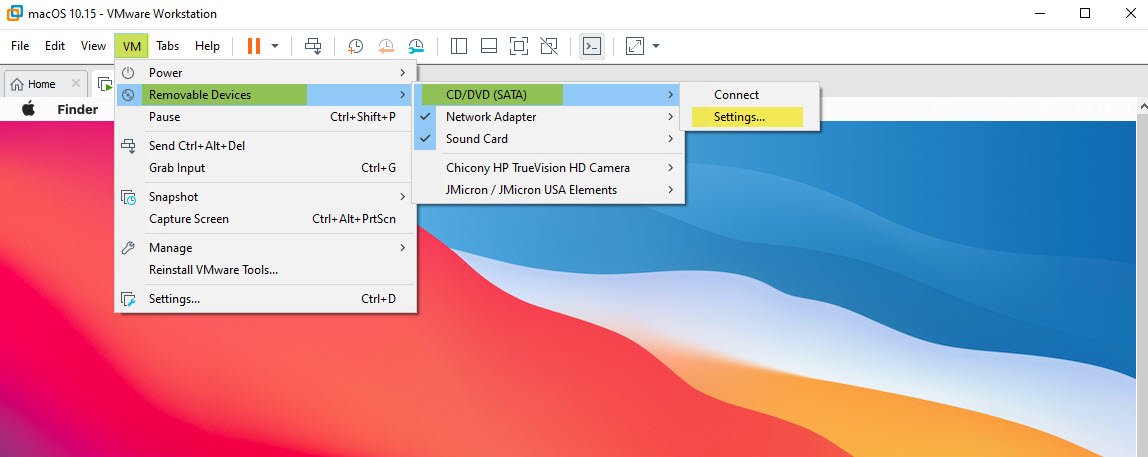
Step 2. Once the macOS launched on VMware Workstation, then from the top menu tab select the “VM”, click on “Removable Devices”, click on “CD/DVD (SATA)”, then click on “Settings”.
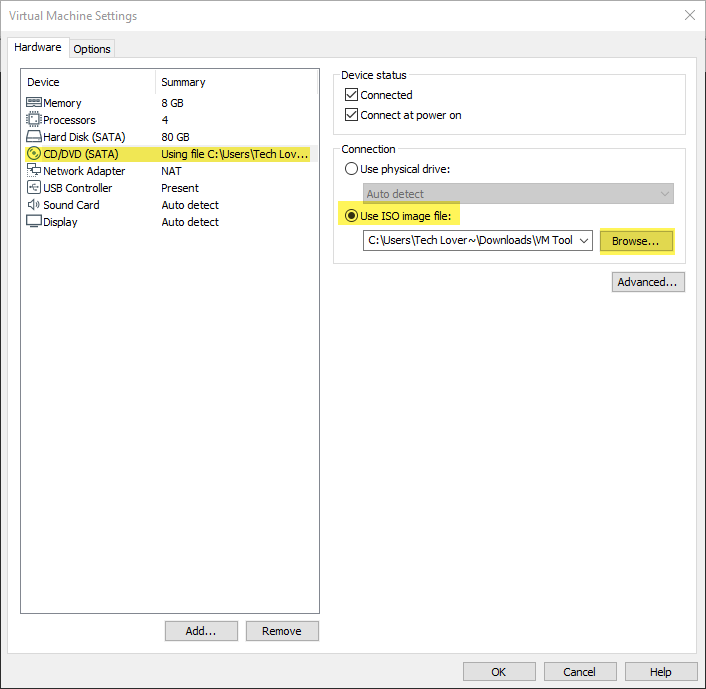
Step 3. While the setting window opened, select the “Hardware” tab, then select “CD/DVD (SATA)” tab. In the list of “Device status” section. Check the “Connected” option, and under that uncheck the “Connet power on” option. After that, select the “Use ISO file” option, and click Browse. Now select the “VMware Tool” and click open.
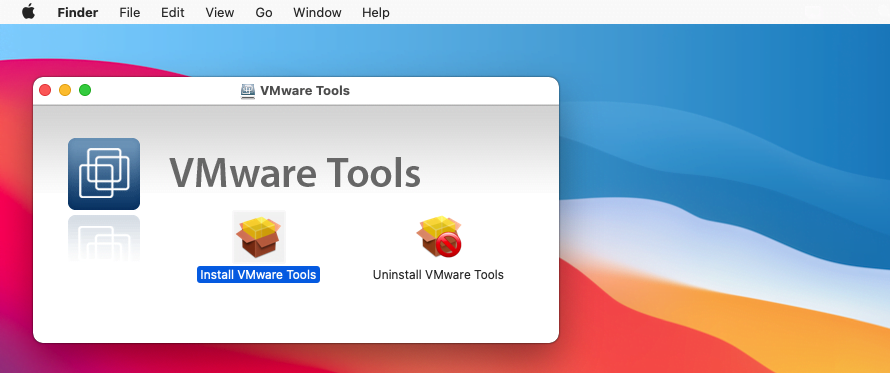
Step 4. Once the VMware tool setup inserted to the macOS window, double-click on that to open the installation. When the VMware tools installation window opened double-click on “Install VMware Tools”.
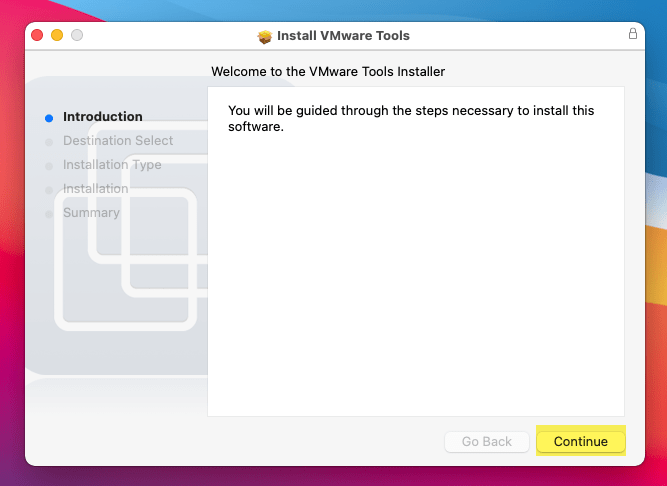
Step 5. On the VMware tools, welcome wizard click continue.
Step 6. Now to install VMware tools click on the “Install” option, then click on “Continue installation”.
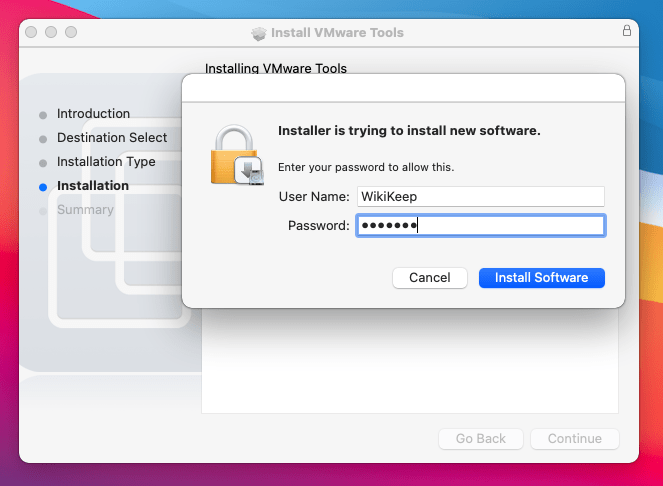
Step 7. Always the macOS operating system will ask to enter your username, and password while installing any third-party applications. So, enter your username and password and click on the “Install Software” option.
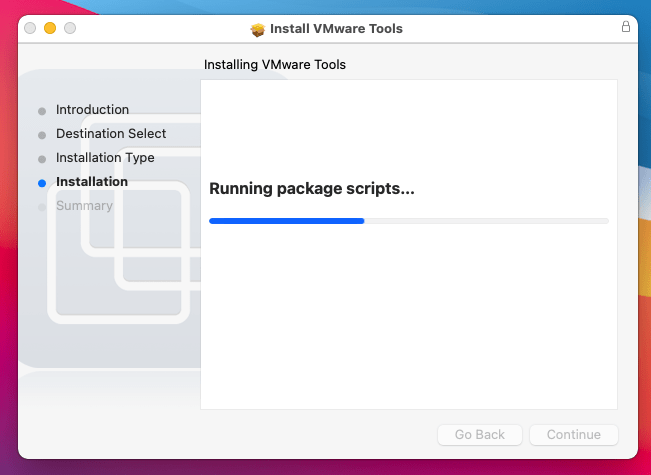
Step 8. Now, wait for the installation process it may take some time.
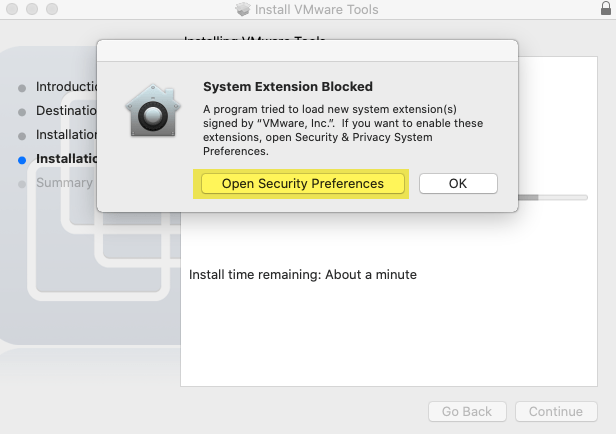
Step 9. During the installation process, you will face a warning that a program trying to load a new system Extension. Click on the “Open system Preference” option.
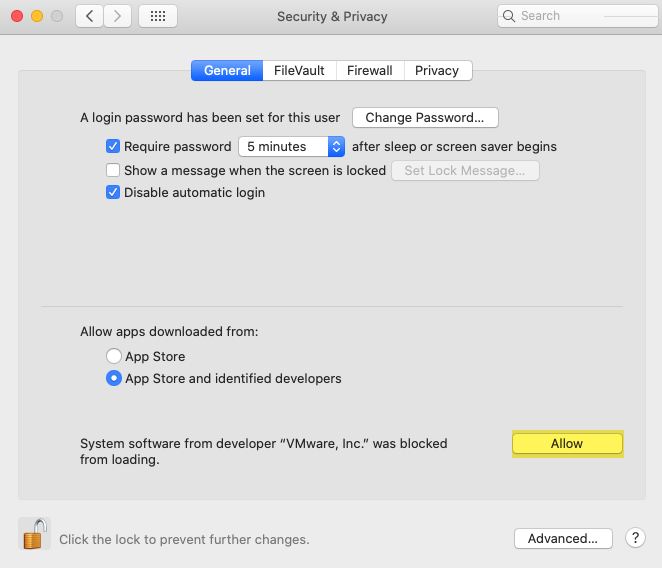
Step 10. When the preferences window opened, click on the Yellow lock icon, then enter your username password and click “Unlock. To enable the VMware tools in VMware Workstation click the “Allow” option then close the preferences window.
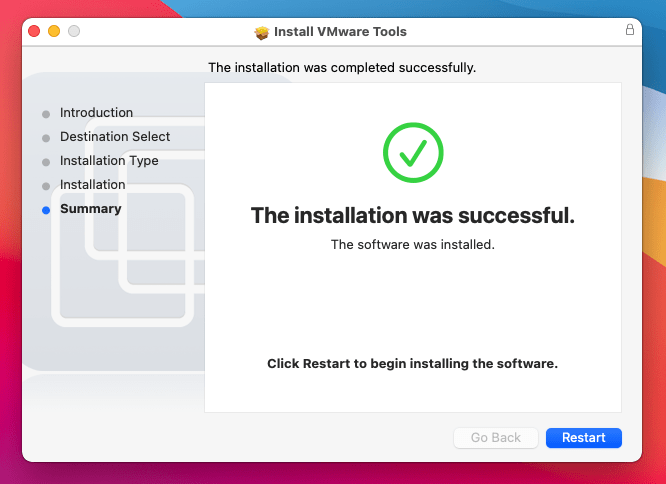
Step 11. Once the VMware Tools successfully installed on macOS on VMware workstation, you will be asked to restart the Virtual Machine.
Step 12. When you get back to the macOS window, for enabling the macOS full-screen mode, move your mouse cursor to the top menu bar. According to the below screenshot, the rectangle option will allow “The full-screen mode” of macOS on VMware Workstation. Click on that to enter the macOS full screen, go ahead enjoy using macOS with full-screen mode and 128MB graphic display.

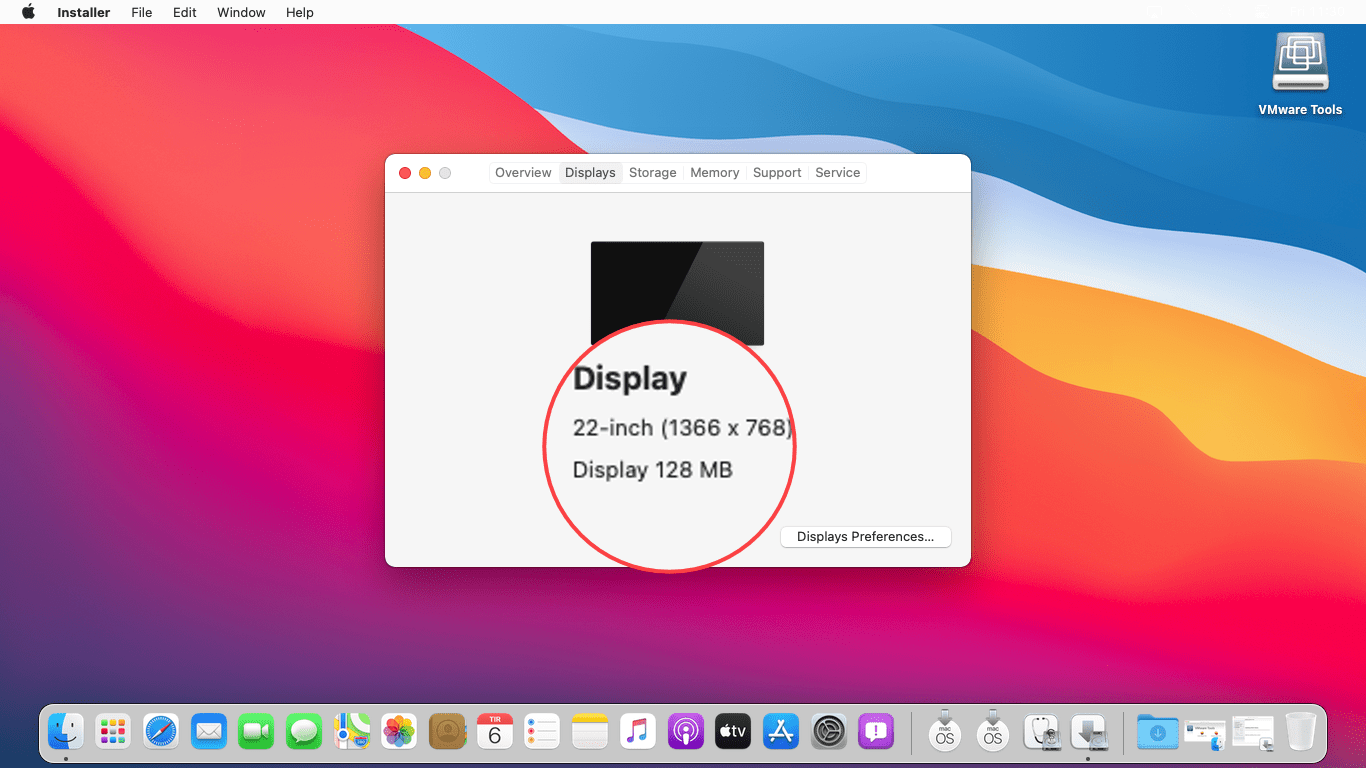
Step 13. Now macOS successfully entered with full-screen mode and 128MB graphic display, or other features on VMware Workstation.
Attention! In case if you won’t be able to enter macOS full-screen mode on VMware Workstation after installing the VMware Tools. Then again you need to reinstall the VMware tools back on macOS. The reinstalling process also the same as installing for the first time.
Or if the macOS full-screen mode won’t work correctly you need to troubleshoot for the internal issues. To do that open the macOS location, then find out the VMX file, right-click and open that with Notepad, after that, copy and paste the below commands. Then over ahead to VMware Workstation and run the macOS virtual machine again.
gui.applyHostDisplayScalingToGuest = "FALSE"