
Sapphire is based on AMD Processors, it’s a brand located in Hong Kong, that produces graphic cards for PC, Workstation, Motherboard, TV tuner card, and other accessories. Sapphire as an AMD processing unit and both AMD ATI and Intel motherboard chipset technology. The company is the largest supplier for AMD-based video graphic cards in the world.
Sapphire has nominated the world largest company that producing the high definition HDMI connector fro personal computers, and different workstations. Sapphire was ever one of the largest companies with releasing for the first time video card that has a clock speed of 1000 MH, with the release of Sapphire Atomic Edition HD 4890.
However, customizing the LED Colors of Sapphire Graphics Card on Windows PC without any software is frustrating. Because using the graphic card with a high-resolution display is pretty interesting. Especially for the gamer, using the Sapphire graphic card LED color gives more motivation to the person to use their PC in a better way. Don’t worry that is much easy, through this guide I will explore for you how to Customize LED Colors of Sapphire Graphics Card.
What is TriXX Software? You might not know that SAPPHIRE’s TriXX software is the key to unlocking their power. With SAPPHIRE TriXX you can tune your card’s performance to the max and save custom settings for your favorite games. SAPPHIRE TriXX ver 7.3 has been redesigned with a deceptively-simple interface featuring the New TriXX Boost, NITRO GLOW, and Software BIOS Switch.
Customize LED Colors of Sapphire Graphics Card
Before launching the customization of the LED colors of the Sapphire graphic card, you need have to download a small software called TriZXX from the above download link. When the software downloaded follow the instruction on how to customize the LED colors.
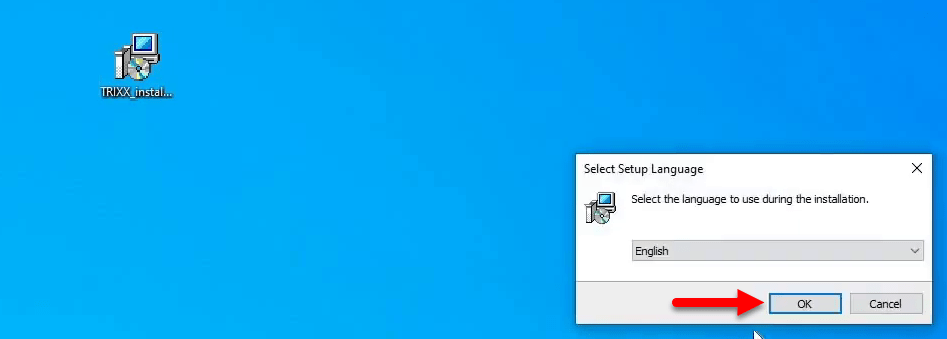
Step 1. Double-click on the TriXX setup to launch the installation process, while the installation launched select your input language and click OK.
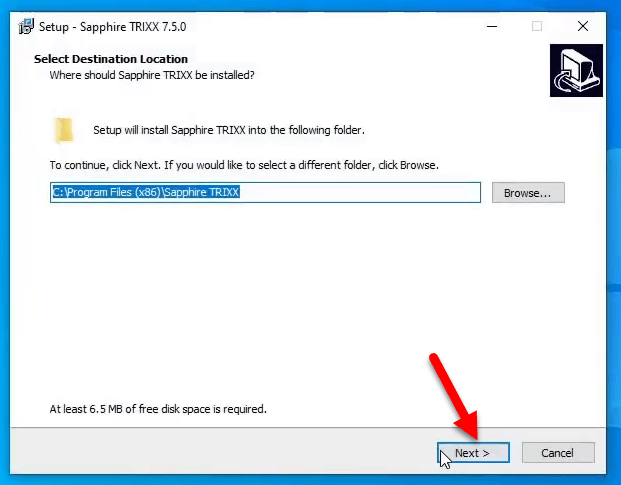
Step 2. Specify your location where you want to install it, then click Next.
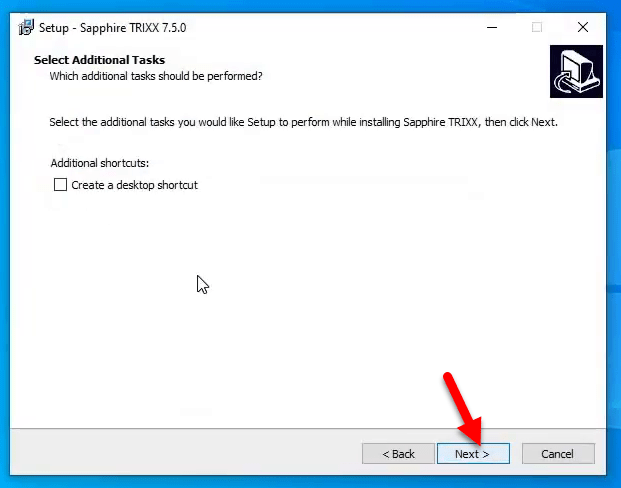
Step 3. Check the box whether you want to create a shortcut on the desktop or not, then click Next.
Step 4. Now the file is ready to install, so click on the install option.

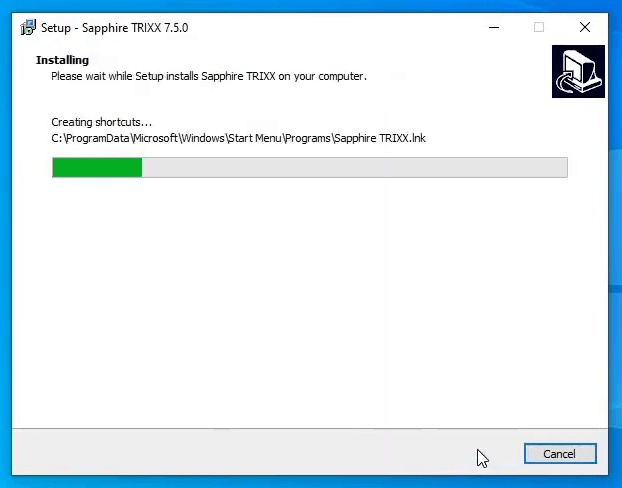
Step 5. And now the TriXX Sapphire is installing on your PC, the installation process will take some time. Don’t do anything until the installation should be completed.
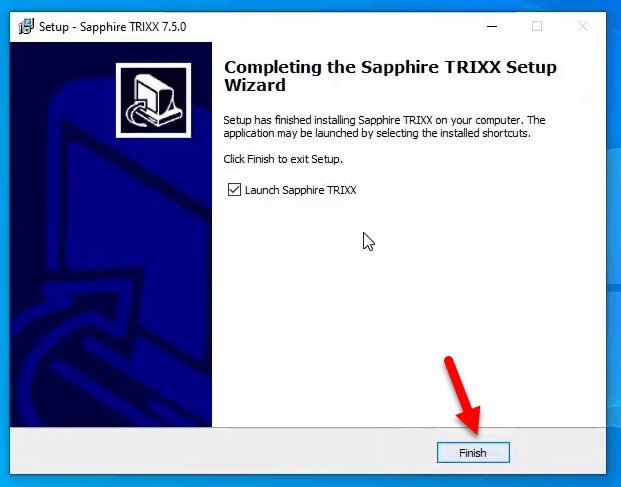
Step 6. When the installation completed click Finish to close the window.
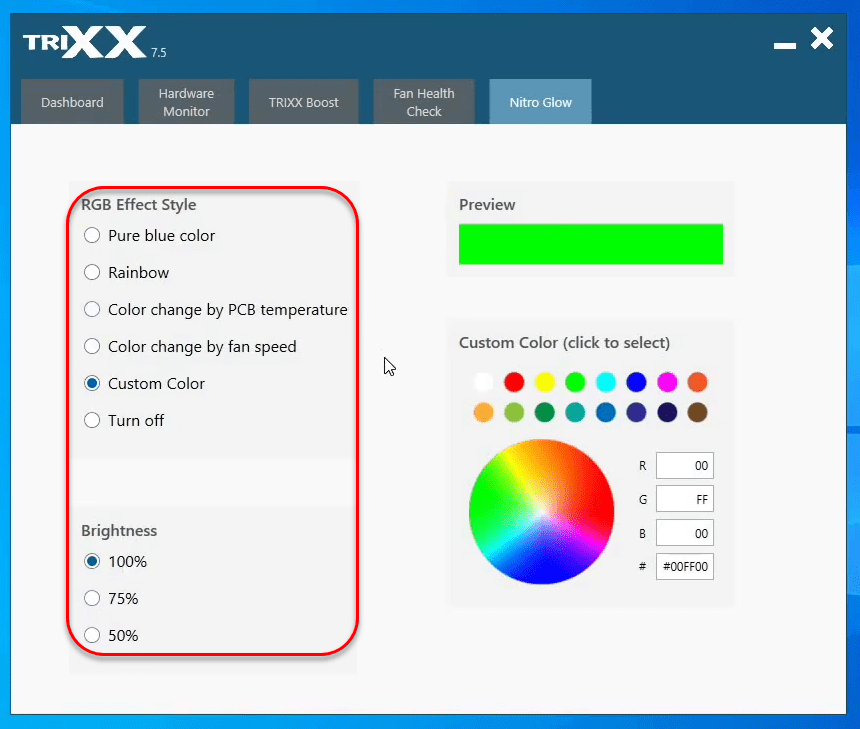
Step 7. Once the TriXX Sapphire successfully installed launch it’s application. For the customization of LED color for the graphic card, select the last option “Nitro Glow”. And start customizing the “RGB Effect Style” and the “Brightness” according to your level that you like.
Once you are done close the TriXX application, and enjoy using the graphic card with high LED color, and a level brightness. Further, if you faced any kind of problem feel free to share it via the comment box. Don’t forget that your feedback will motivate us to write more tech and How-to articles, so we are always here to hear the best feedback from your side.
Also read: