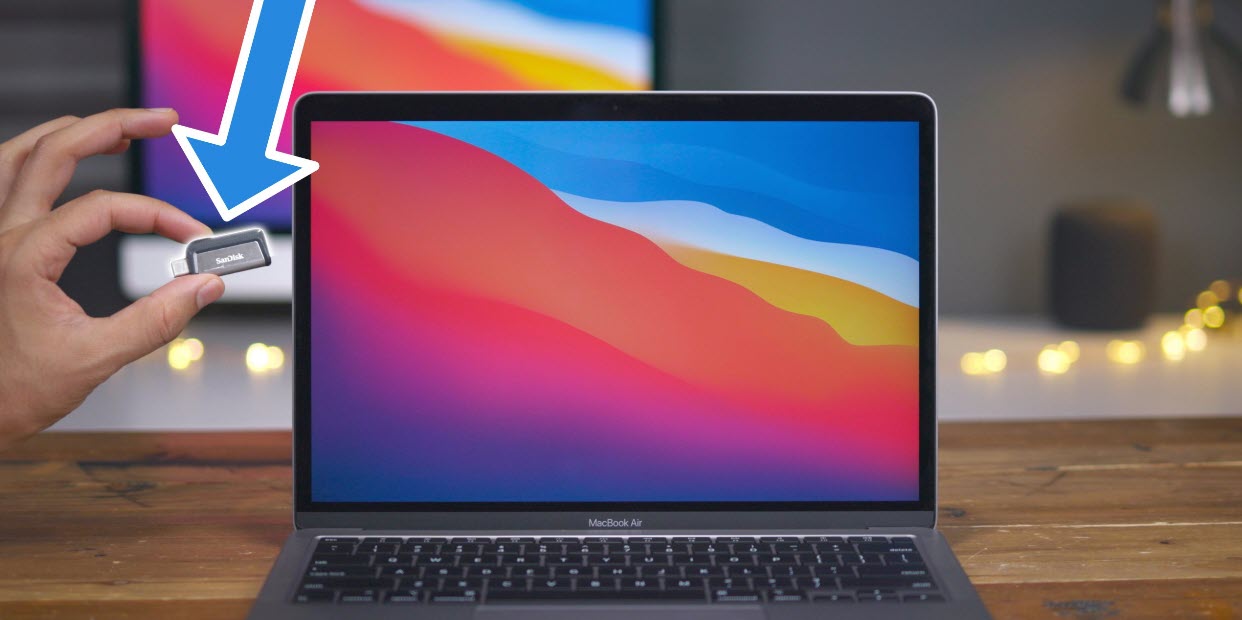
9th November was one of the best days for Apple and for those who use Apple laptops. Apple unveiled the latest new M1 chip, the company gains to be believed about its performance. The people who use Apple laptop was the expected thing for a laptop processor. On the other hand, besides the release of the M1 chip, Apple kicked out some best changes to macOS Big Sur 11 with added features. Like this shows the effort of Apple with macOS Big Sur latest update or to complete the experience of devices.
At the beginning of macOS Big Sur 11, Apple has been mentioned that macOS Big Sur 11 is being inspired by iOS 14 features. And now most of the macOS Big Sur new features is familiar with feature of iOS 14. On the other hand, it’s a piece of good news for iPhone and iPad users that macOS Big Sur has catch-up the iOS feature. However, it achieves the manner of taking a bunch of features tweaks inside the macOS operating system to look like the iOS operating system.
Most of the rumors are saying that the headline of the macOS Big Sur operating system is redesigned. But according to Apple, they are saying that macOS Big Sur is one of the biggest designed operating systems in their history. Also, they have added up a number of tweaks that sound much smaller on the paper, friendlier, more unique, and much closer.
- Redesigned sheets in apps
- Lighter window appearance
- New and updated system sounds
- Full height sidebars
- New symboled throughout macOS
One of the best-highlighted feature that is introduced by Apple at the WWDC “Worldwide Developer Conference” was “Control Center”. The control center is unique in macOS Big Sur it looks similar to the control center that available on iPhone and iPad. The control center is customizable by your hand, you can drag and drop the applications which you use the most. Or drag and drop the applications from the control center to the menu bar.
Overall, macOS Big Sur 11 is much better than macOS Catalina or macOS Mojave or then the older version. On 12 November Apple kicked out the latest update to macOS Big Sur 11.0.1. After few days they released macOS Big Sur 11.1. Right now if you are using macOS Big Sur on your laptops, then head over to the App Store and check for the latest update.
Create macOS Big Sur Bootable USB Drive for Hackintosh
- How to Create macOS Big Sur Bootable USB Drive on Windows & Mac
- How to Create a Bootable macOS Big Sur USB Installer
Whether you are using an Apple laptop or Hackintosh, but for installing any macOS operating system first of all you need to create a clean bootable USB flash drive. For creating a bootable USB flash drive for macOS Big Sur for Hackintosh you need the below down requirements. Once you have completed the requirements that you need to follow the below down instructions.
Don’t forget that while installing macOS Big Sur you have to notice that macOS Big Sur operating system is compatible with the following computers.
- 2015 and later MacBook
- 2013 and later MacBook Air
- 2013 and later MacBook Pro
- 2014 and later Mac mini
- 2014 and later iMac
- 2017 and later iMac Pro
- 2013 and later Mac Pro
Now follow the below down instructions for creating a macOS Big Sur Bootable USB flash drive. If you are familiar with creating a macOS Big Sur USB flash drive, then the below down steps are pretty much easy. Due to that, I didn’t make it important to provide any screenshots.
- First of all plug your USB flash drive into your laptop.
- Now head over to the right-top menu bar click on Go, then click Utilities for erasing the USB Drive.
- Once the Utilities opened click on Disk Utility to open it.
- From the left-handed bar select the USB drive.
- Click on the Erase button, under the flash drive according to the below down settings.
- Name: USB
- Format: Mac OS X Extended (Journaled)
- Scheme: GUID Partition Map
Once that is done then click on the Erase button and wait for a few moments until it should erase the USB drive.
Apply Commands
Once the USB flash drive is completely ready then you need to apply the below down commands.
sudo /Applications/Install\ macOS\ Big\ Sur.app/Contents/Resources/createinstallmedia --volume /Volumes/USB- Now head over to the search spotlight type there terminal and press enter to open.
- Copy and paste the commands and press the enter key.
- Enter your password and press enter.
- Enter the “Y” key for confirmation and press the enter key.
- And after all, it will start creating a Bootable USB drive for macOS Big Sur.
Mount the EFI Partition of USB Flash Drive
When the USB flash drive Bootable created after that, you need to mount the EFI partition of it. For doing that you need to open the OpenCore Configurator.
- Now start mounting the EFI partition of the USB flash drive.
- While the EFI partition mounted to the desktop, quit OpenCore Configurator.
- Then copy the EFI folder to the EFI mounted partition of the USB flash drive.
If you faced any kind of problem feel free to contact us via the comment section.
