Windows 11 is having bunches of issues because it’s still in beta or preview insider mode. As I have tested Windows 11 Preview Insider build 22000.165 on my laptop, still it’s having bundles of bugs, which was creating issues for me while using it. Therefore, I decided to take it down and back to Windows 10, as it’s been about a few years that I am still using Windows 10, which was a pretty interesting operating system with no issues.
If you are currently using Windows 11 Preview insider mode, then I suggest you use Windows 10 or replace it with Windows 10. Because it may be harmful to your computer or your important files. On the other side, still in beta mode wait for its final release or final update to be completed and fix the bugs and issues.
However, through this article, I will guide you step by step on how to downgrade Windows 11 to Windows 10 on your laptop or computer. If you have been installed Windows 11 manually through an ISO image file, then you can’t downgrade it to Windows 10 because the Go back option won’t be available in the manual installation. On the other hand, if you have updated your Windows 10 to Windows 11, then easily you can downgrade to Windows 10.
Note: Be sure that while downgrading to Windows 10 you won’t lose any single data from your C drive or any other drives of your computer. So downgrading won’t be risky for your computer or laptop.
Downgrade Windows 11 to Windows 10
For Downgrading to Windows 10 simply navigate to the Windows start menu and click on “Settings”. When the settings are opened from the left-handed window side click on “Windows Update”, on the Windows Update window click on the “Recovery” option.
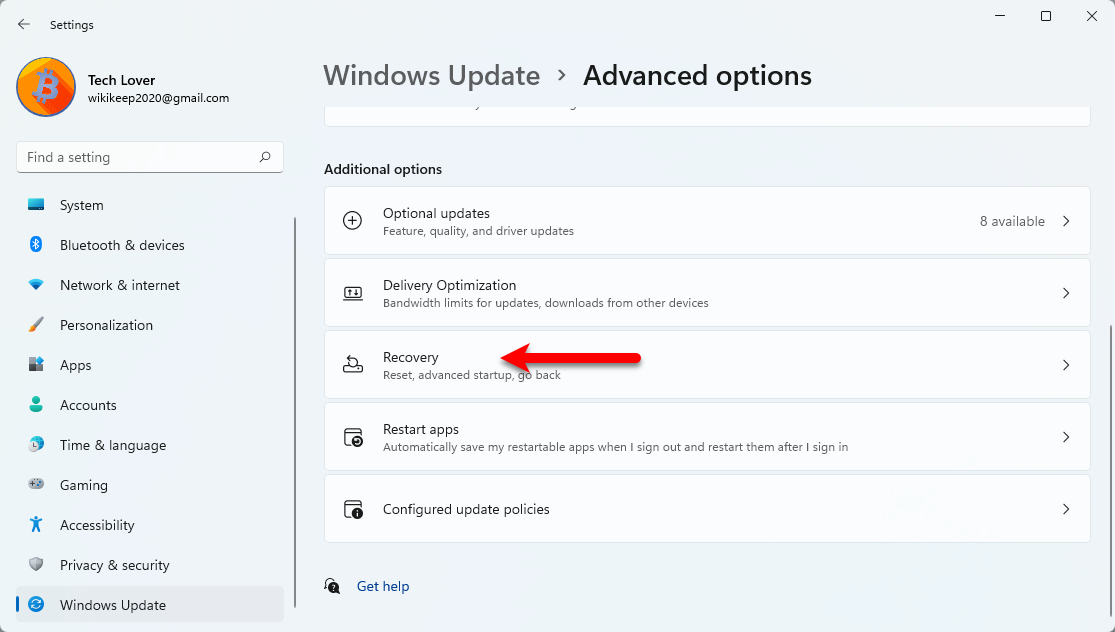
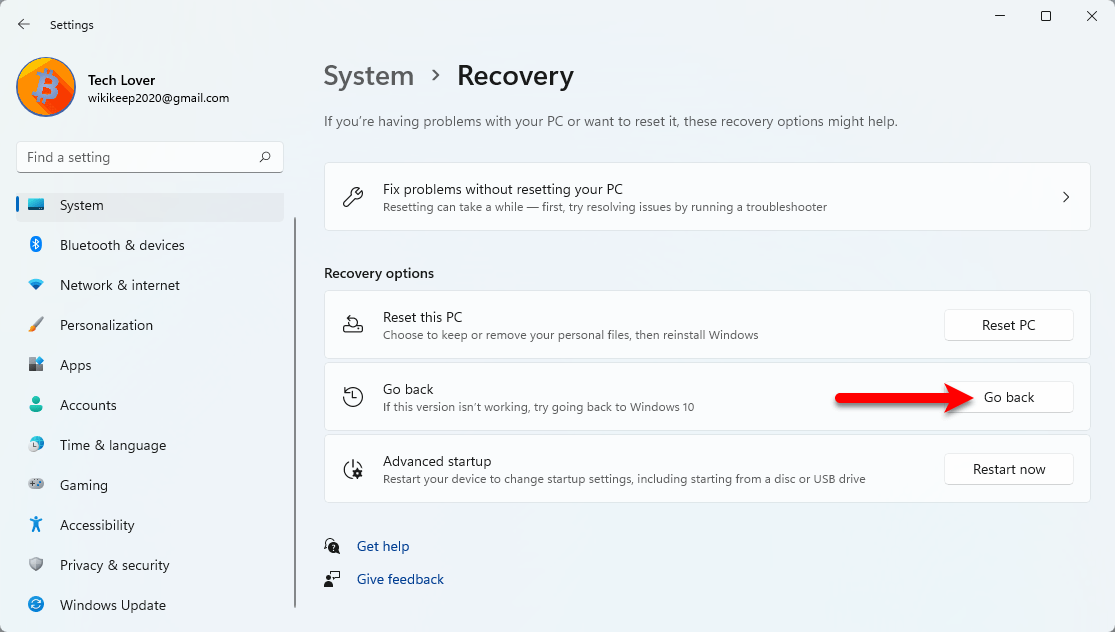
Once the recovery options window is opened click on the “Go Back” option.
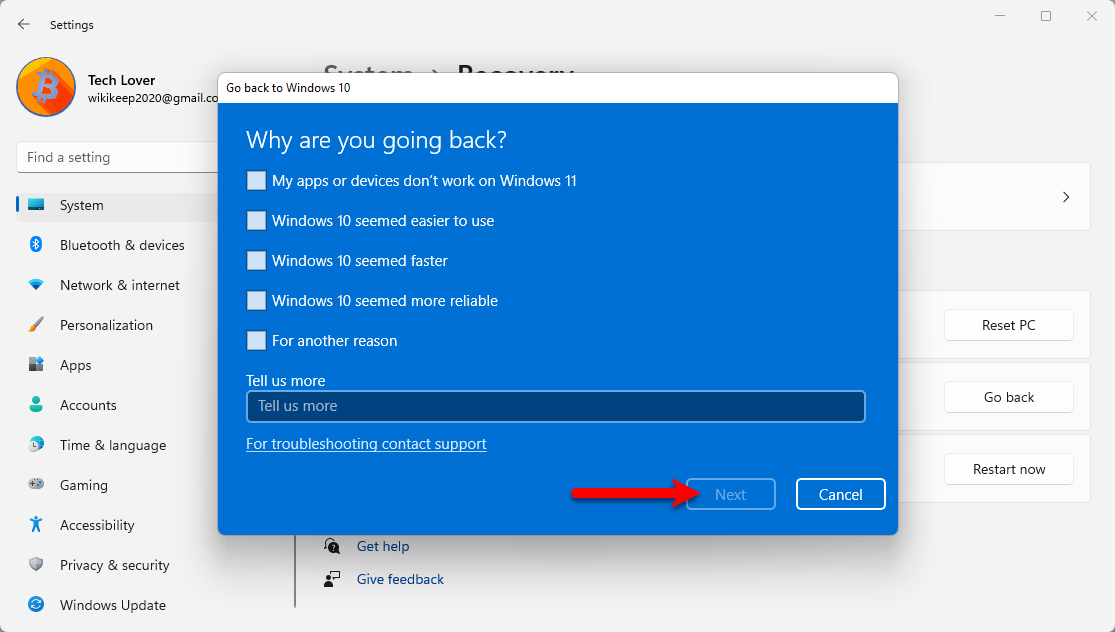
In this step, you will be asked to choose the reason why you want to downgrade to Windows 10. Select any reason and click on the Next option.
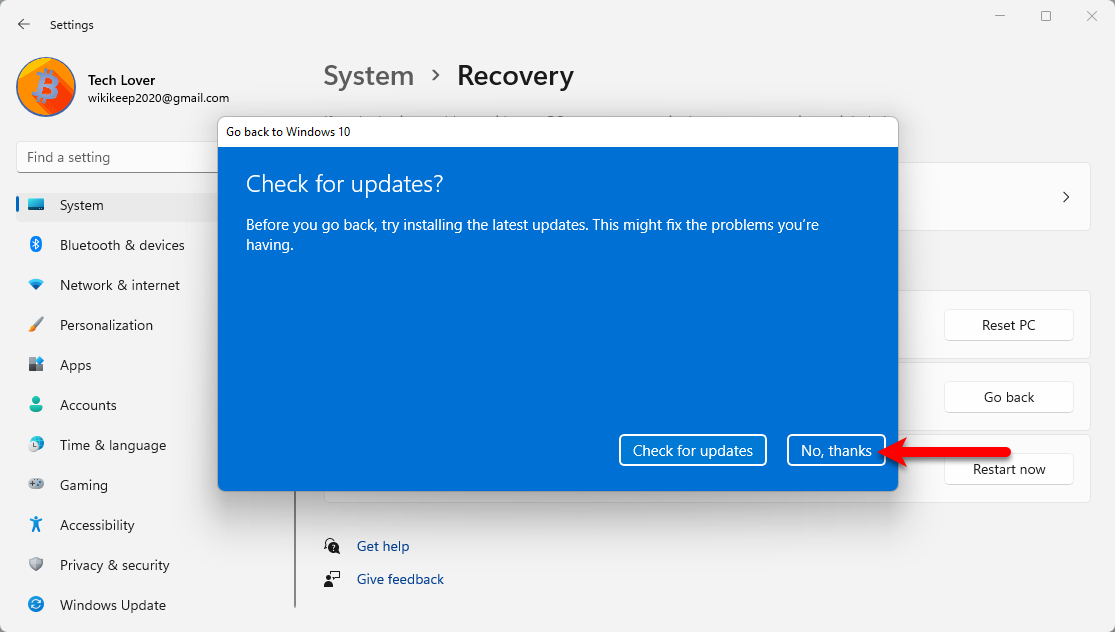
When this window appeared click on the “No Thanks” option.
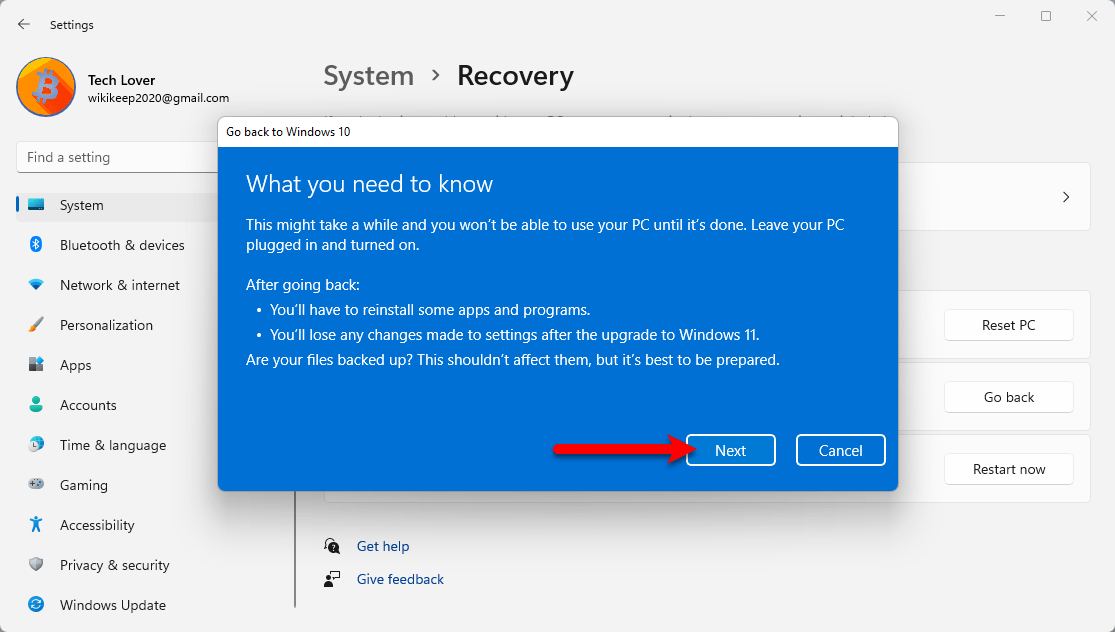
Simply click on the Next option.
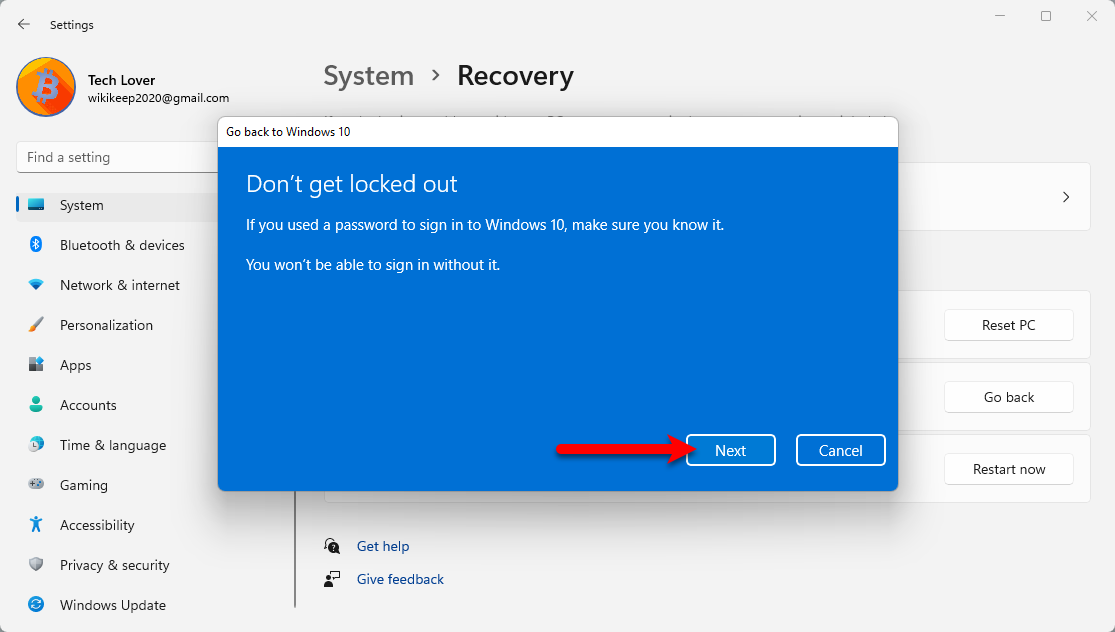
Again in this window click next.
When everything is ready for the downgrade simply click on the “Go back to Windows 10” option.
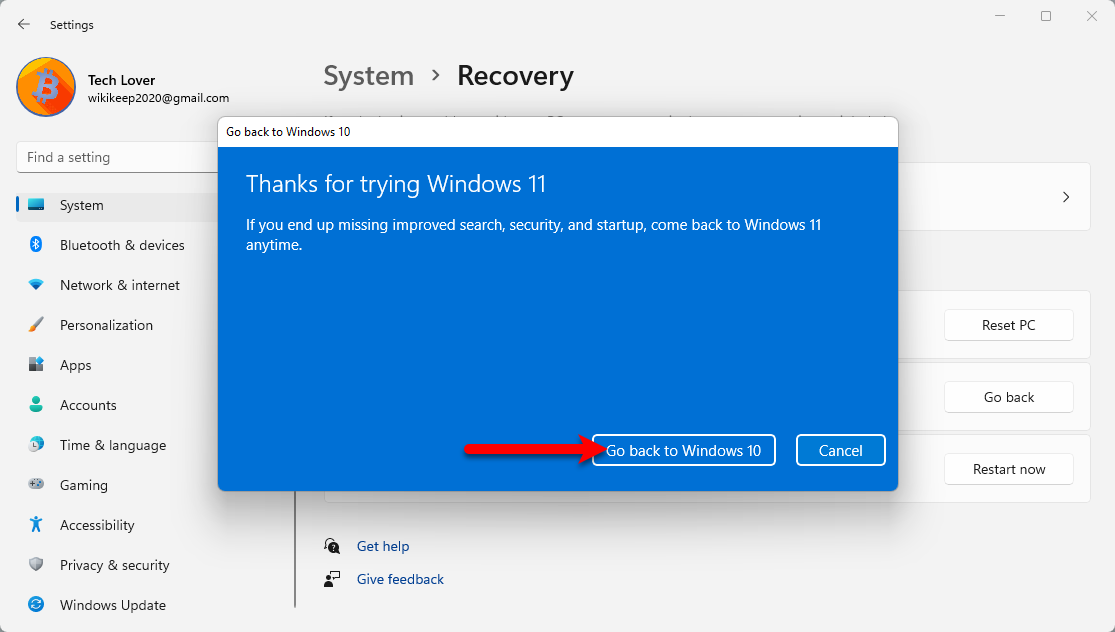
Now your computer will restart and take you back to Windows 10, therefore, this process may take some time. Also, wait for it until all the updates should be completed. When the installation is completed you will be back to Windows 10, then enjoy using Windows 10 on your computer.
Final Point
It was all about how to downgrade Windows 11 to Windows 10, if the article was useful then don’t forget to share your nice comments in the below down comment section about the article. Also, if you faced any kind of problem feels free to share with us via the comment section box.