Sometime your computer may get stuck on some programs which you are opening, or sometimes that program is giving critical error. Still, you might think about those simple issues on how to fix that. If you are a Windows user or using Windows 10 then Windows 10 is day by day its in development. But again there is news which users are facing, and that is Windows 10 bugs. However, Windows 10 with its latest update with high-quality features is now available for you. Which you can update through the settings>Update & Security to the latest version of it. On the other hand, Windows 7 is no more in the market because Microsoft announced for there users that we cannot take the responsibility of Windows 7 security for you. So, they recommended the users to install there latest product Windows 10 on their computers.
The fact is while I was using my computer suddenly I faced an error that you are having low disk space. But my computer is consists of 1TB SSD. After researching much on the internet I found the solution that I have to clean all the cache of my computer. I got this important to provide useful articles for you on how to clear all hidden cache on Windows 10. What is cache? Cache is a hardware or software component that stores data so that future requests for that can be served faster. The data stored in the cache might be the result of the computation or a copy of data somewhere else. Indeed cache is like a virus that doesn’t allow you to open your file properly on your computer. Additionally, while using a computer, mobile, or simply browser then you might face any problem, after that, you will decide to remove all the useless cache.
Clear All Hidden Cache in Windows 10
Mostly Windows cache is stored on your computer C drive. Suggesting you to stop installing any extra application, make less downloading, try to reject connecting any Bluetooth device to your computer. Those points make you able to have a better computer consists of high-speed performance.
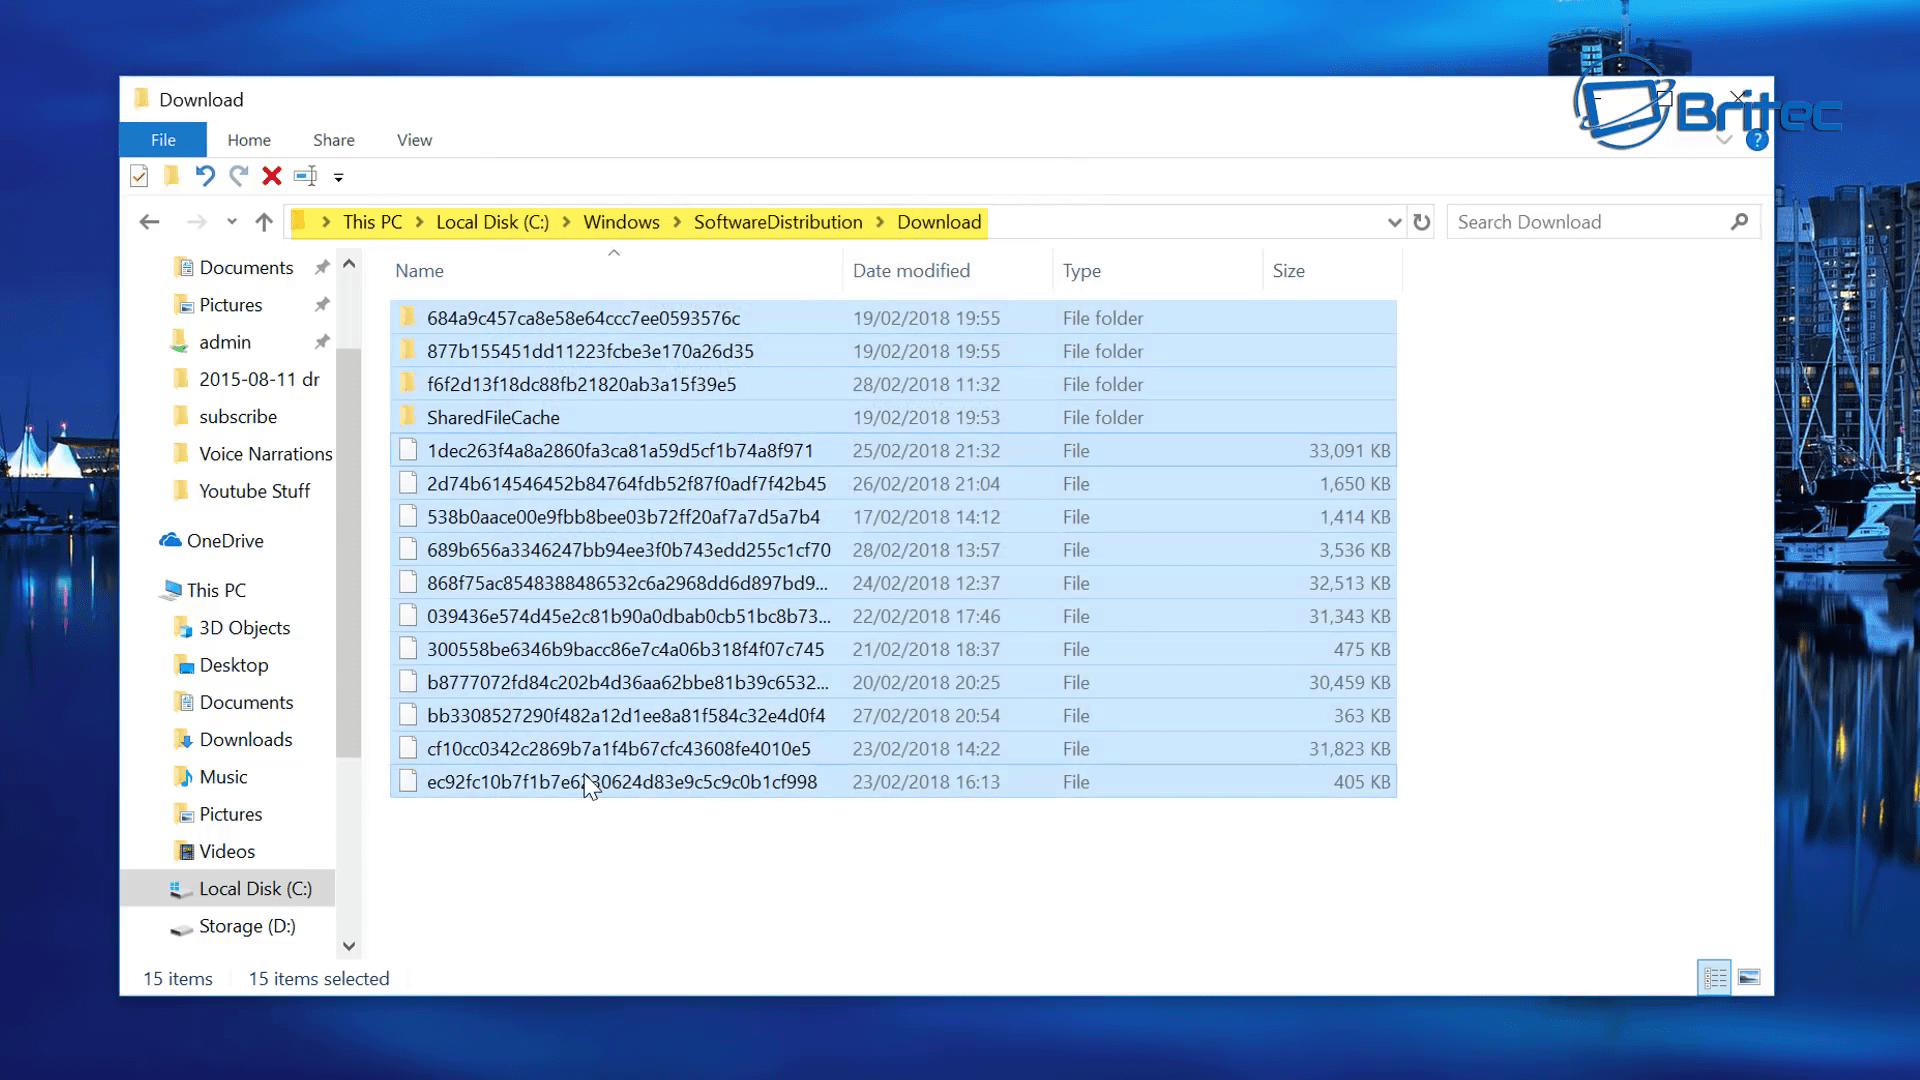
For being sure that your computer C drive still having any cache files, such as temporary files. Simply open up My Computer>then C Drive. When C drive opened click on Windows folder>On the Windows files click on SoftwareDestribution>Click on Download folder. Check there if there are any temporary files then delete it.
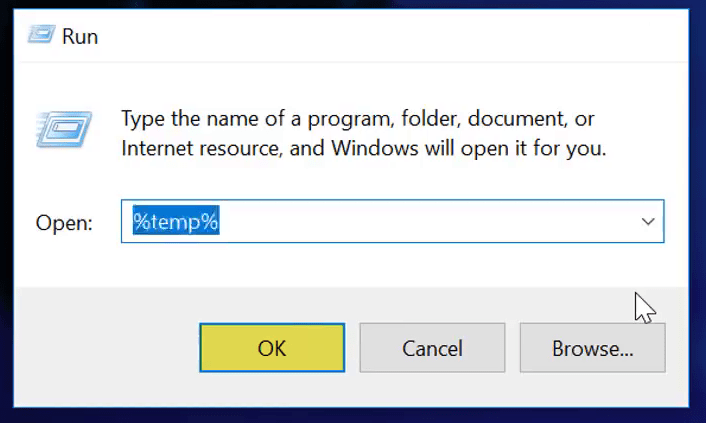
When the temporary files deleted navigate to Windows start menu type Run and press enter. Also, you can use Windows+R to open the Run window. When Run opened type there %temp% and press enter.
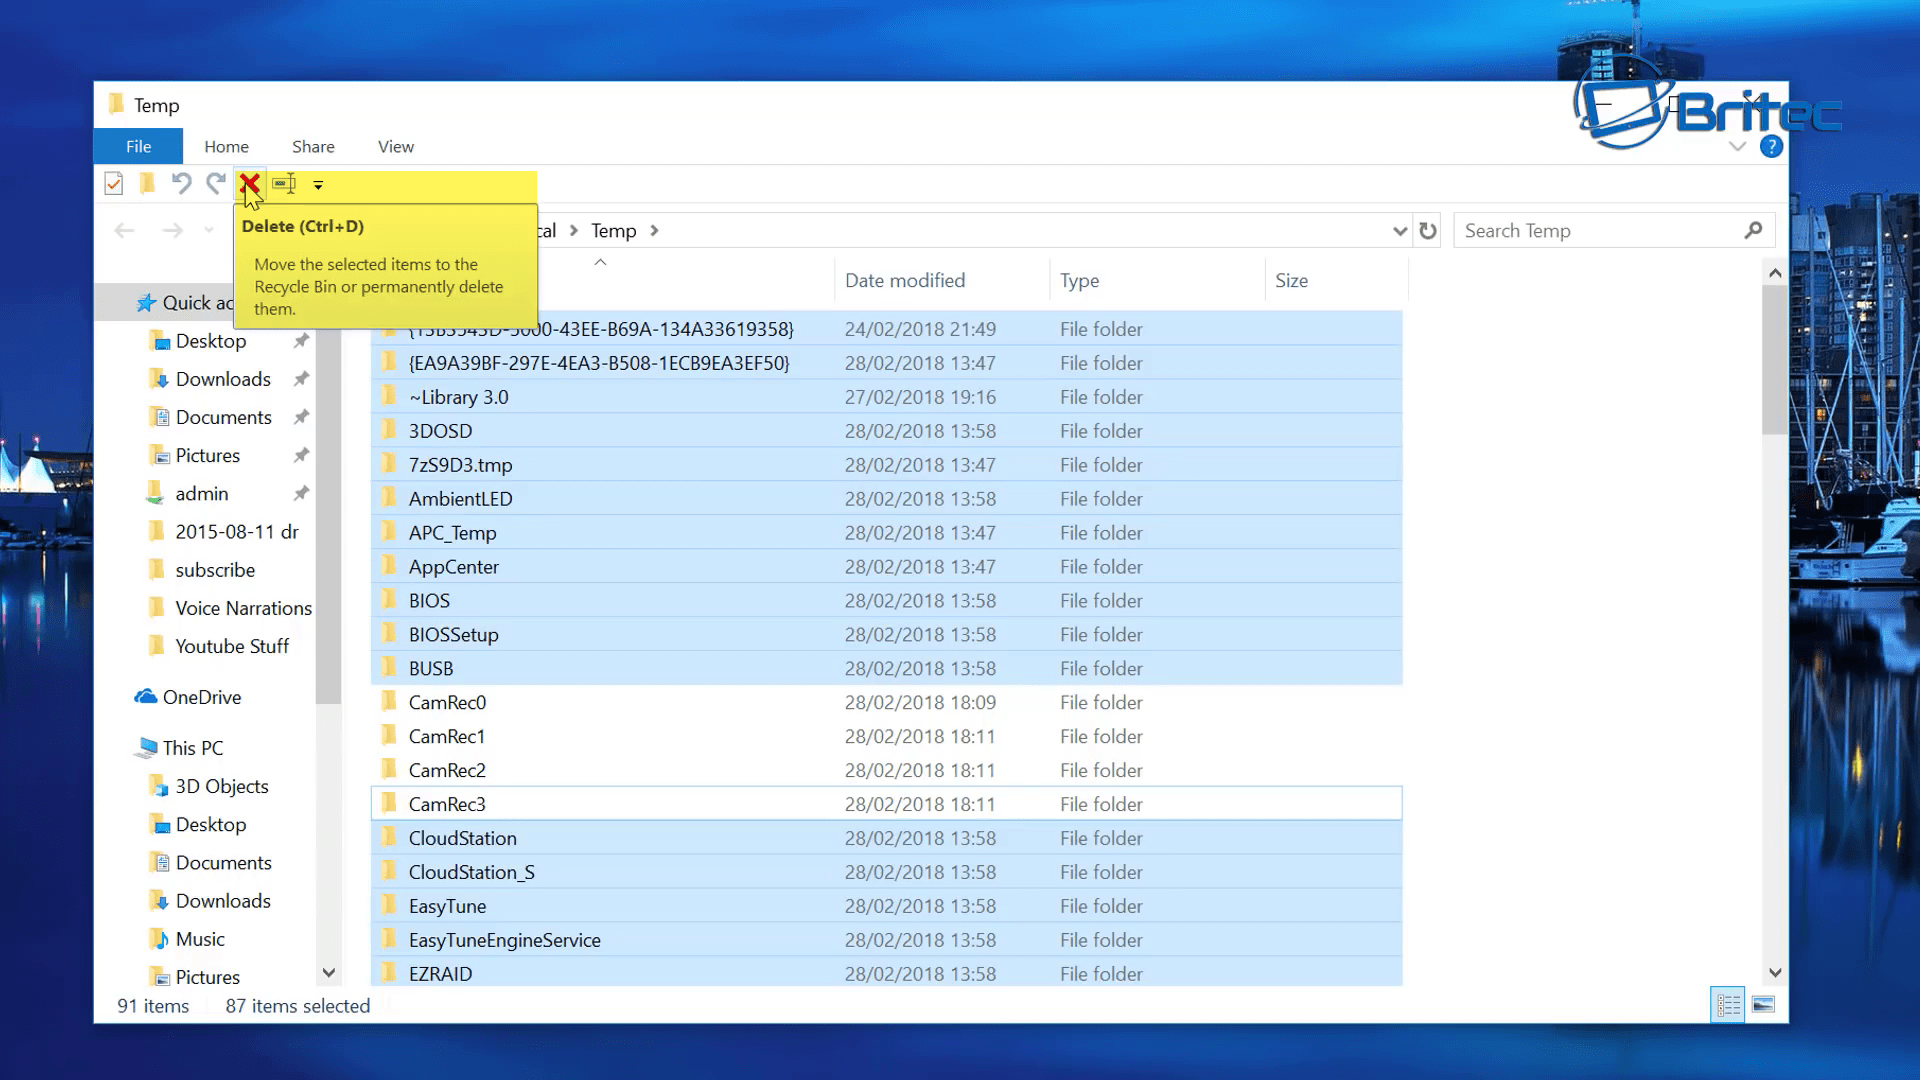
When this window prompt select all the files and press delete key.
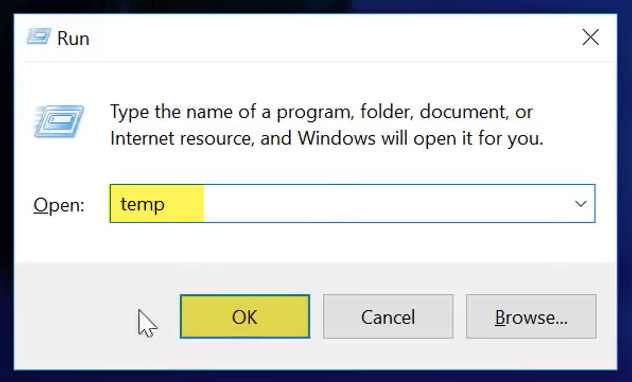
Now again navigate to the Windows start menu open Run. Once it opened type there (temp) and press enter.
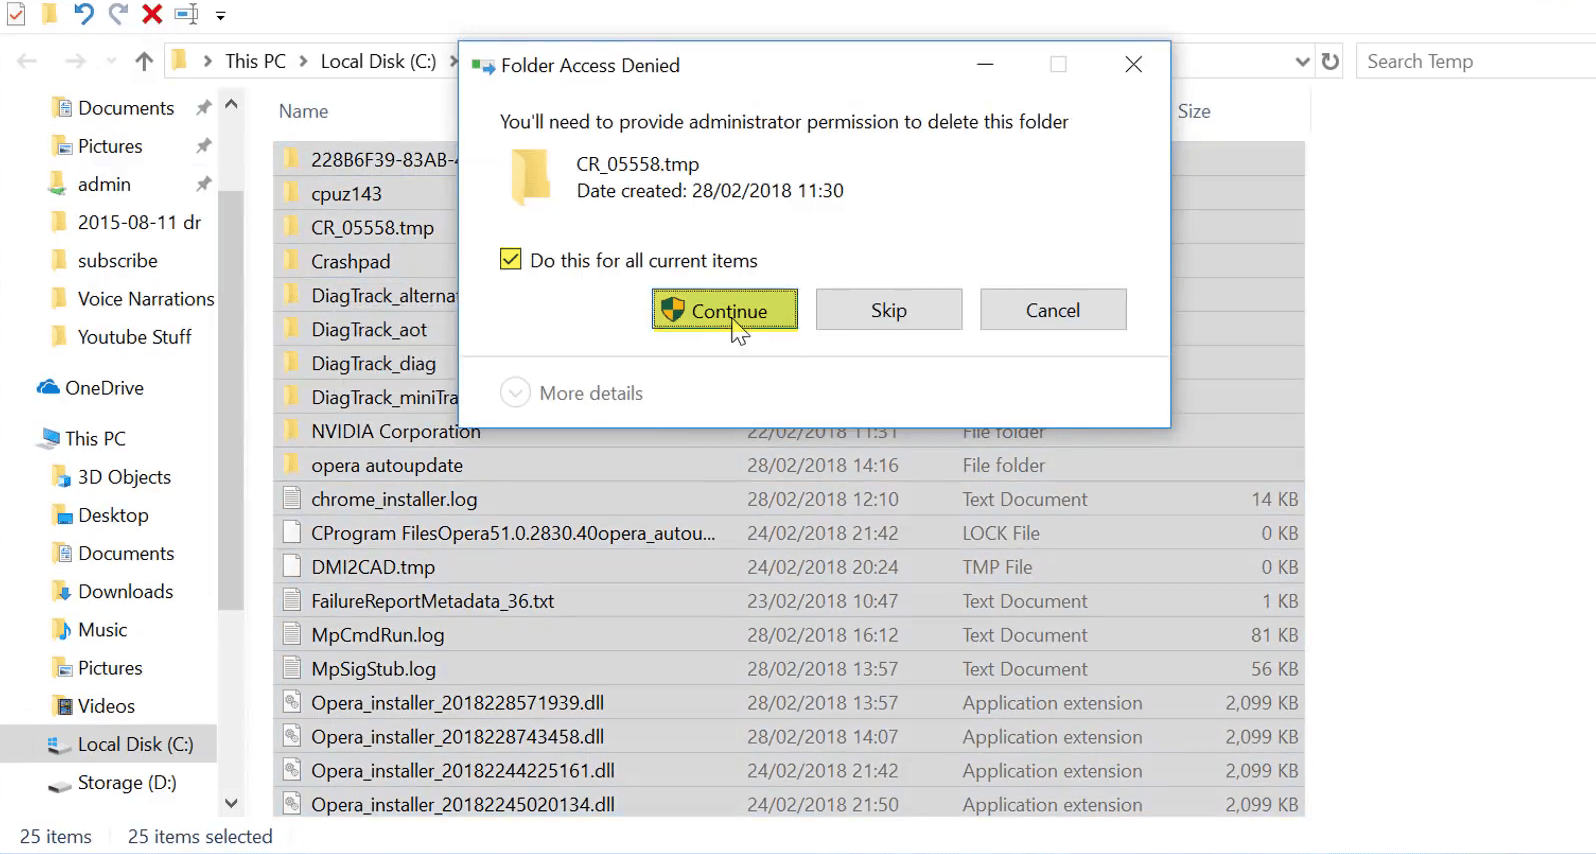
When the window opened select all files then press the delete key. After that, the warning will appear to check the box of (Do this for all current items) and press continue.
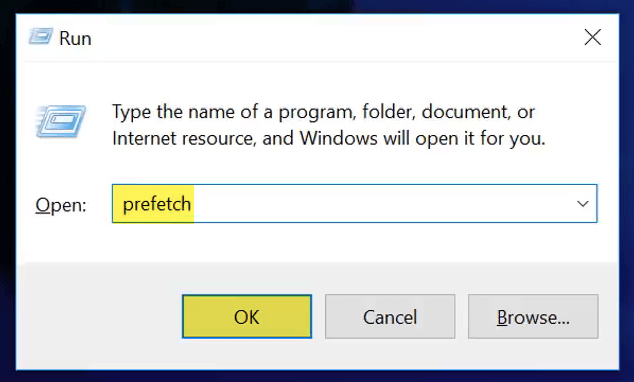
Again open the Run window type there (prefetch) and press OK.
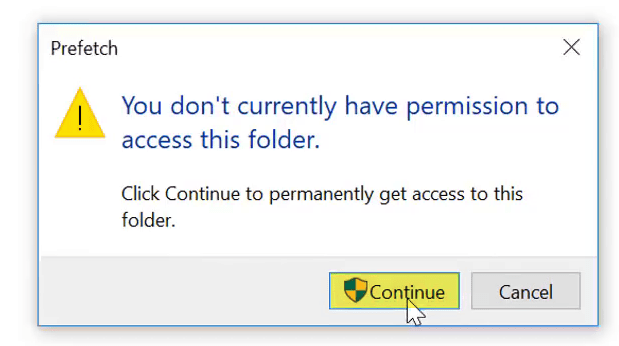
Again here you will face a warning, (You don’t currently have the permission to access this folder). So, click continue to permanently access to this folder.
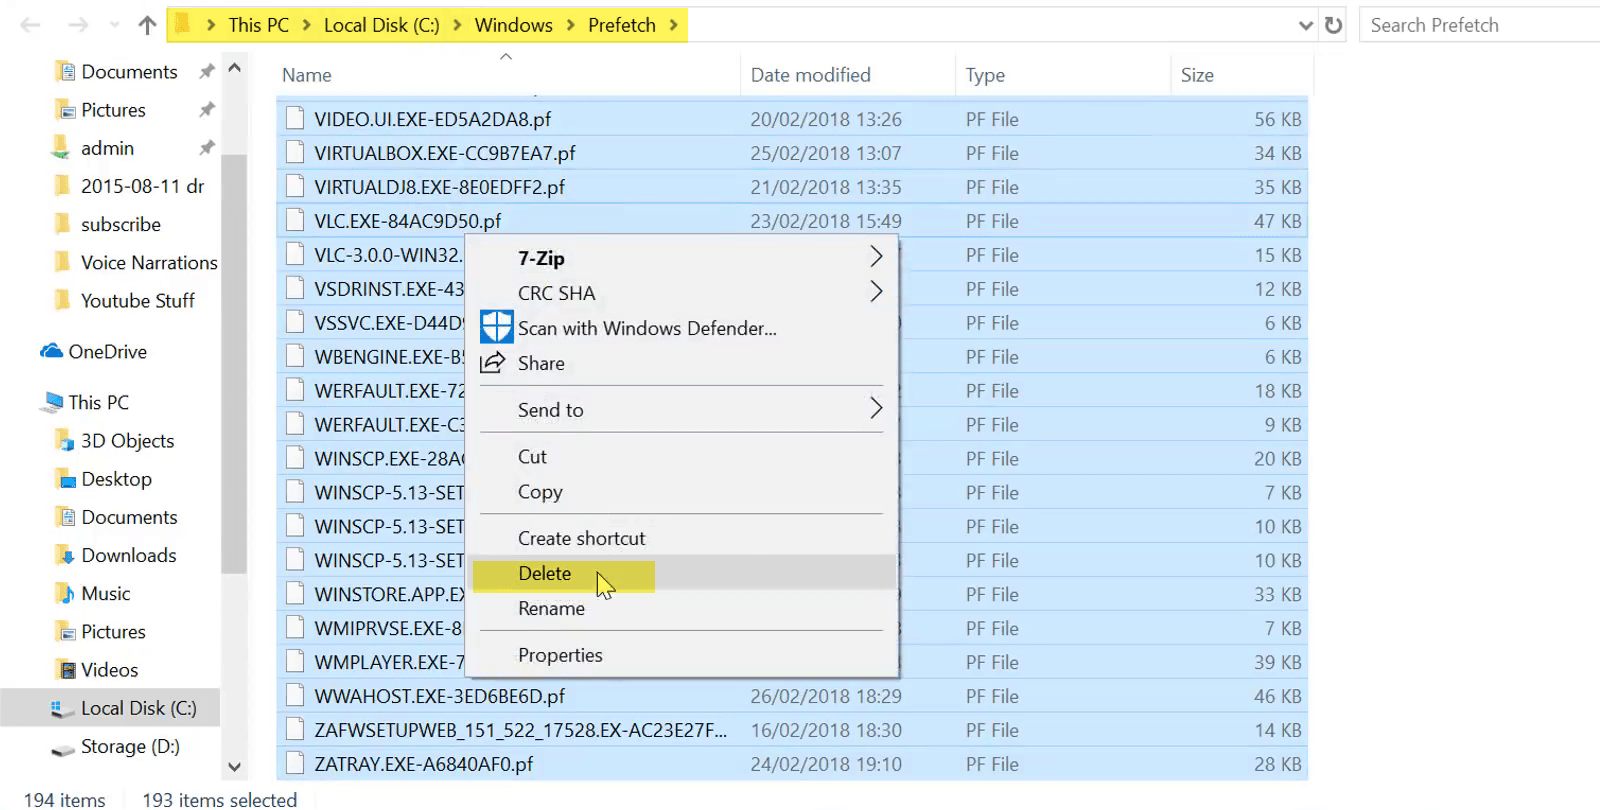
Once the files open in the prefetch folder then select all the files and press delete key.
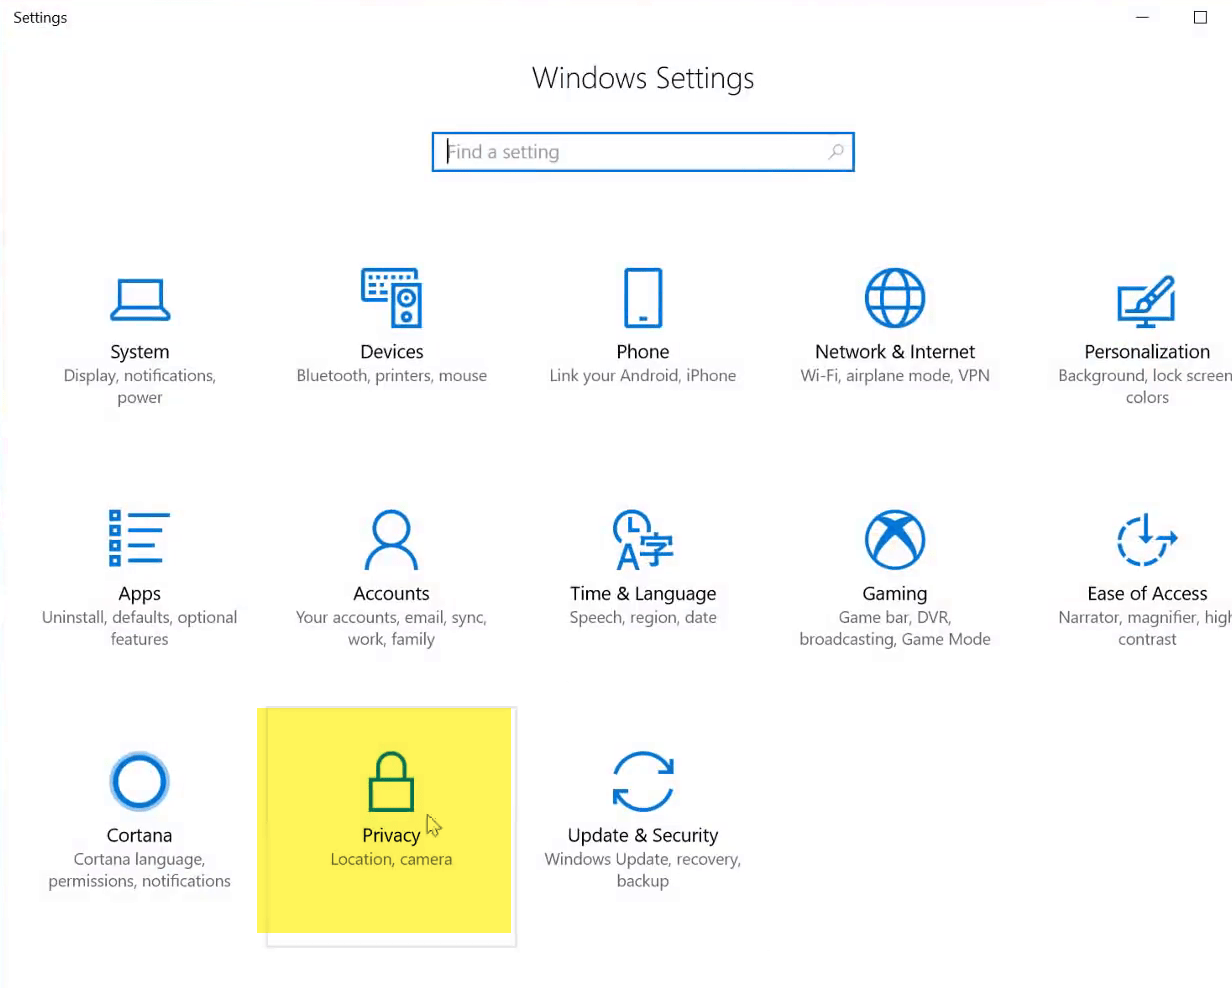
Now navigate to Windows start menu click on Setting (Gear icon). When the setting window opened click on (Privacy) option.
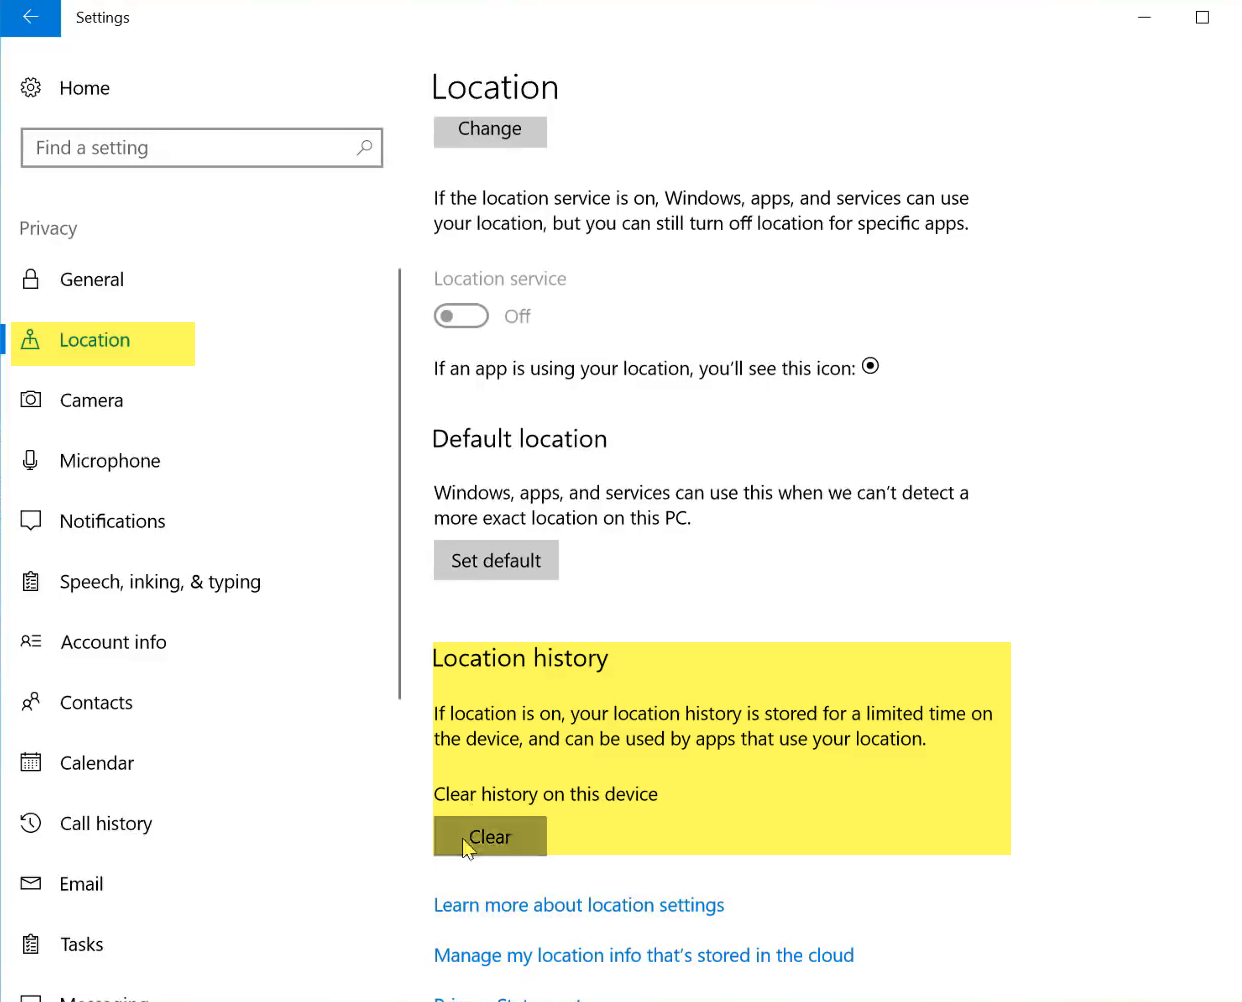
When the privacy opened select location option from left-handed menu bar. Under the location history click on clear option.
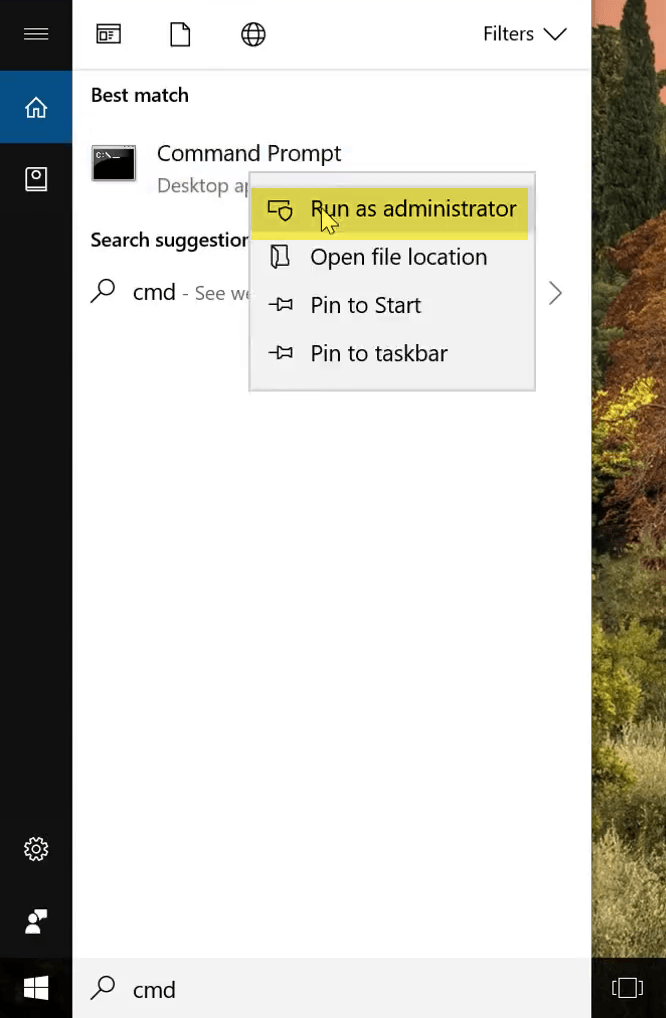
Again navigate to Windows start menu type there (CMD) once it appeared right-click and (Run as Administrator).
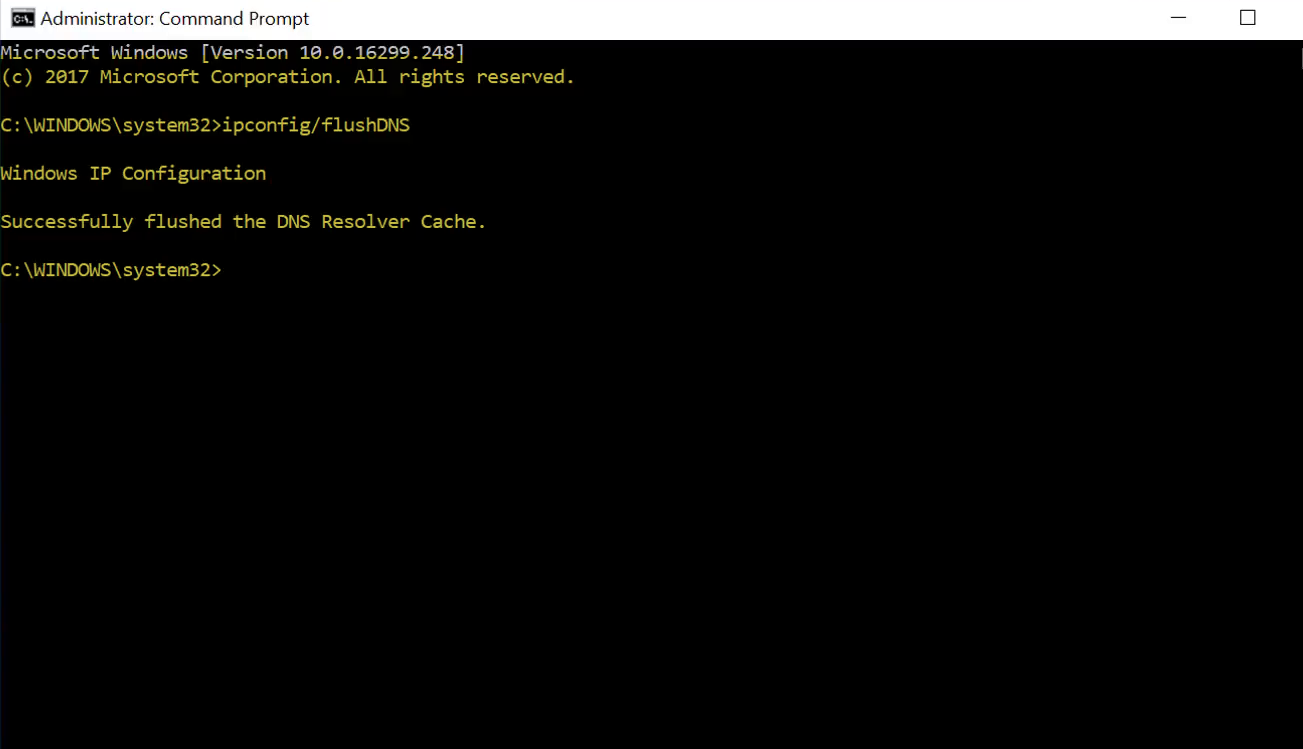
Once the command prompt (CMD) opened type there (ipconfig/flushDNS) and press enter.
Clean the C Drive
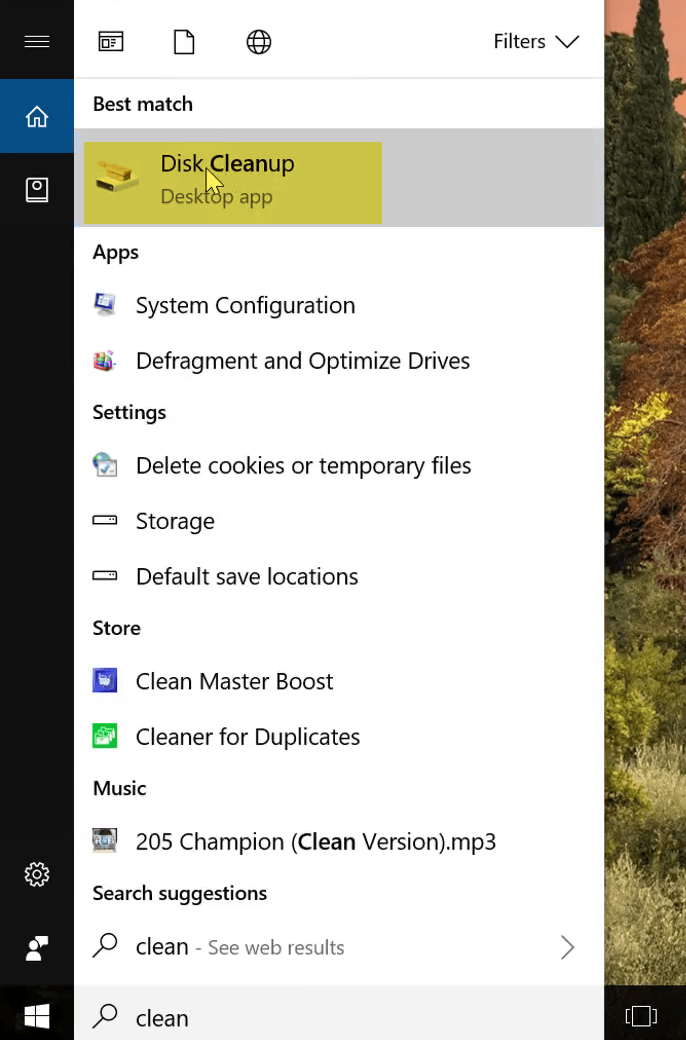
Again navigate to Windows start menu type there (Disk Cleanup) and press enter.
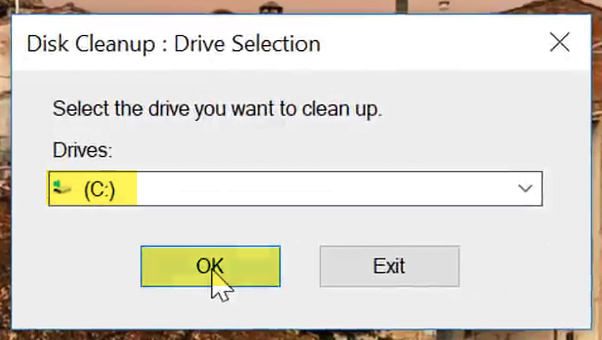
Select the drive you want to clean then press the OK option.
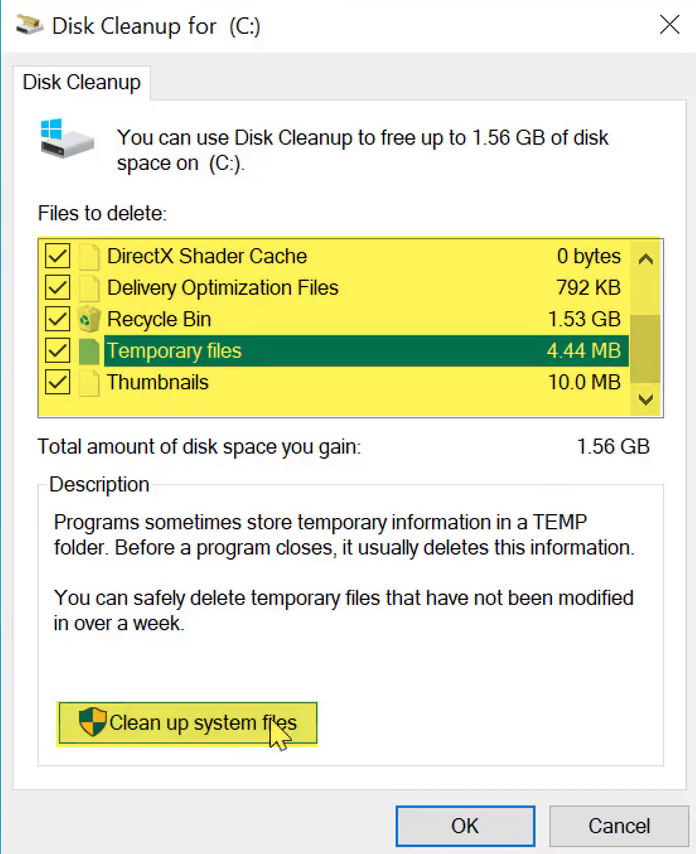
Now select the kinds of file which you want to delete from C drive, and click on (Clean up system files).
Create Restore Point
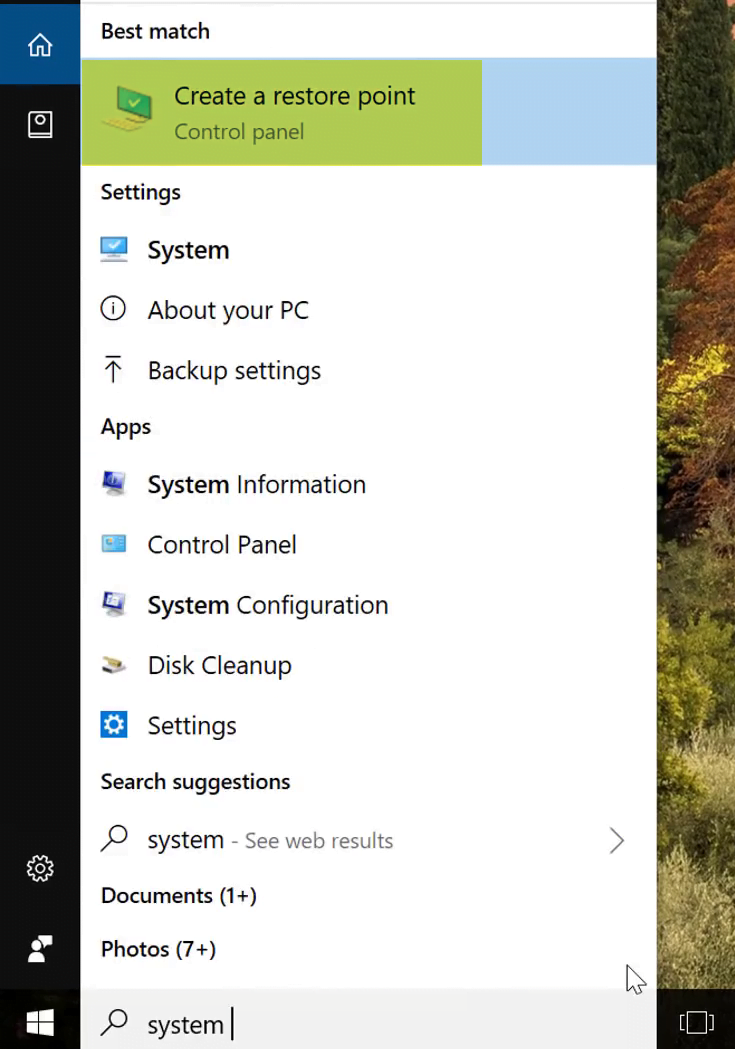
This step is last but not list, therefore, you need to create a restore point for your computer in Windows 10. To create a restore point navigate to Windows 10 start menu type there (Create Restore Point) and press enter.
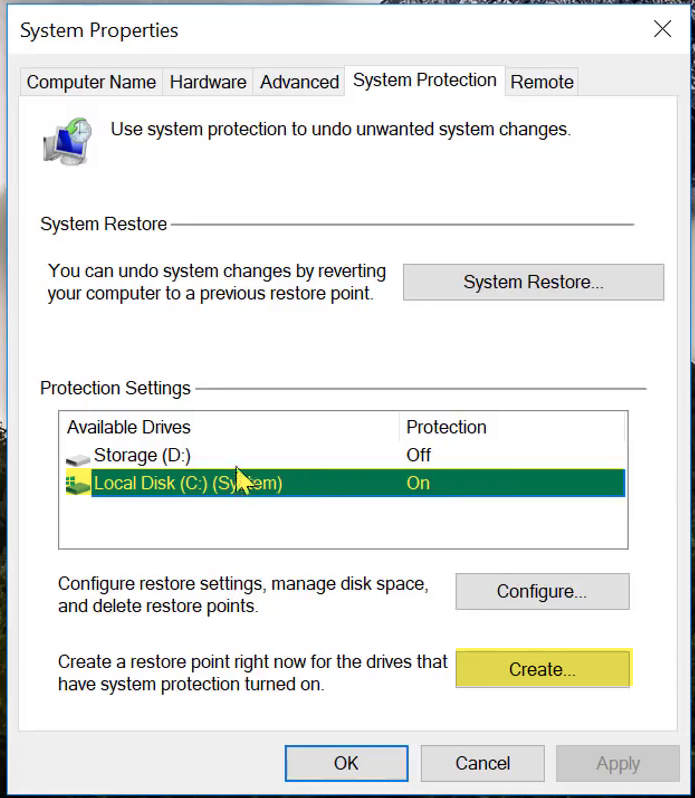
Once the system properties window opened, select the Local disk (C) (System) then press the create option.
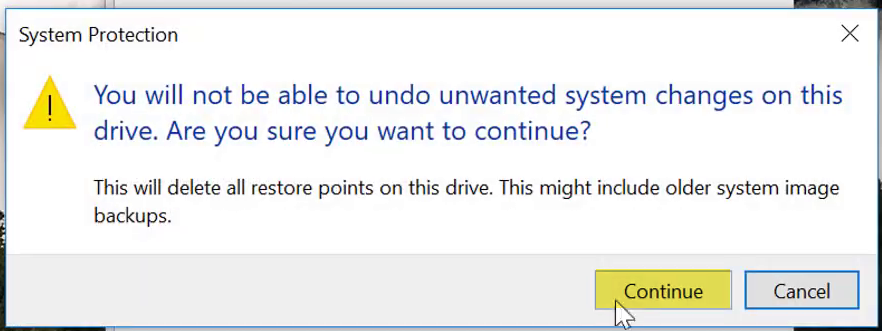
Here you will see system protection warning! You will not be able to undo unwanted system changes on this drive. Are you sure you want to continue? This deletes all restore points on this drive. This might include older system image backups. So, click continue.
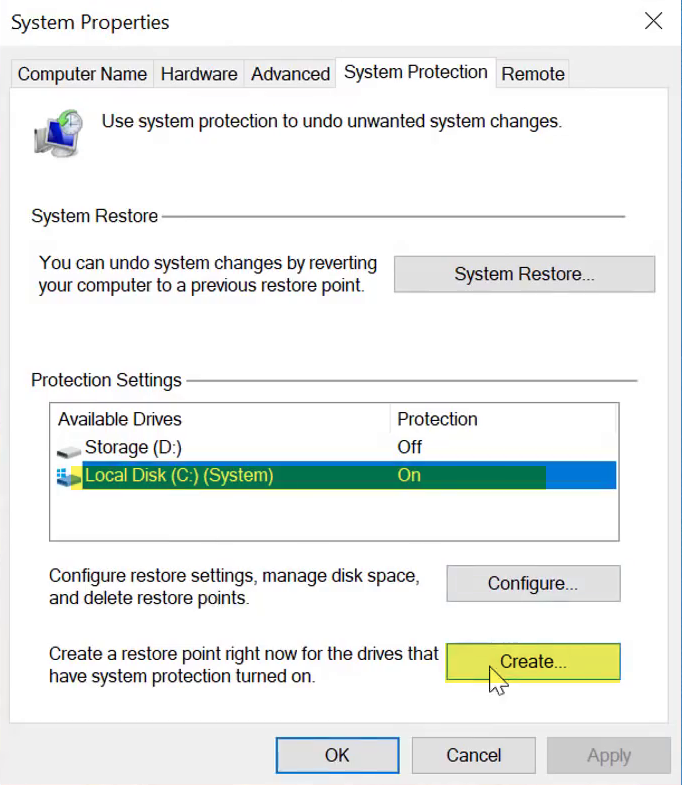
Again this window will appear, select Local Disk C and click create option.
Type a description to help you identify the restore point. The current date and time is adding automatically, simply type any name and press create.
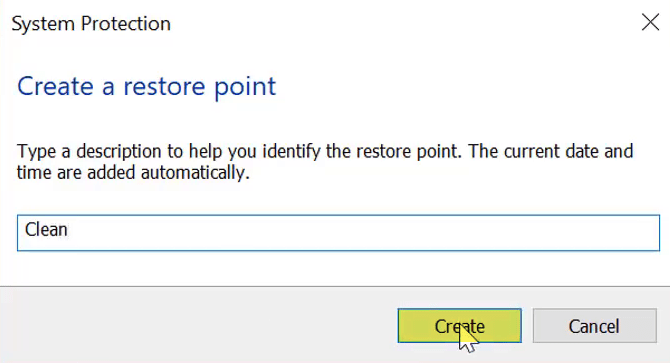
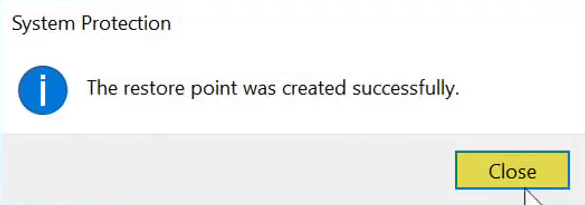
When the restore point created successfully click Close.
Related:
- Turn on Automatic Backup on Windows 10
- How to Backup Computer to External Hard Drive Windows 10
- How to Fix Windows 10 Stuck in Infinite Boot Loop
That’s all about how to Clear All Cache in Windows 10. If you faced any kind of problem, feel free to use the comment section for your problem.
