In this article, I will show you step by step how to install macOS High Sierra on VirtualBox on Windows 11 PC. macOS High Sierra is the best Apple operating system which was released at the big event of WWDC “Worldwide Developer Conference” on June 5, 2017. The latest update of macOS High Sierra is 10.13.6 released on July 15. 2020 while the macOS High Sierra comes out. However, through this article, you will learn the complete process of installing macOS High Sierra on VirtualBox on Windows 11 PC with the pictorial guide.
macOS High Sierra overall increased its latest updates for security purposes and most of the internal built-in features. That looks amazing if you install it on any Virtual Machine or any actual Mac machine. However, for installing macOS High Sierra you need to have the below down following Macs with the following specs.
Related:
- How to Install macOS Mojave 10.14 on VirtualBox on Windows PC
- How to Install macOS Mojave 10.14 on VMware on Windows PC
- How to Install macOS Monterey on VirtualBox on Windows PC?
- How to Install macOS Monterey on VMware on Windows PC?
System Requirements:
macOS High Sierra is supported on the following Macintosh computers
- iMac: Late 2009 or later
- MacBook: Late 2009 or later
- MacBook Pro: Mid 2010 or later
- MacBook Air: Late 2010 or later
- Mac Mini: Mid 2010 or later
- Mac Pro: Mid 2010 or later
- macOS High Sierra requires at least 2 GB of RAM and 14.3 GB of available disk space.
System Requirements for installing macOS High Sierra on Windows PC on VirtualBox:
- Minimum Memory 2GB for macOS High Sierra, Maximum for better speed 8GB.
- Minimum 2 Cores processors but the maximum are 4 cores processors.
- Disk Space minimum is 20, SSD Recommended
- Virtualization Technology should be enabled from the BIOS window.
Download The Requirements
For installing macOS High Sierra on VirtualBox on Windows PC, firstly you have to download the pre-required files which are important and make you able to install it on a Virtual machine.
Install VirtualBox & Install the Extension Pack
Firstly you have to download the VirtualBox installation file then install it on your Windows PC. As installing VirtualBox on Windows PC is pretty much with a few clicks you will be able to install VirtualBox. Therefore, I didn’t get it important to provide the screenshot. And the next big thing is VirtualBox Extension Pack, it’s much important to install the Extension Pack on VirtualBox. Because after installing any operating system on VirtualBox, during the installation you will face any problem, like lagging, or sometimes the mouse and keyboard is not working properly. Therefore, the VirtualBox Extension Pack fixes those critical issues.
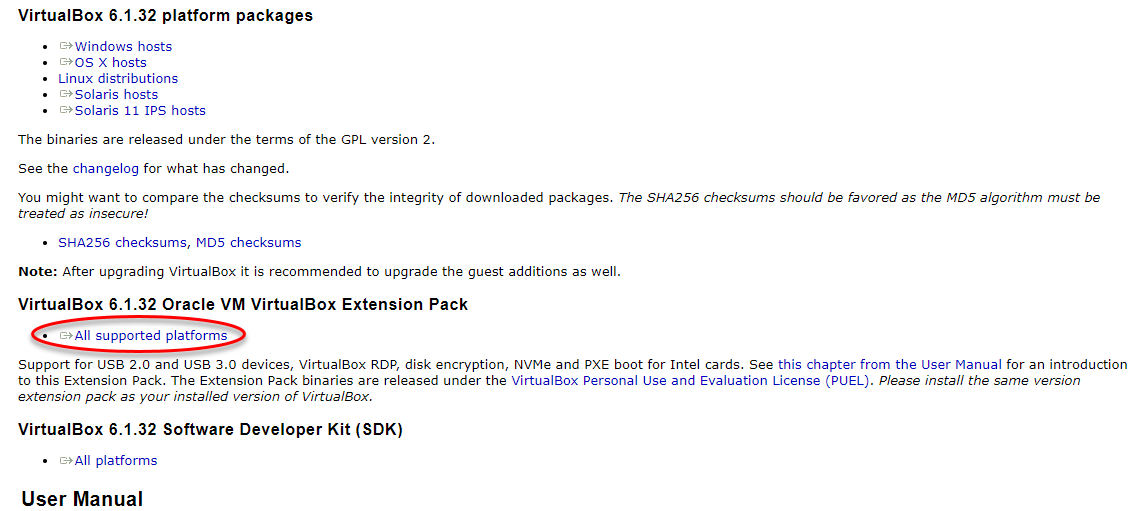
How you can download the VirtualBox Extension Pack? Go to VirtualBox’s official website, once you reached there you will find out the VirtualBox Oracle VM Extension Pack. Under that click on All Supported Platforms.
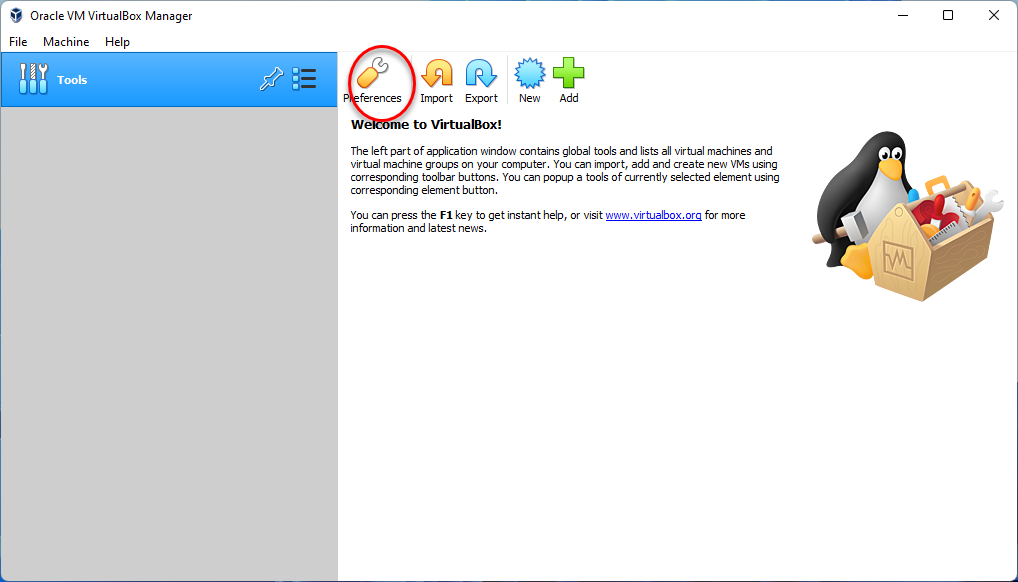
For installing the VirtualBox Extension Pack simply open up the VirtualBox, when the VirtualBox opened on the main window click on the Preferences option.
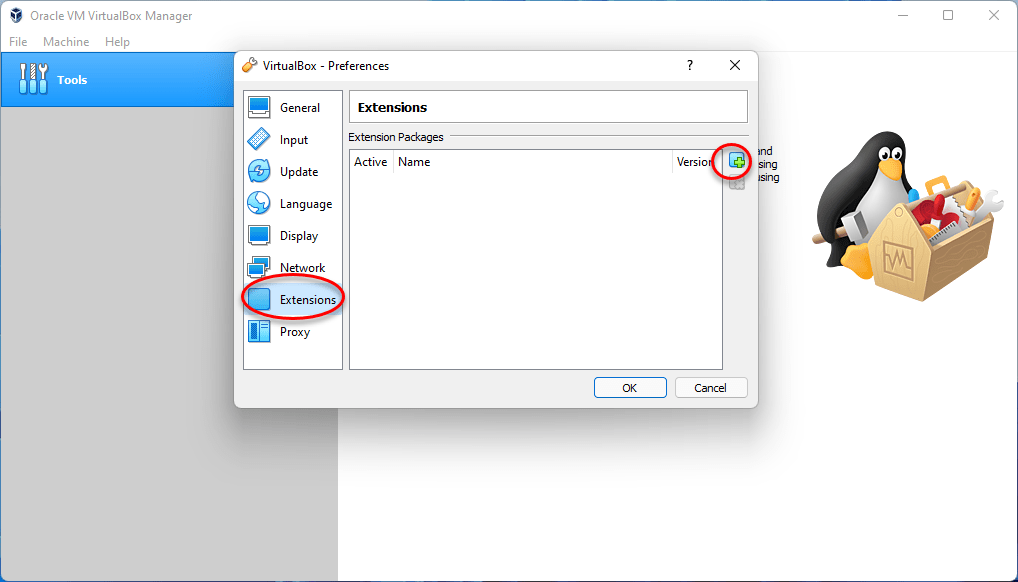
When the Preferences window opened from the left-handed window side click on the Extension tab, and click on the (+) icon.
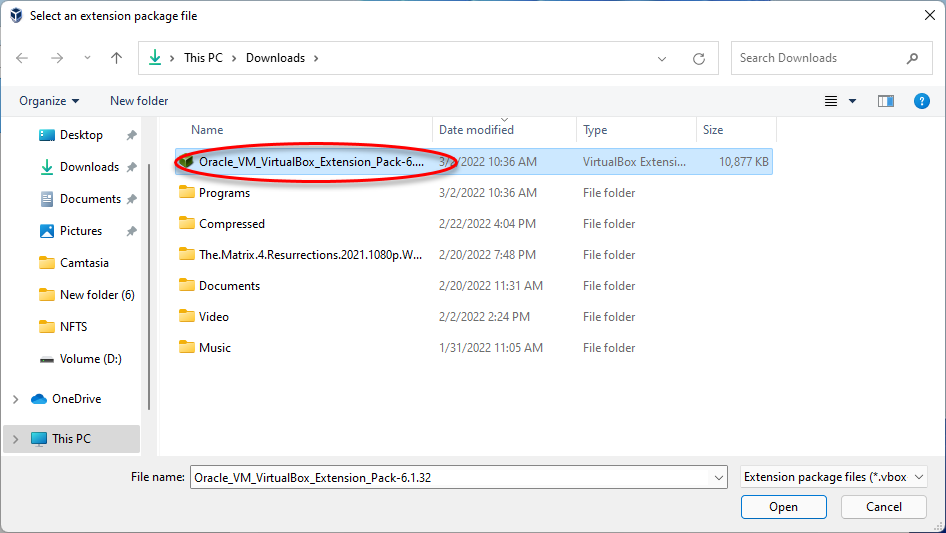
Now go to the download section and select the VirtualBox Extension Pack and click Open.
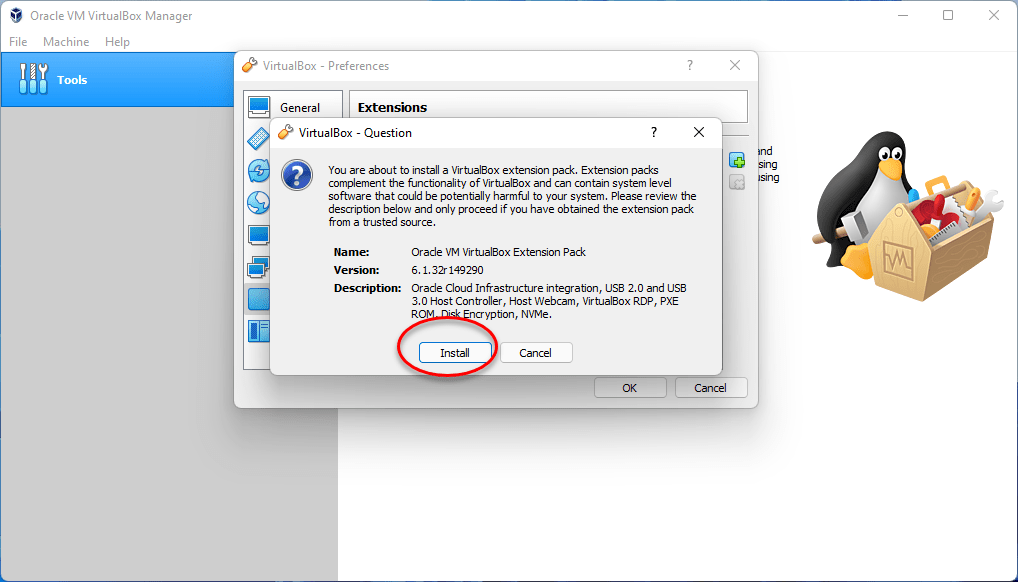
Once you opened the Extensions Pack the install window will pop up so click on the Install button.
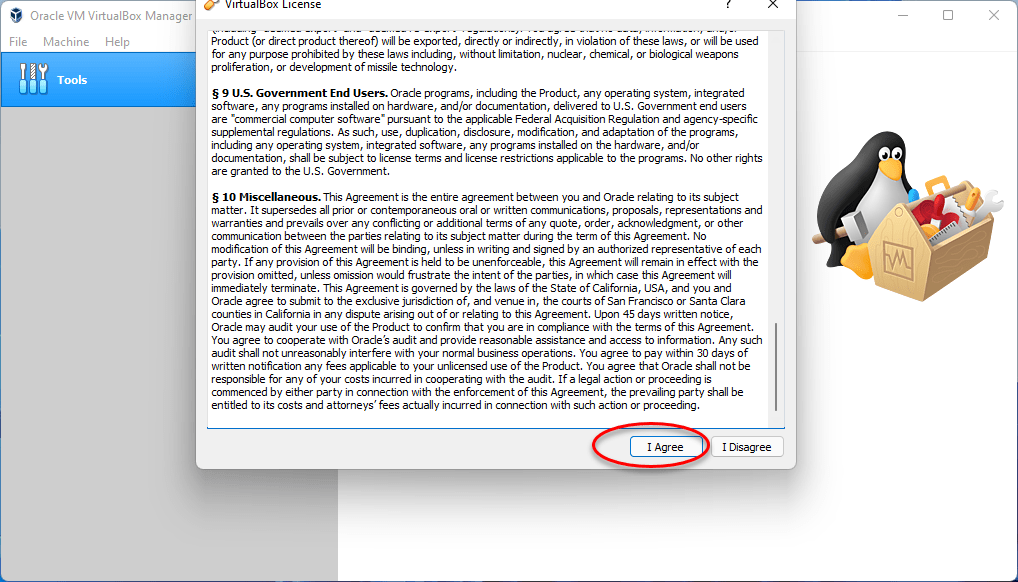
Now scroll down and click on I Agree.
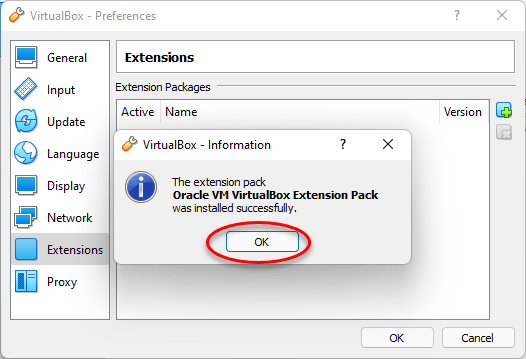
Once the Extensions Pack is successfully installed click on the OK option and close the Preferences window.
Create a New Virtual Machine for macOS High Sierra on VirtualBox
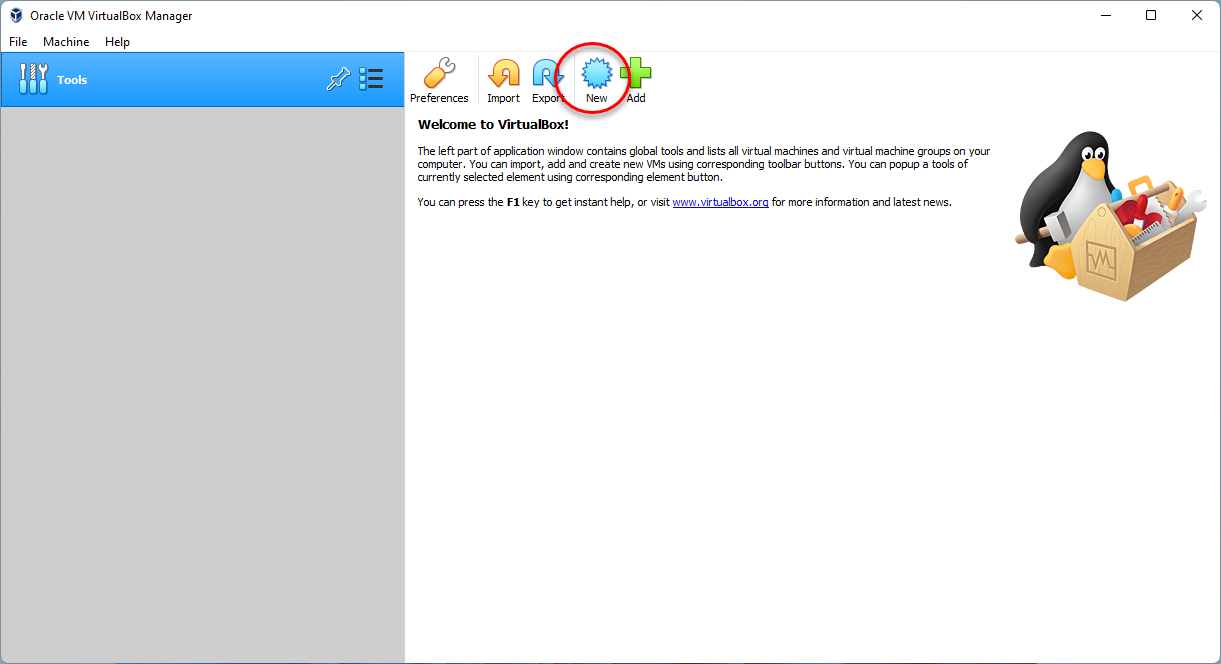
Once you have completed the requirements of macOS High Sierra installation on VirtualBox. Simply, first of all, extract the macOS High Sierra VMDK file with WinRAR or 7Zip, when the file is successfully extracted. Simply again open up the VirtualBox then on the main window click on the New option.
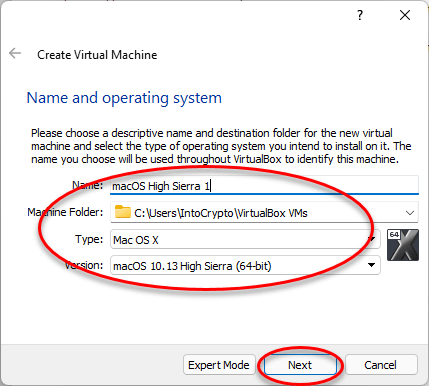
At the first window type the name of macOS High Sierra, then the rest of the settings will be selected automatically, there is no need to make any changes to the setting of Virtual Machine, so simply again click on the Next option.
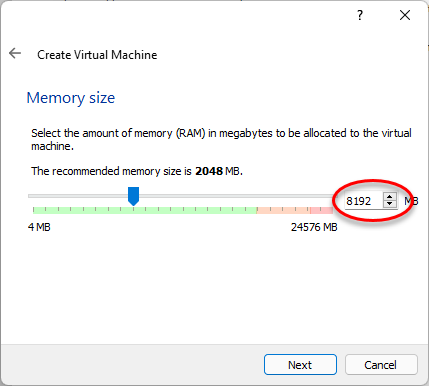
Now increase the size of Memory according to your computer stats.
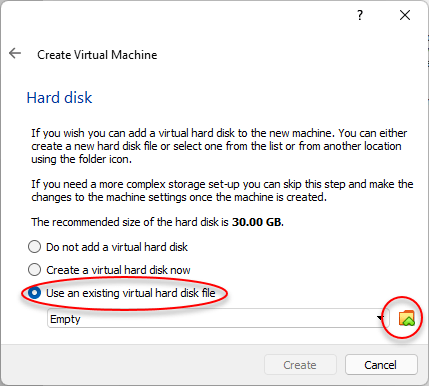
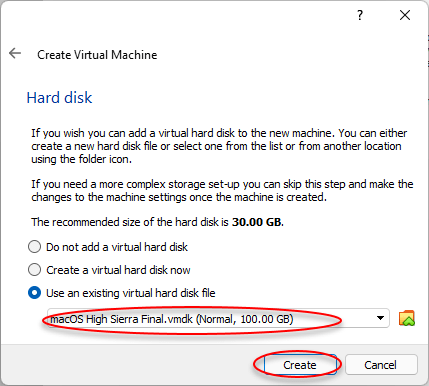
Choose the option “Use an existing virtual machine hard disk file” and click on the folder icon.
Now click on Add option

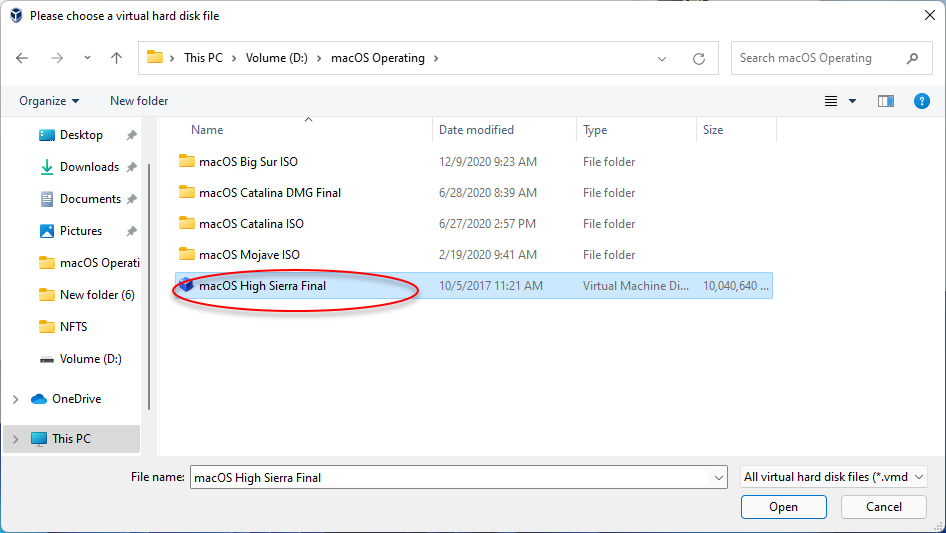
Select the VMDK file of macOS High Sierra where you have placed that and click on the open option.
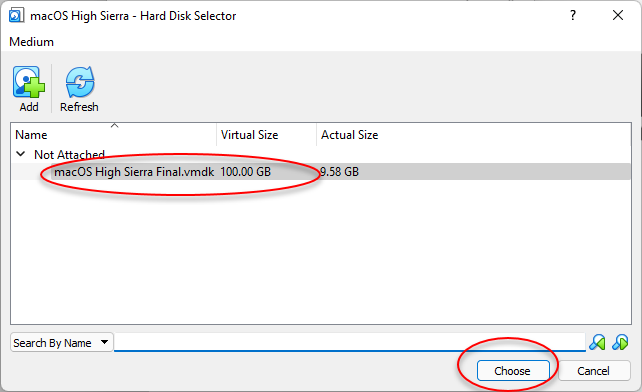
Once the macOS High Sierra VMDK file is successfully inserted click on Choose option.
While the macOS High Sierra VMKD file is successfully inserted then click on Create option.
Edit macOS High Sierra Virtual Machine Settings
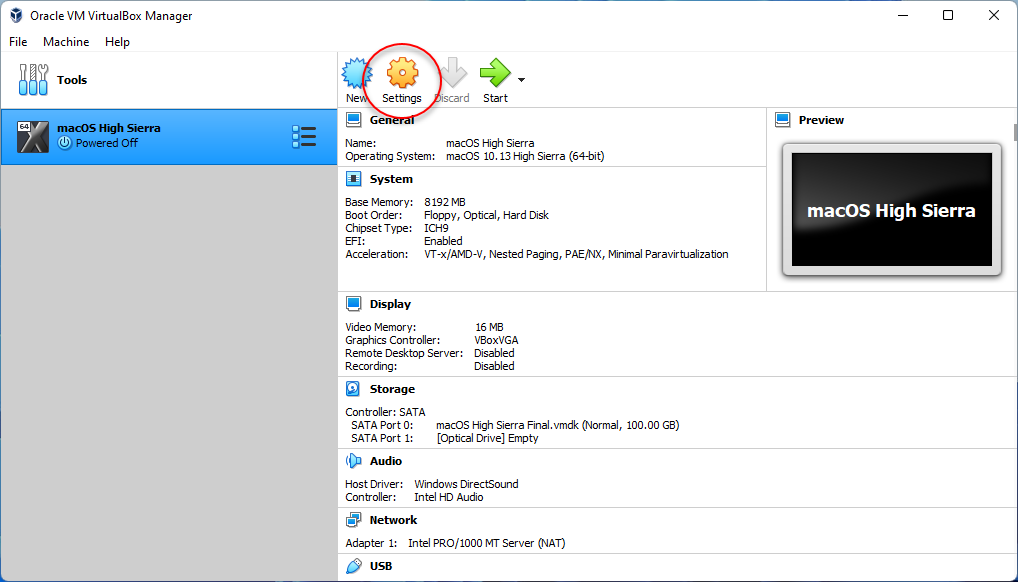
After that, macOS High Sierra Virtual Machine was successfully created simply you need to bring changes to the virtual machine settings to have a better performance. Select the created virtual machine and click on the Settings option.
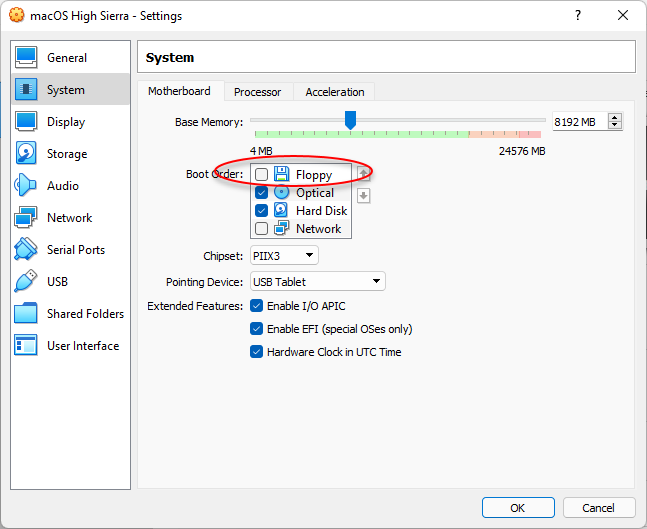
On the Settings window from the left-handed window, side selects the “System” tab and uncheck the Floppy disk image.
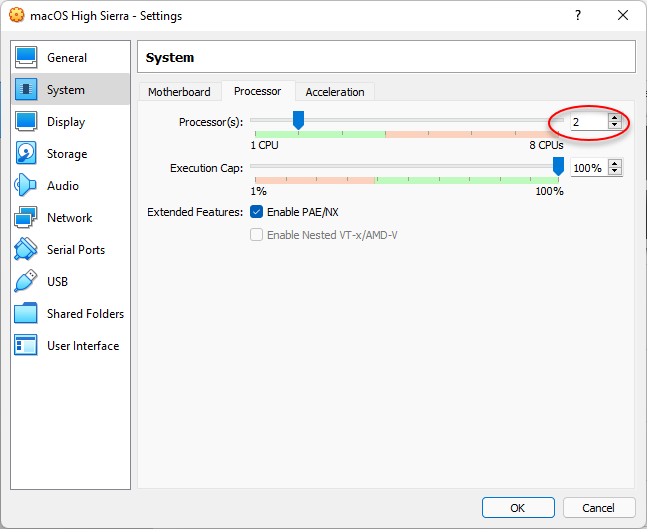
Select the Processor tab and increase the number of core processors.
Select the Display tab and increase the video memory up to 128MB.

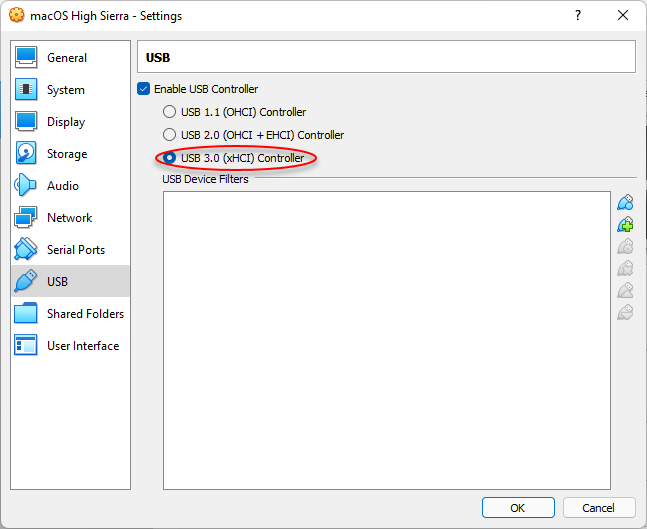
Select the USB tab, then enable the USB Controller, and also select the USB 3.0 Controller option.
Execute VirtualBox Code
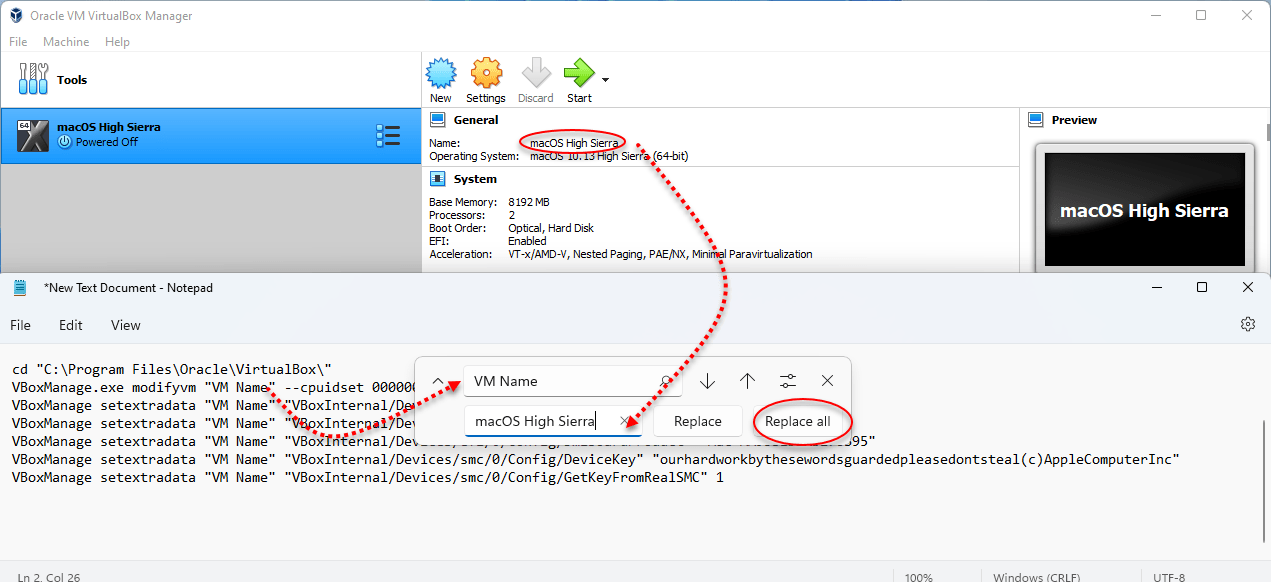
Once you have created and customized the Virtual Machine for macOS High Sierra. Now it’s time to edit or execute some commands for VirtualBox. To install macOS High Sierra firstly you have to add these commands on the command prompt window to install the macOS successfully on the VirtualBox. Without these commands, you won’t be able to install macOS High Sierra or any other macOS operating system. Simply, you can copy the below down commands then open the Notepad window and paste them there, then replace the name of Virtual Machine according to your Virtual Machine name. If you don’t know the focus on the below down screenshots.
cd "C:\Program Files\Oracle\VirtualBox\"
VBoxManage.exe modifyvm "VM Name" --cpuidset 00000001 000106e5 00100800 0098e3fd bfebfbff
VBoxManage setextradata "VM Name" "VBoxInternal/Devices/efi/0/Config/DmiSystemProduct" "iMac19,1"
VBoxManage setextradata "VM Name" "VBoxInternal/Devices/efi/0/Config/DmiSystemVersion" "1.0"
VBoxManage setextradata "VM Name" "VBoxInternal/Devices/efi/0/Config/DmiBoardProduct" "Mac-AA95B1DDAB278B95"
VBoxManage setextradata "VM Name" "VBoxInternal/Devices/smc/0/Config/DeviceKey" "ourhardworkbythesewordsguardedpleasedontsteal(c)AppleComputerInc"
VBoxManage setextradata "VM Name" "VBoxInternal/Devices/smc/0/Config/GetKeyFromRealSMC" 1
To apply the command firstly you have to close the VirtualBox from the background.
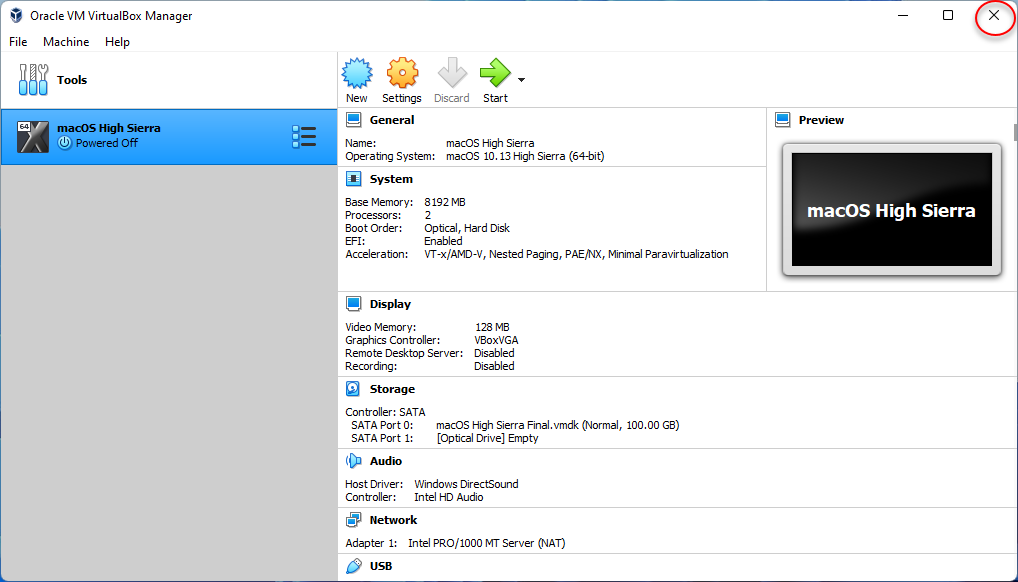
Simply replace the VM Name with the name of Virtual Machine.
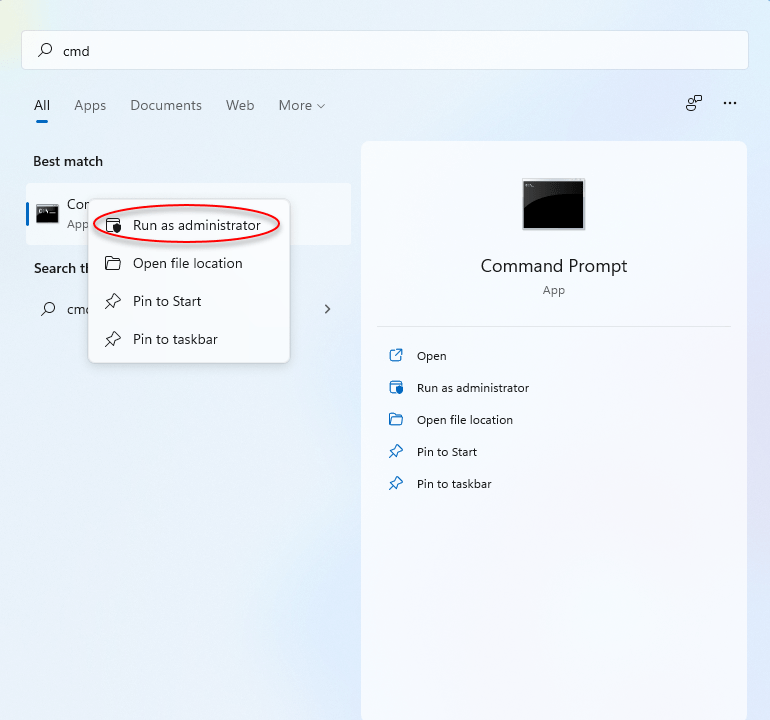
Navigate to the Window start menu and search for CMD or command prompt, then run the command prompt as administrator.
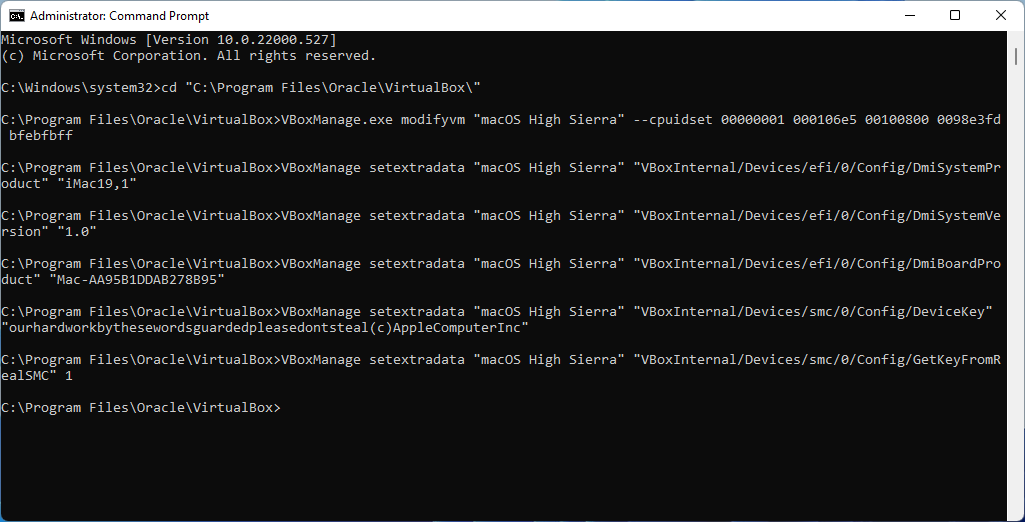
Now copy the commands one by one and paste them into the command prompt window then press enter to apply them.
Perform a Clean Installation of macOS High Sierra on VirtualBox
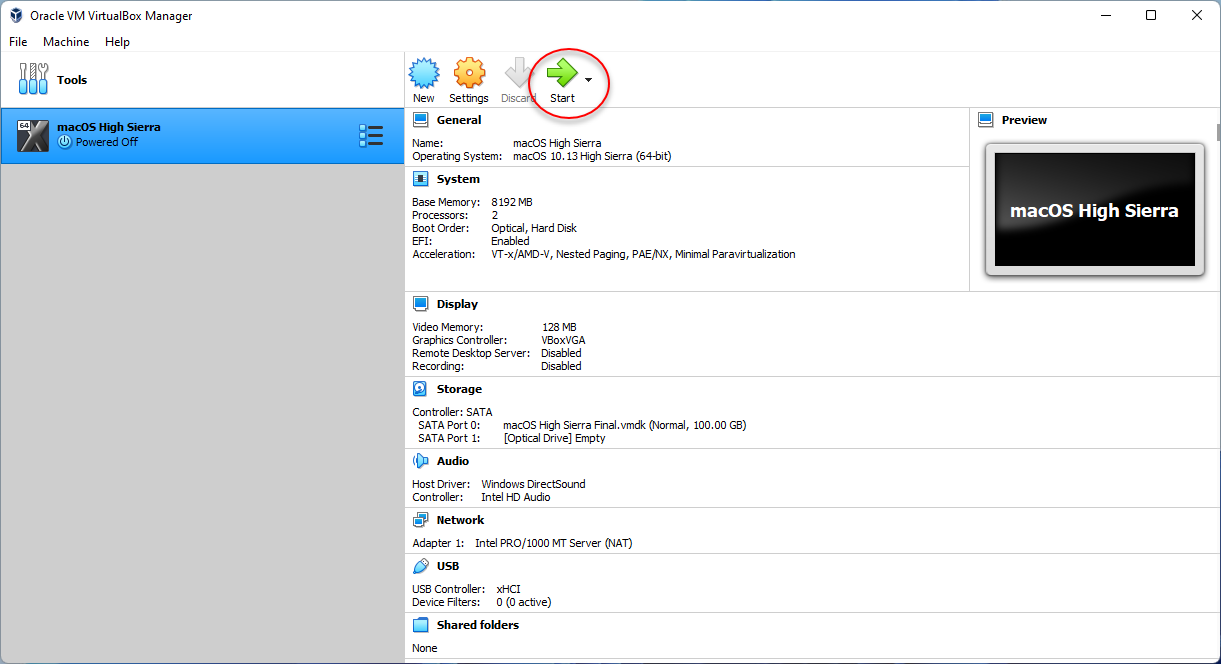
After all, you downloaded the required files, installed the VirtualBox, Extensions Pack. Created a new virtual machine for macOS High Sierra, then customized the virtual machine settings, and applied the commands into the command prompt. So, now it’s time to perform a clean installation of macOS High Sierra on VirtualBox. Simply for installation open up the VirtualBox, then select the Virtual machine of macOS High Sierra and click on the Start button.
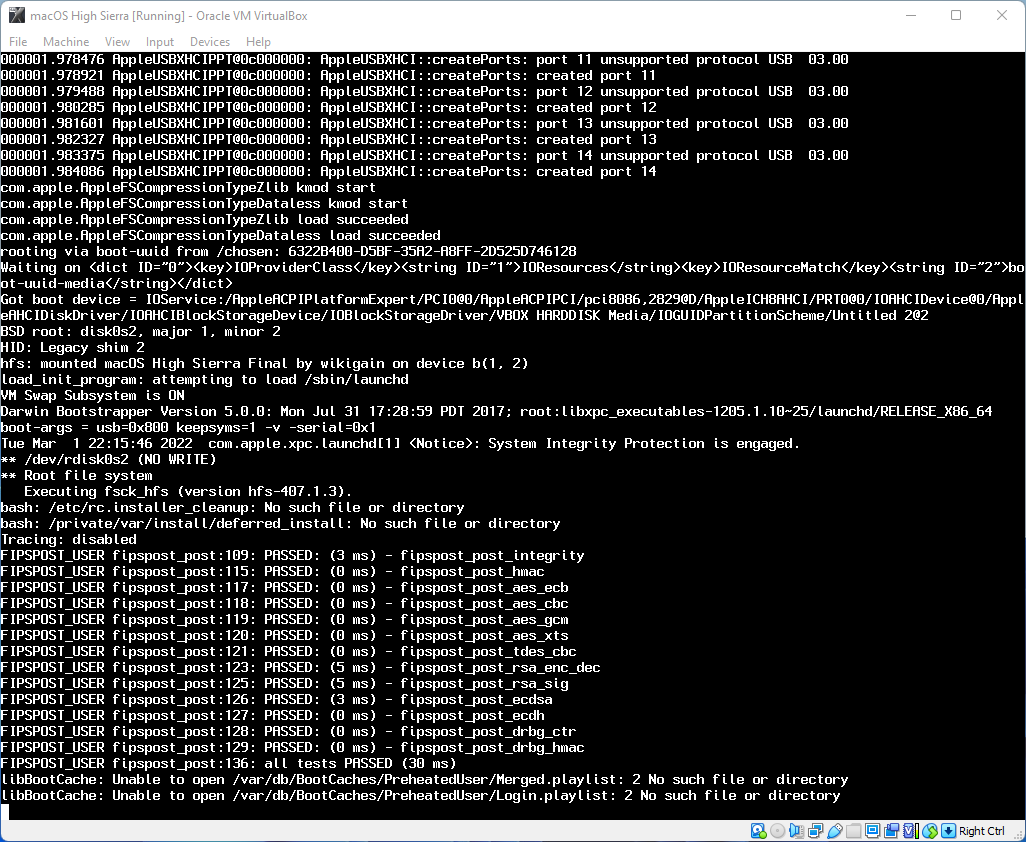
Once you started the installation process wait for the first window.
Now select your country and click on continue, also the country will be selected sometime by default too.

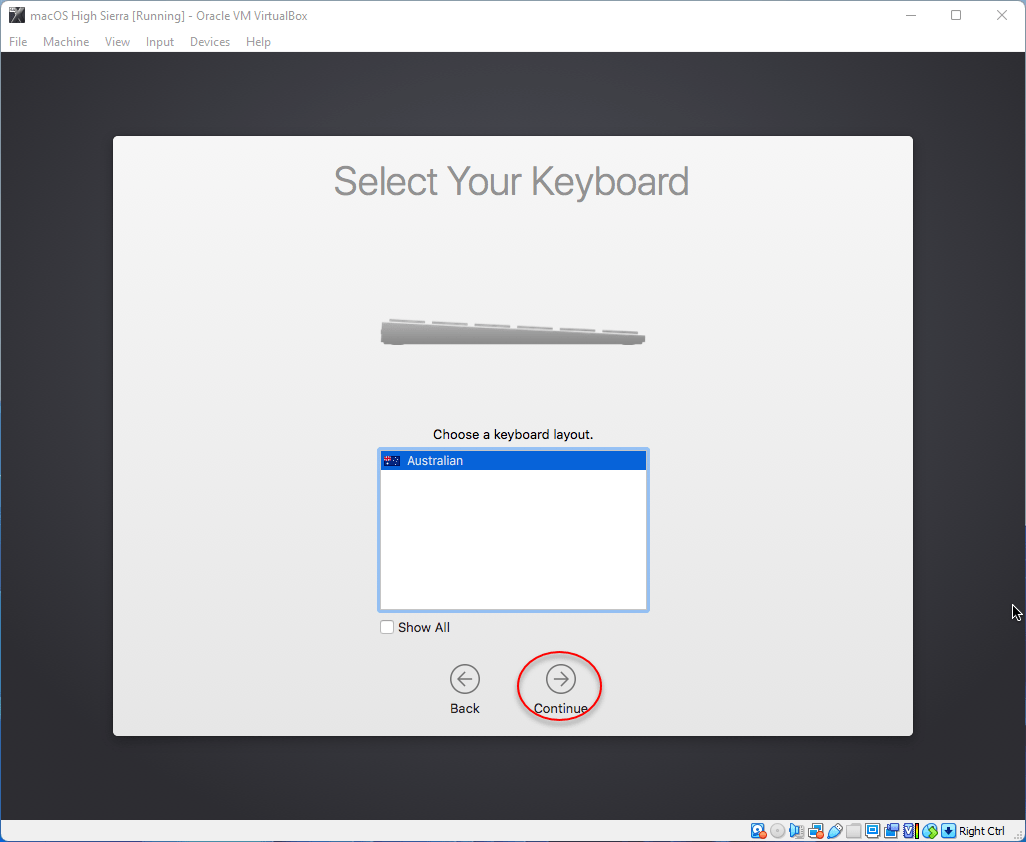
Select your keyboard layout, you can add another layout of the keyboard also by clicking on the show all option.
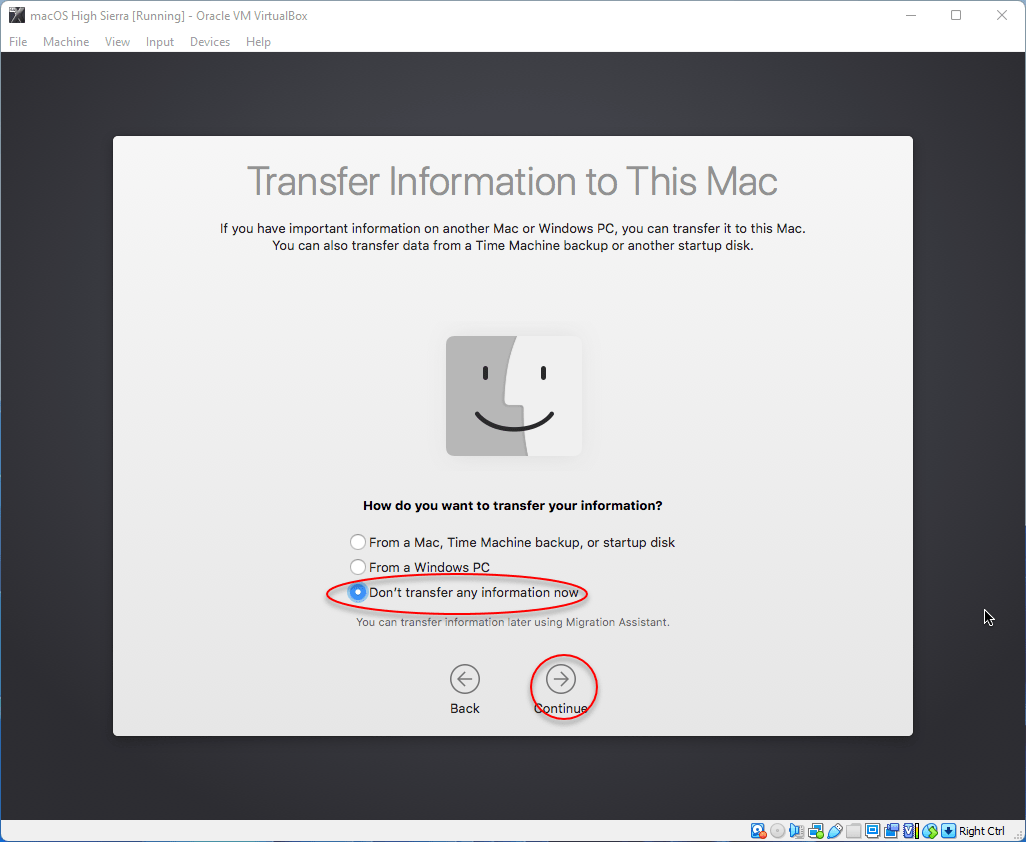
Select the option “Don’t transfer any information right now” and click on continue.
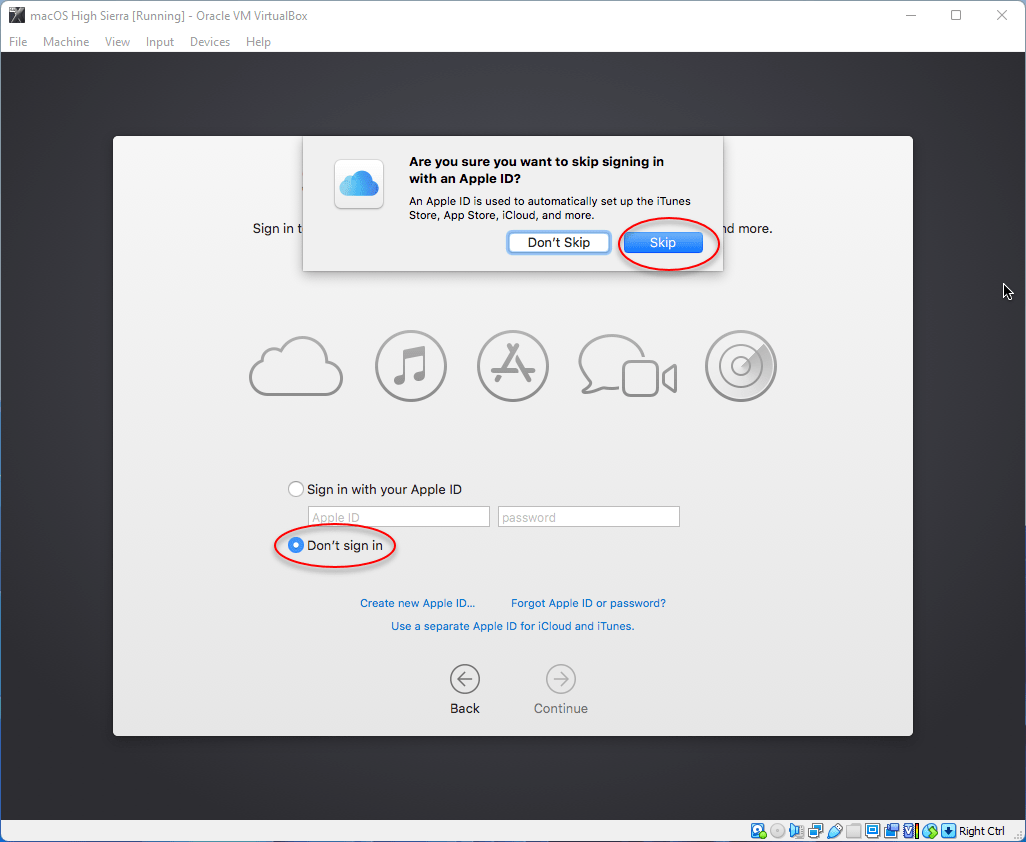
Select the option “Don’t Sign in” then click continue, once the other window popped up click on the Skip button.
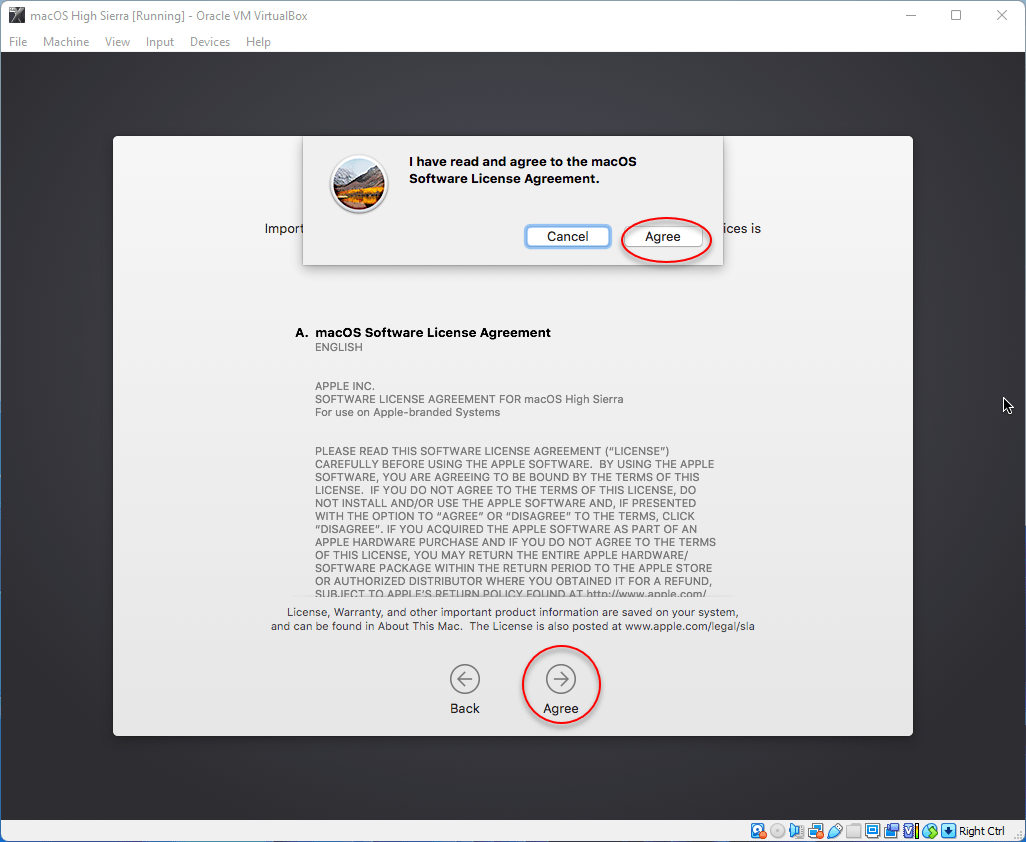
Now agree with the terms and conditions and click agree.
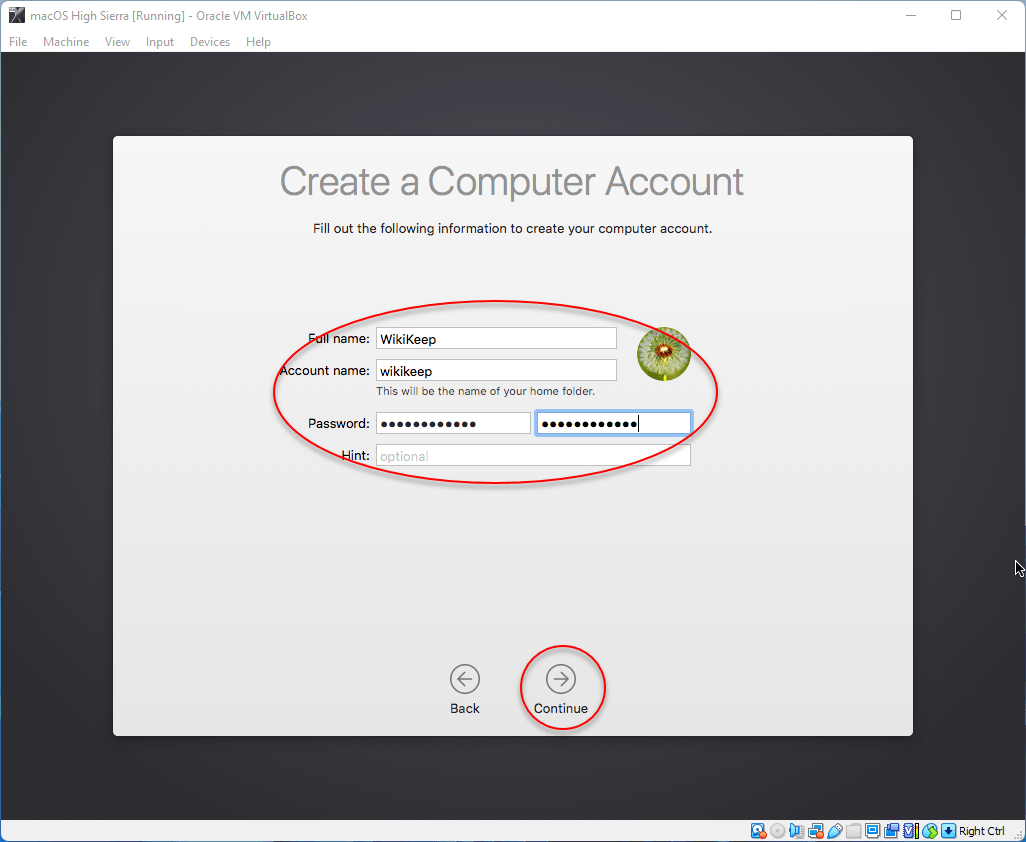
Create your computer account, by entering your name, account name, and password, then click on continue.
On the express set up window simply click continue.

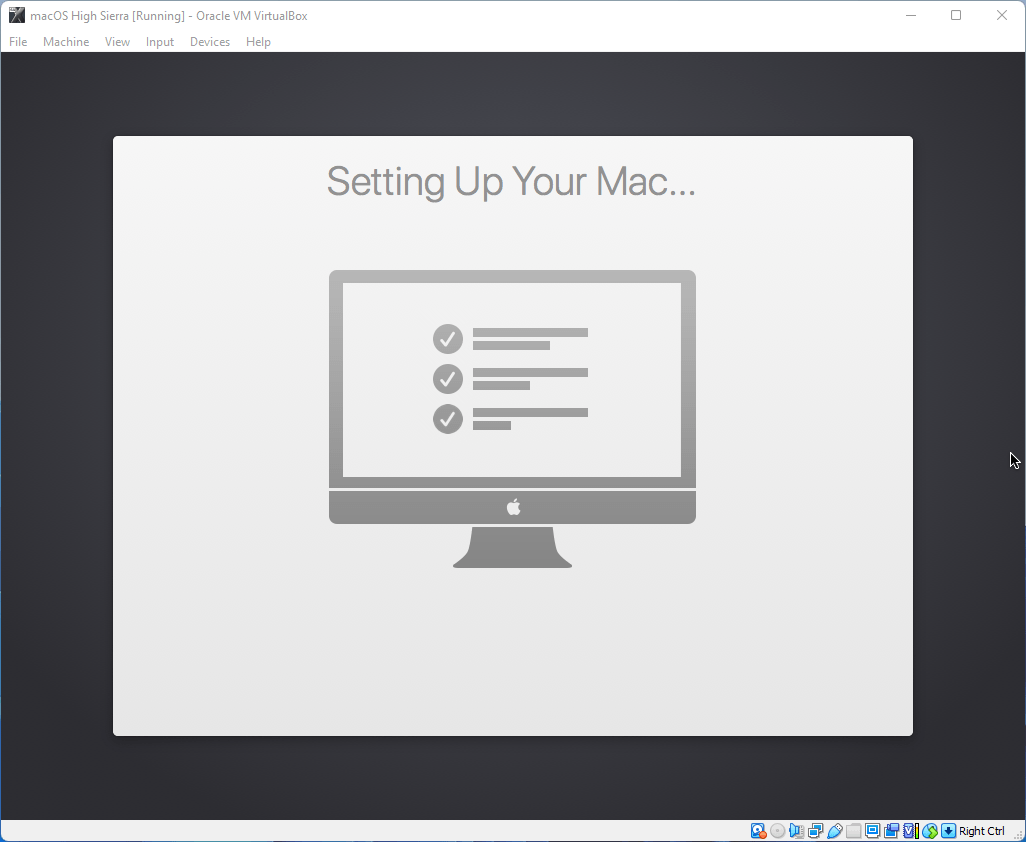
Wait for a few seconds until it should set up your Mac for the first use.
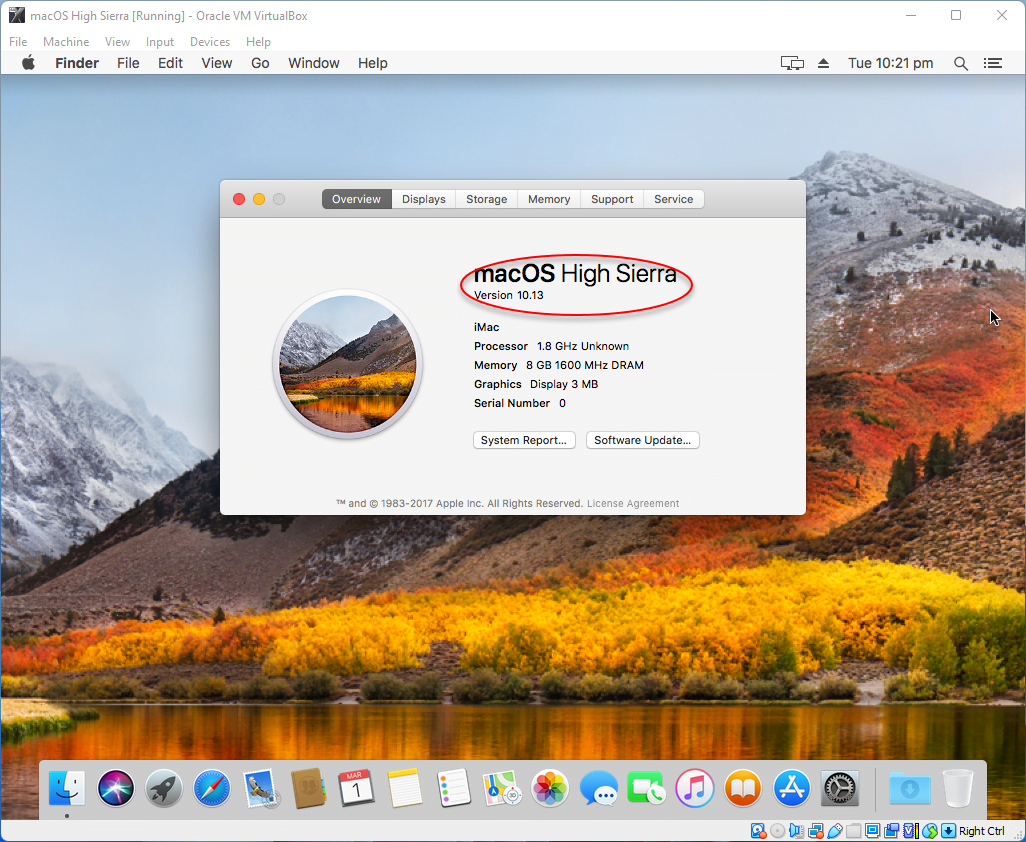
And finally, macOS High Sierra is ready to use on VirtualBox on Windows 11 PC right now. Enjoy using macOS High Sierra on VirtualBox on Windows PC, if you don’t have a Mac PC.
Update macOS High Sierra to Latest Version on VirtualBox on Windows PC (Optional)
After installing macOS High Sierra on VirtualBox on Windows PC, right now we are ready to get a few steps ahead to make some interesting tasks with macOS High Sierra. The first task is to try to upgrade macOS High Sierra to the latest version on VirtualBox. It’s pretty much easy also, after the installation you will be able to update it to the latest version if you don’t know how then check the below down guide.
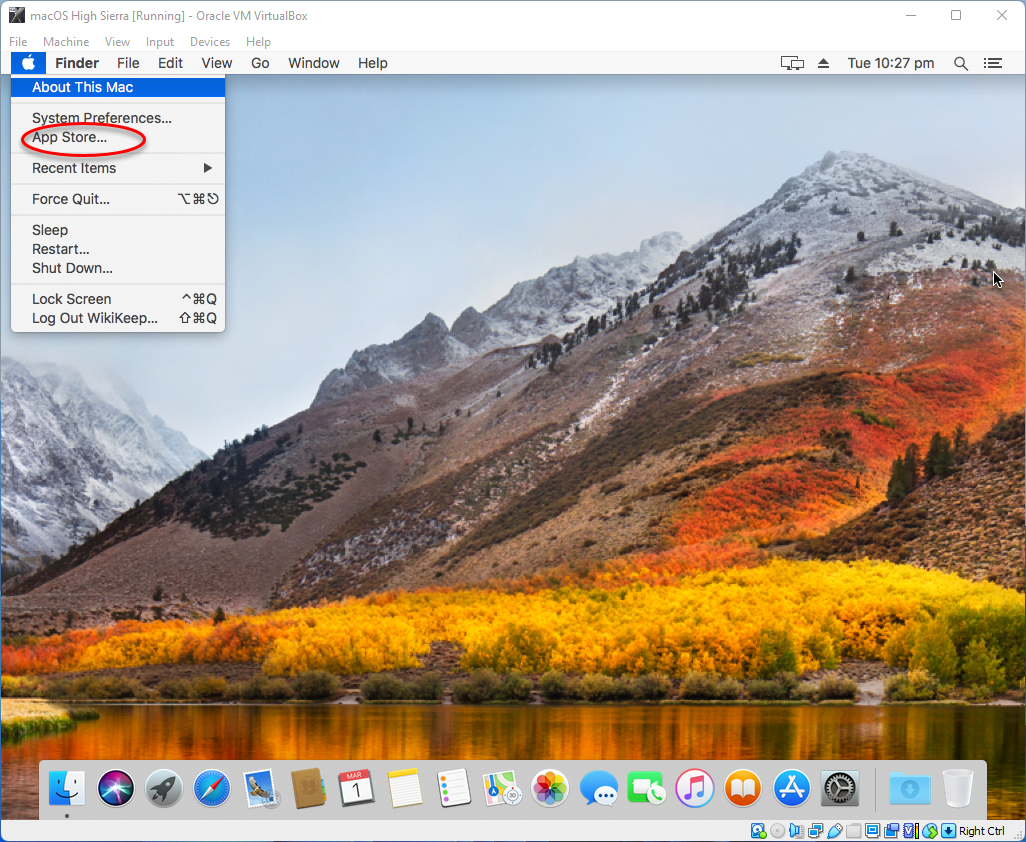
Simply on the left-handed top corner of the window click on Apple Logo then click on App Store.
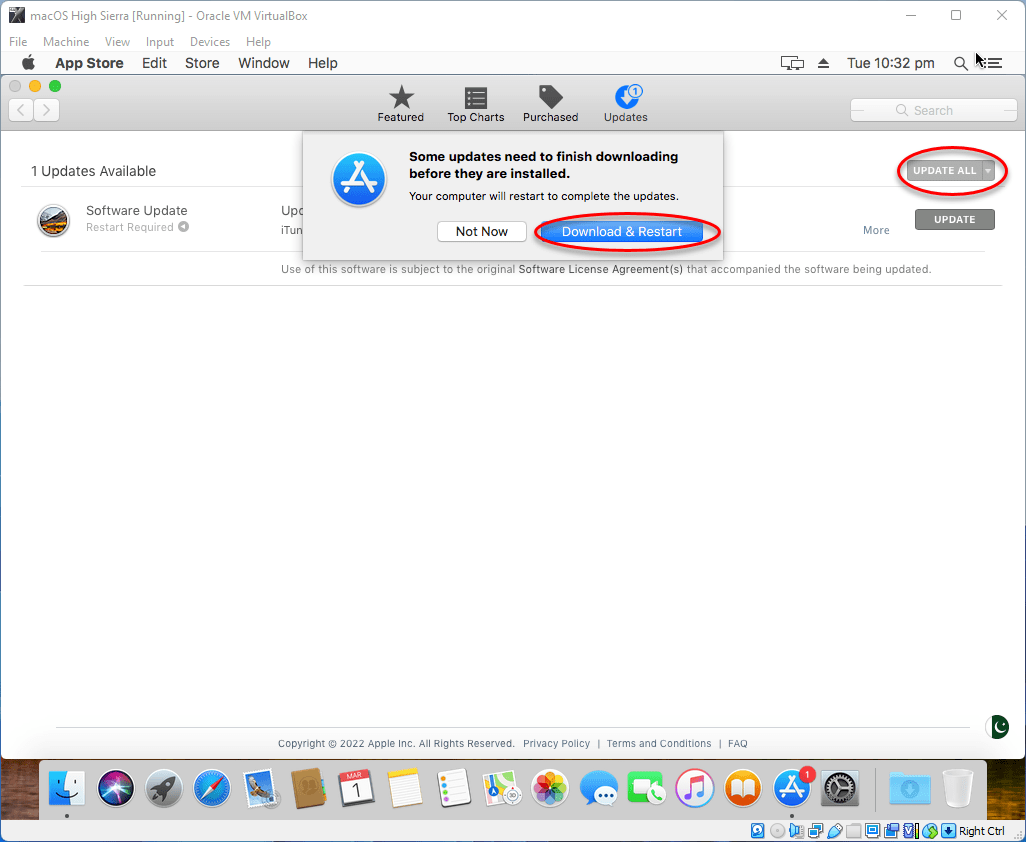
After opening the App Store simply click on Udpates>Click Update All>Then click Download & Restart option.
Wait until the update should be downloaded, once the update is successfully downloaded automatically the Virtual machine will restart.
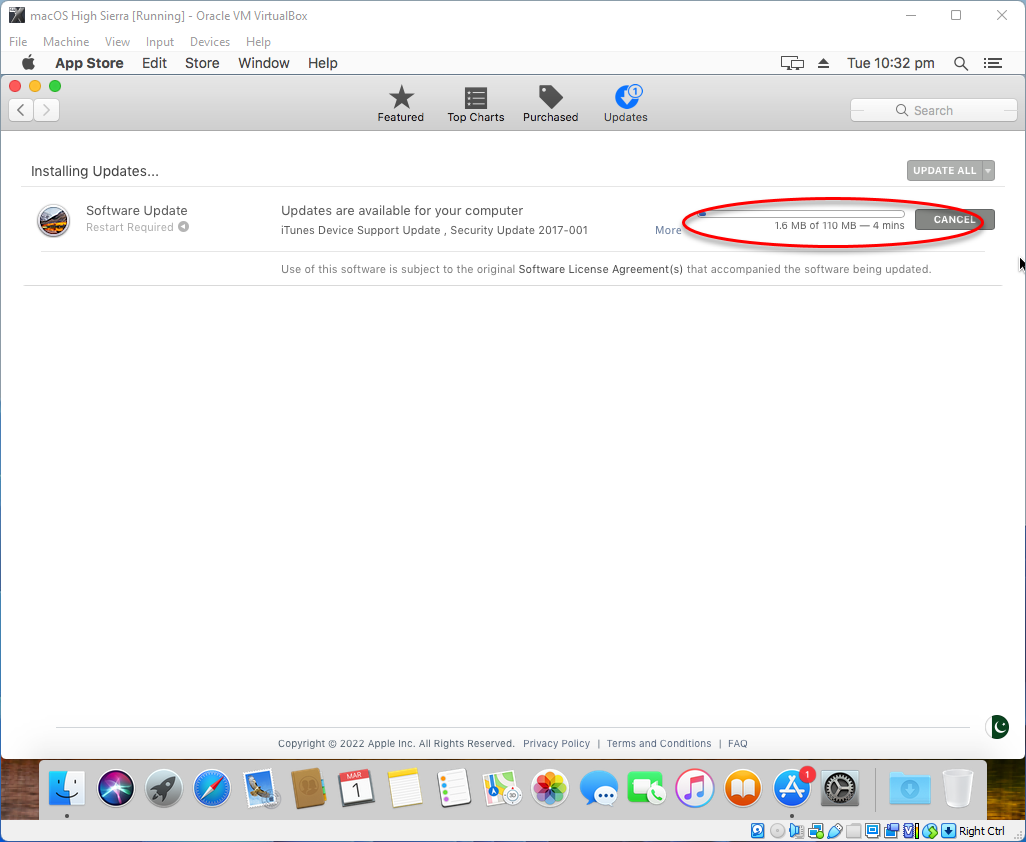
Wait until the update should be installed.

Conclusion
That was about how to install macOS High Sierra on VirtualBox on Windows 11 PC. I hope you enjoyed reading the complete article, again if you faced any kind of problem feels free to share with us via the comment box section.